48 49
ADVANCED CONTROLS
Using Exposure Control with Locked Exposure
With this option, the camera locks the exposure. That exposure level
remains until you cancel it.
For example, suppose you are snowboarding on a sunny day. By manually
setting the exposure level based on your subject’s jacket, the images that
you capture throughout the day are based on that jacket. This means they
are less likely to be underexposed compared to the bright snow.
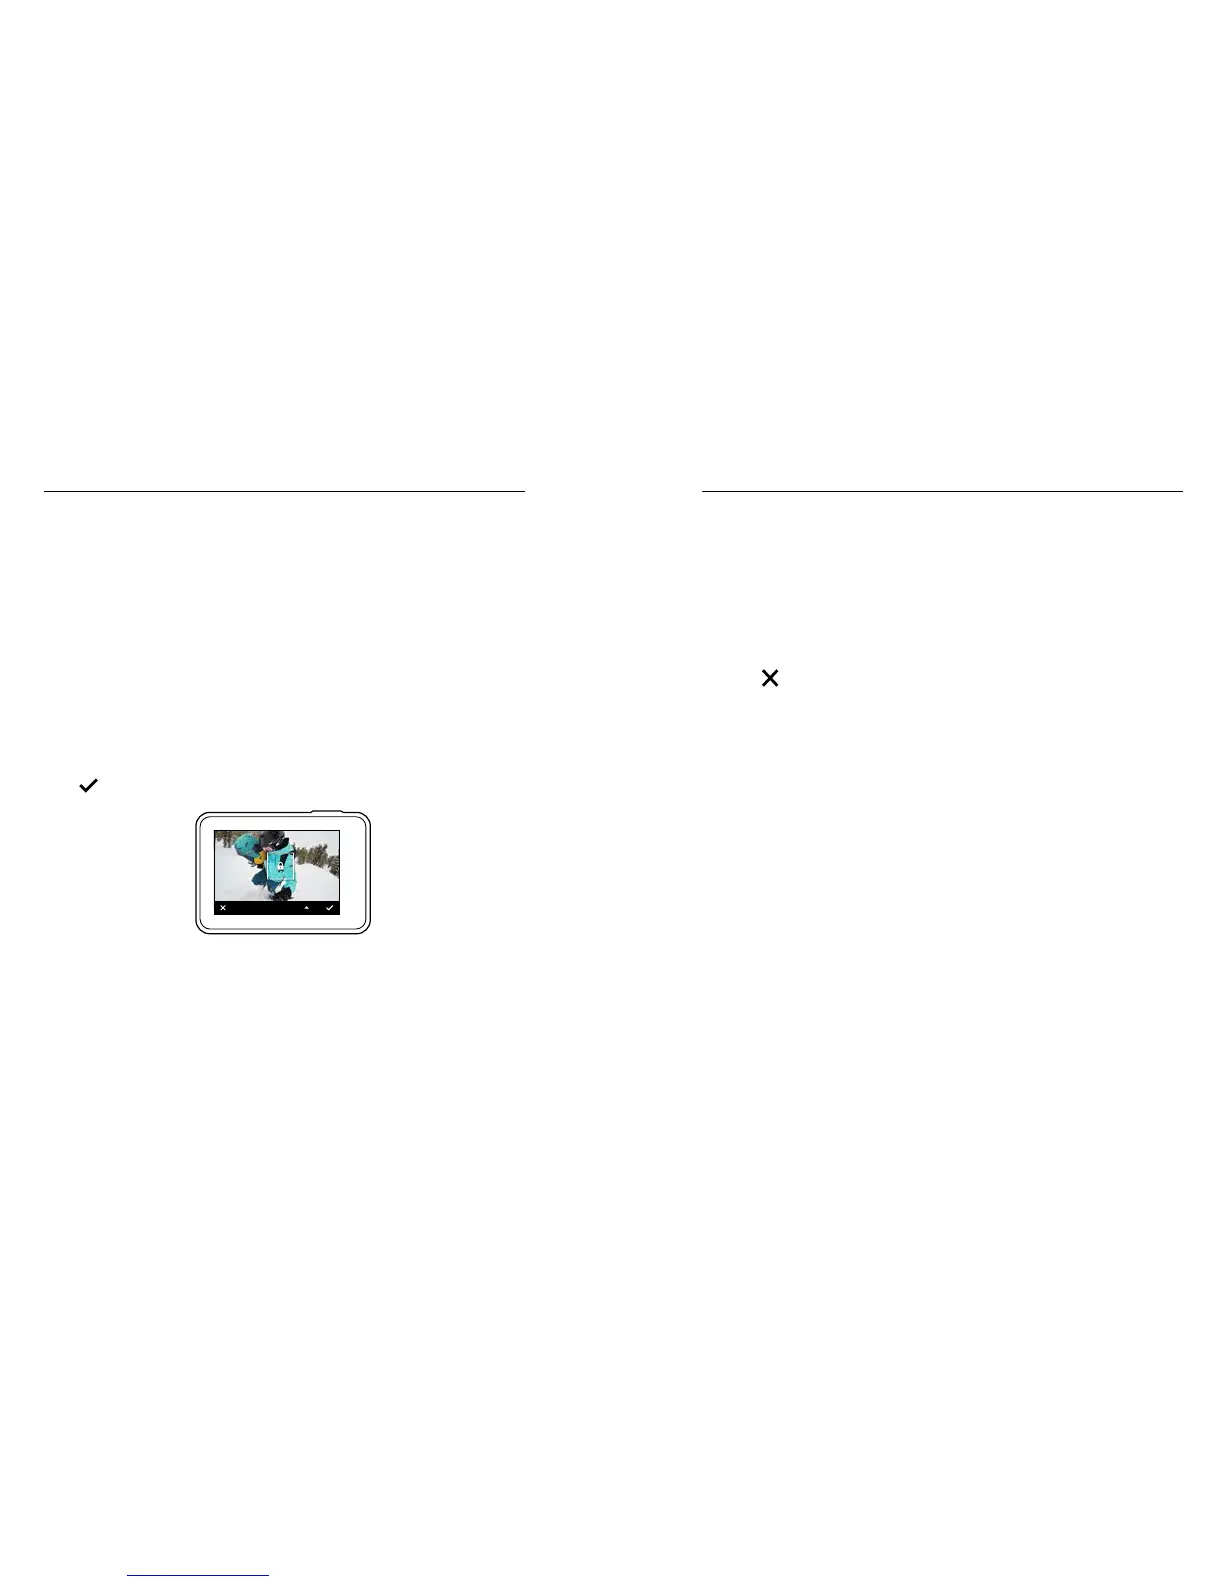
1. Press the touch display until a square outline shrinks to the middle
of the screen.
2. Drag the square to the area that you want to use to set the exposure
level. (You can also tap that area instead of dragging the square.)
3. Tap Auto Exposure to change it to Locked Exposure.
4. Conrm that the exposure looks the way you want it to, and then tap
[
] in the lower right corner to lock the exposure.
LOCKED EXPOSURE
Cancelling Exposure Control
Exposure Control is automatically cancelled when you select a dierent
mode or restart the camera. You can also cancel this setting manually
(below). When you cancel the exposure setting that you had previously set,
the camera returns to using the entire scene to determine the correct level
of exposure.
1. Press the touch display until a square outline shrinks to the middle
of the screen.
2. Tap [ ] in the lower left corner.
ADVANCED CONTROLS