46 47
TIME LAPSE MODES
SETTINGS
Field of View
Your camera includes three FOV options for time lapse video and photo.
Both capture frames at 0.5-second intervals.
FOV Description
Wide
Largest eld of view. Good for action shots to
capture as much as possible within the frame.
This FOV results in a sheye eect, especially
around the edge of the scene. (You can crop
that out during editing, if needed.)
Medium
Mid-range eld of view. Has the eect of
zooming in on the centre of the shot.
Narrow
Smallest eld of view with reduced sheye
distortion. Good for capturing content at a
distance. Its most signicant eect is that it
zooms in on the centre of the shot.
ADVANCED CONTROLS
EXPOSURE CONTROL
By default, your camera uses the entire image to determine the appropriate
exposure level. However, Exposure Control lets you select an area that you
want the camera to prioritise when determining exposure. This setting is
particularly useful in shots where an important region might otherwise be
over- or underexposed.
When you change this setting, the touch display immediately shows you the
eect on your image. If you change modes, the camera returns to using the
entire scene to determine the correct level of exposure.
Using Exposure Control with Auto Exposure
With this option, the camera always bases exposure on the area of the
touch display that you select, regardless of what is in that area.
Suppose your camera is mounted on your dashboard. You might want to
select the upper part of the touch display so that the exposure is based on
the scene outside the vehicle and not on the dashboard itself (which might
cause the scene outside to be overexposed).
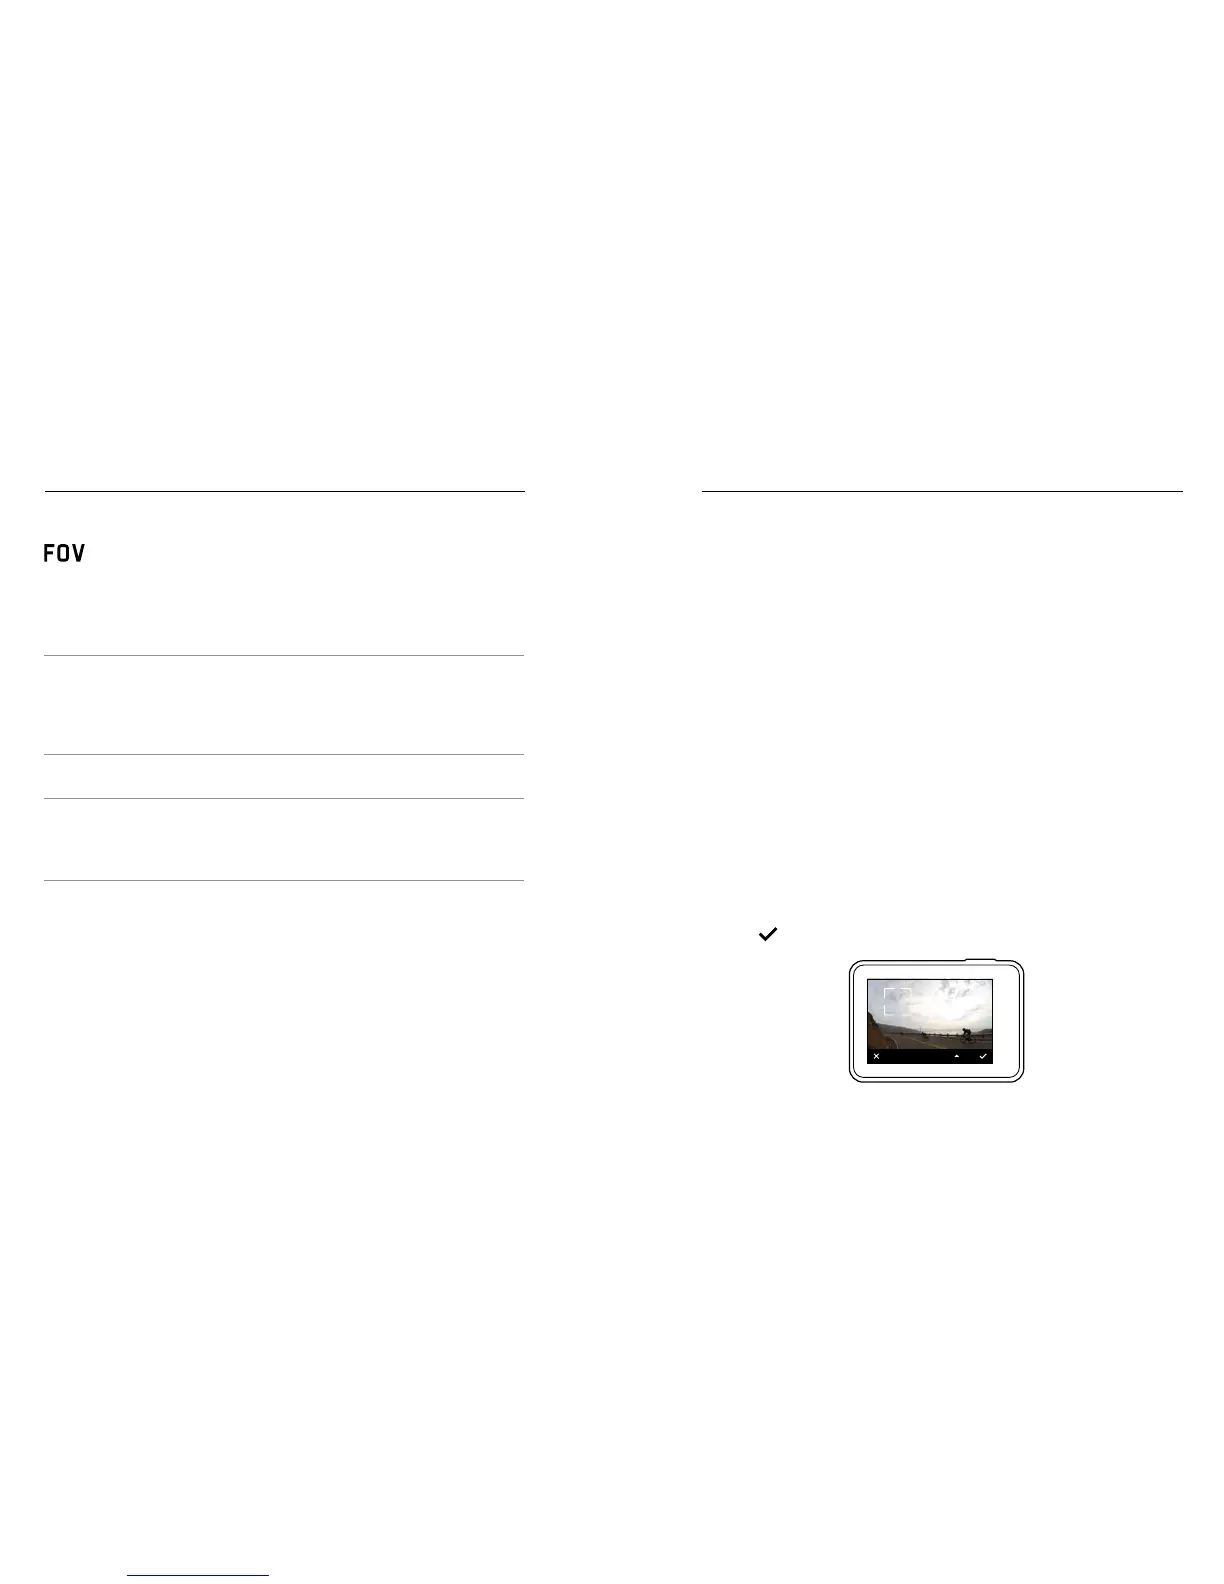
1. Press the touch display until a square outline shrinks to the middle
of the screen.
2. Drag the square to the area that you want to use to set the exposure
level. (You can also tap that area instead of dragging the square.)
3. Tap [
] in the lower right corner.
AUTO EXPOSURE