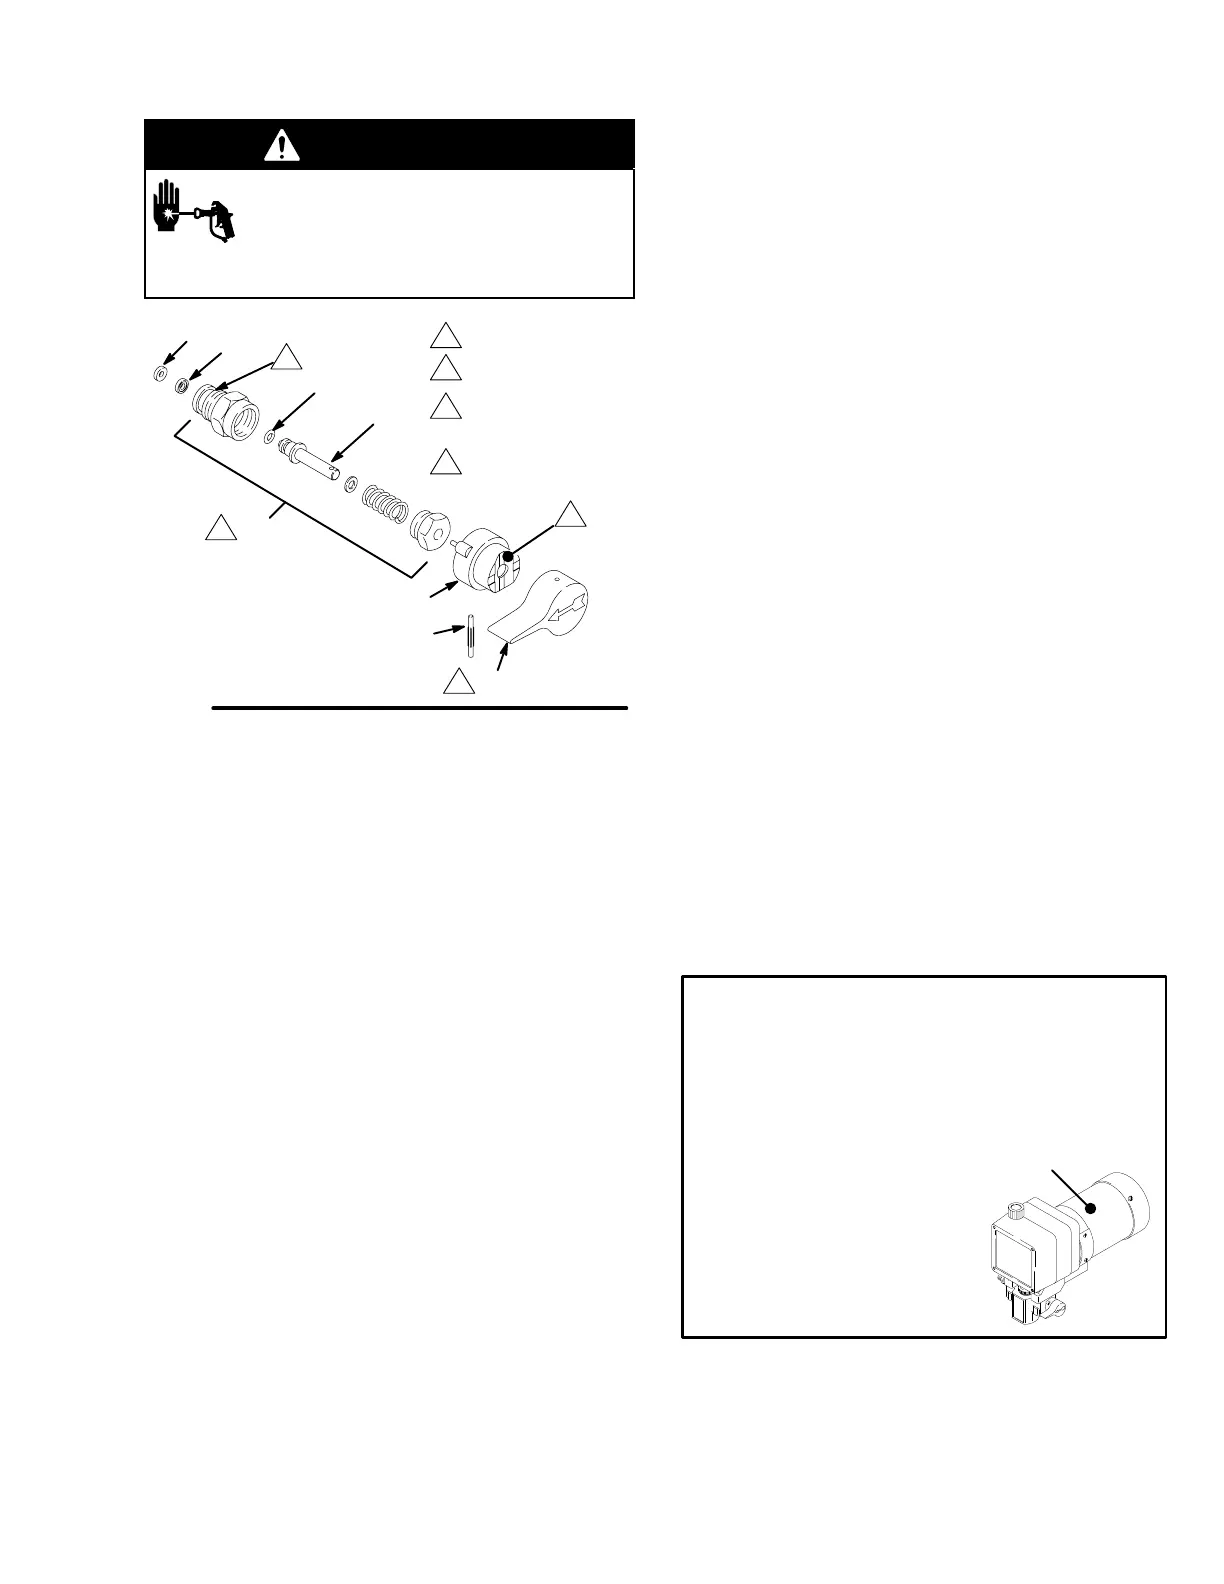
Drain
V
alve
WARNING
INJECTION
HAZARD
T
o reduce the risk of serious injury
,
whenever you are instructed to relieve
pressure, follow the
Pressure Relief
Procedure
on page 10.
44
42a
42b
43
45
Apply
thread sealant
Handle shown
in closed position
Apply grease
to face of base
42
T
orque into pump
manifold to 185 in–lb
(21 N.m)
42c
42d
Fig.
27
02819
1
3
4
2
1
2
3
4
1. T
urn the handle (45) to the closed position. Drive
out the pin (44). Remove the handle.
2.
Remove the base (43).
3.
Unscrew the drain valve (42). The gasket (42a)
and seat (42b) will stay in the valve.
Repair
1.
Unscrew the spring retainer from the valve body
.
Remove the spring, washers and stem/ball. Clean
any debris from the ball or seat area.
2.
If replacing the gasket (42a) or seat (42b), pry out
the gasket.
NOTE:
Whenever the gasket (42a) is removed, re
-
place it with a new one.
3.
Coat the o-ring (42d) with grease. Press the stem
into the valve body
. Install the spring, washers and
spring retainer into the valve body
.
4.
Place the seat (42b) in the valve body so the
lapped side is toward the ball. Apply a small
amount of grease to the new gasket (42a) and
install it in the valve body
.
NOTE:
The gasket will protrude from the end of the
valve until the valve is tightened into pump, which
correctly seats the gasket.
Replacement
1.
Apply a small amount of thread sealant (42e) onto
the valve (42) threads. T
ighten the valve into the
pump manifold to 185 in–lb (21 N.m).
2.
Lightly grease the face of the base (43) and install
the base. T
urn the stem so the pin hole is vertical.
3.
Securely install the handle (45) and drive pin (44).
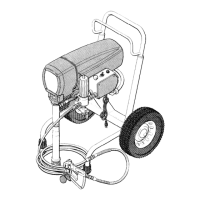
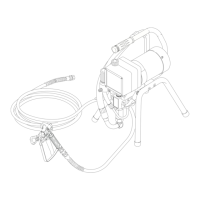
Accessories
Wheeled Lo-Cart Kit
235–710
A kit is available to convert the sprayer to a wheeled
lo-cart sprayer
.
Wheeled Upright Cart Kit
236–328
A kit is available to convert the sprayer to a wheeled
upright cart sprayer
.
Hopper Kit
236–342
A kit is available to convert the sprayer to a hopper
sprayer.
French 185–956
Spanish 185–961
German 186–041
Greek 186–045
Korean 186–049
English 185–953
DANGER LABELS
The
English language DANGER label shown on page 1
is also on your sprayer
. If you have painters who do not
read English, order one of the following labels to apply
to your sprayer
. The drawing below shows the best
placement of these labels for good visibility
.
Order the labels directly from Graco, free of charge:
1–800–328–0211
Apply
other
language here
04653