Reassembly
16 309577D
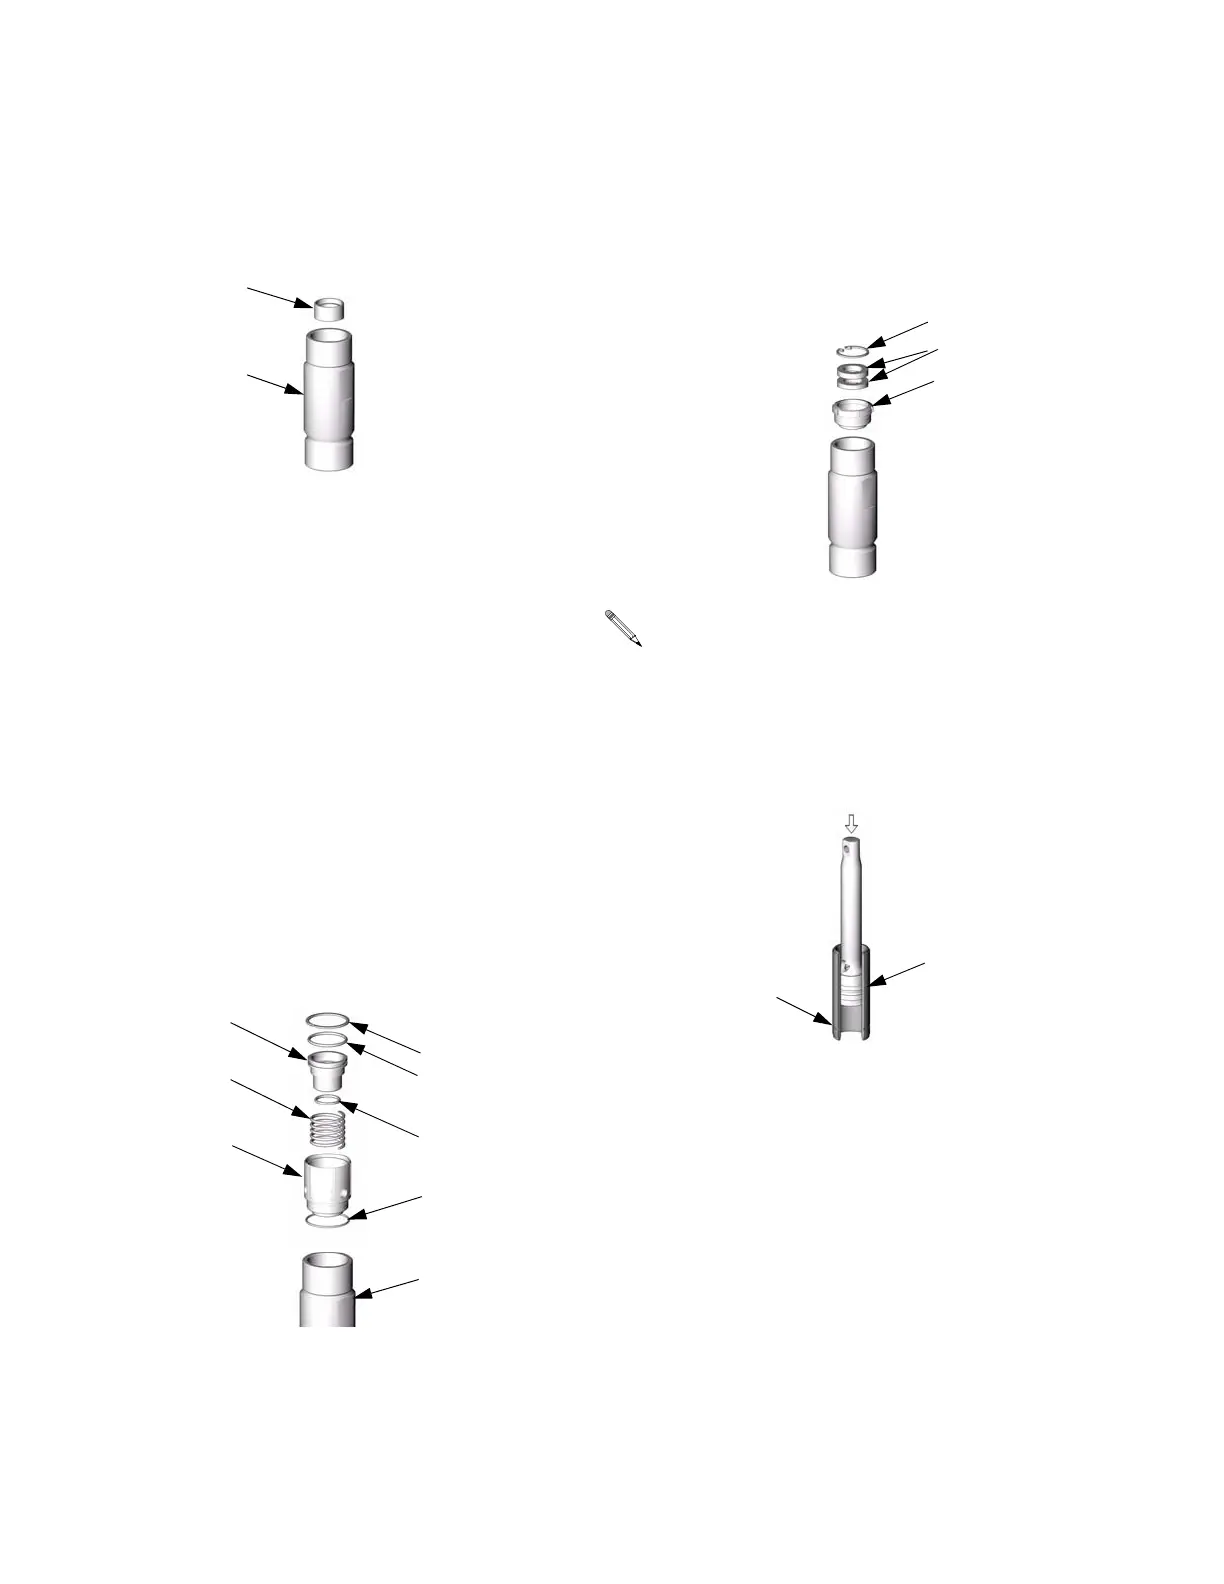
4. Insert bushing (17*). Press bushing in place to
seat u-cup.
5. Assemble packing nut as follows:
a. Component A (ISO) Pump:
• Install spring (25) in wet-cup (19).
• Install o-rings (24*, 26*) on piston
(28) and insert piston in wet-cup.
• Compress piston (28) into wet-cup,
using a 1/2 in. (13 mm) x 2.5 in. (64
mm) bolt with washers and nut.
• Install retaining ring (22*) in groove.
• Remove bolt, washers, and nut.
• Install o-ring (27*) on wet-cup.
• Install packing nut/wet-cup assem-
bly handtight. Screw assembly all
the way down, so external o-ring
(27) seats on top of cylinder (2).
TI2669B
*17
2
TI3735b
19
25
28
24*
22*
26*
27*
2
b. Component B (Resin) Pump: Install
felt washers (21*) into packing nut (19).
Install retaining ring (22*). Install pack-
ing nut handtight.
Groove (H) in sleeve outer surface must be
toward bottom.
6. Lubricate piston u-cup and sleeve top edge.
Push piston assembly into top of sleeve (4).
Drive in with non-sparking hammer.
TI2701A
22*
21*
19
TI2673A
H
4
 Loading...


