309205 17
Service
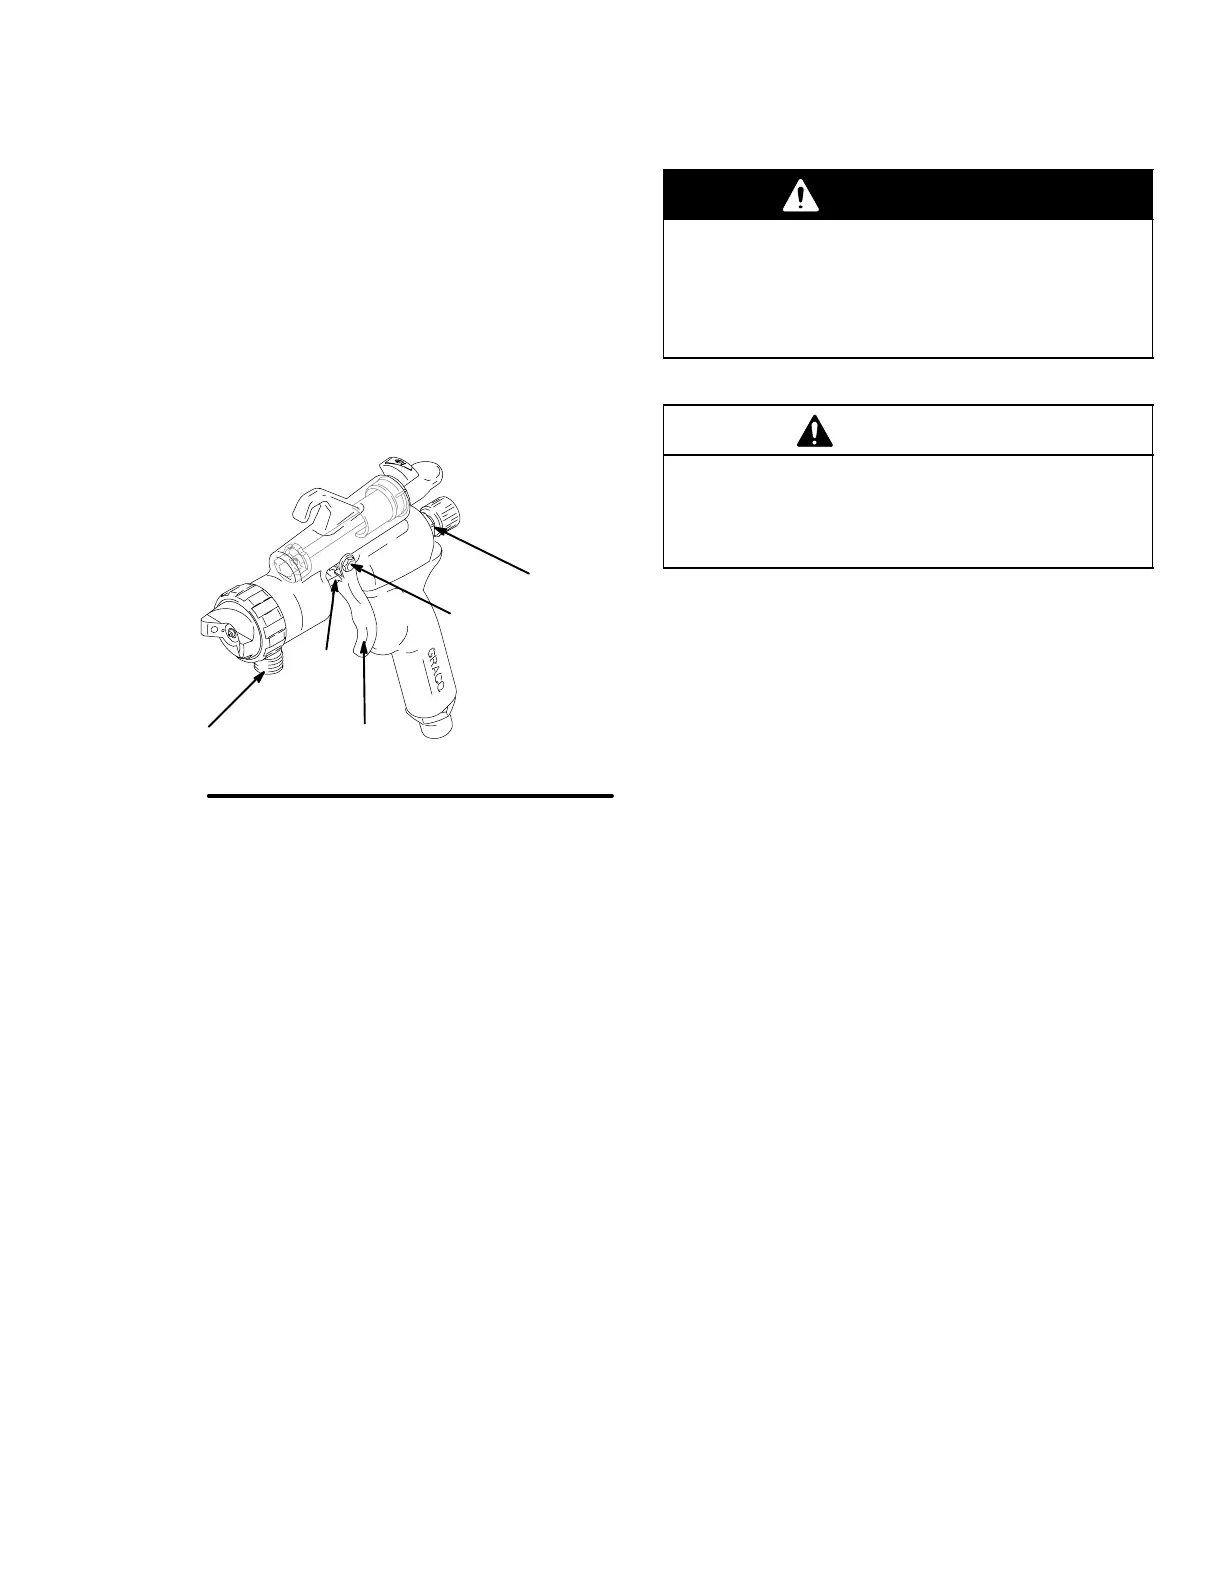
Lubricating the Spray Gun
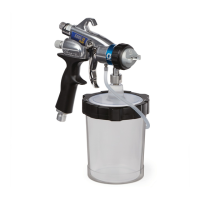
After cleaning or servicing gun, lubricate parts
indicated in Fig. 23 with silicone-free spray gun
lubricant or similar material.
D All threaded areas (A)
D Trigger screws (B)
D Trigger axle (C)
D Fluid needle assembly (D) (see #16, Parts, page
22)
Fig. 23
B
A
TI0883
C
A
D
Replacing the Needle
WARNING
PRESSURIZED EQUIPMENT HAZARD
To reduce the risk of a serious injury, follow the
Pressure Relief Procedure on page 11 before
checking or repairing any part of the gun or sys-
tem.
1. Relieve the pressure.
CAUTION
Trigger the gun whenever you tighten or remove the
nozzle. This keeps the needle seat away from the
nozzle seating surface and prevents the seat from
being scratched.
2. Remove the fluid adjustment knob (21) and fluid
spring (23).
3. Pull the fluid needle assembly (16) out the back of
the gun.
4. Check the fluid needle (16) for damage or exces-
sive wear. Replace needle if necessary.
5. Insert the fluid needle assembly (16) into the back
of the gun.
6. Tighten the packing screw (8). The needle (16)
must move freely.
NOTE: To ensure proper alignment of the parts, follow
the next steps in the order they are given.
7. Lubricate and install the fluid needle (16).
8. Lubricate the fluid adjustment knob threads (21),
and install the fluid spring (23) and adjustment
knob.
9. Trigger the gun to test the needle movement. If the
needle does not return after the trigger is released
or is slow in returning, loosen the packing screw
(8) slightly until the needle returns freely.
10. Make sure the gun fluid packings are sealing
properly by spraying solvent at low pressure
before fully pressurizing the gun with the fluid to be
sprayed.
If the fluid packings leak, tighten the packing screw
(8) slightly and retest until the packings and needle
seal completely.
 Loading...