8 309205
Setup
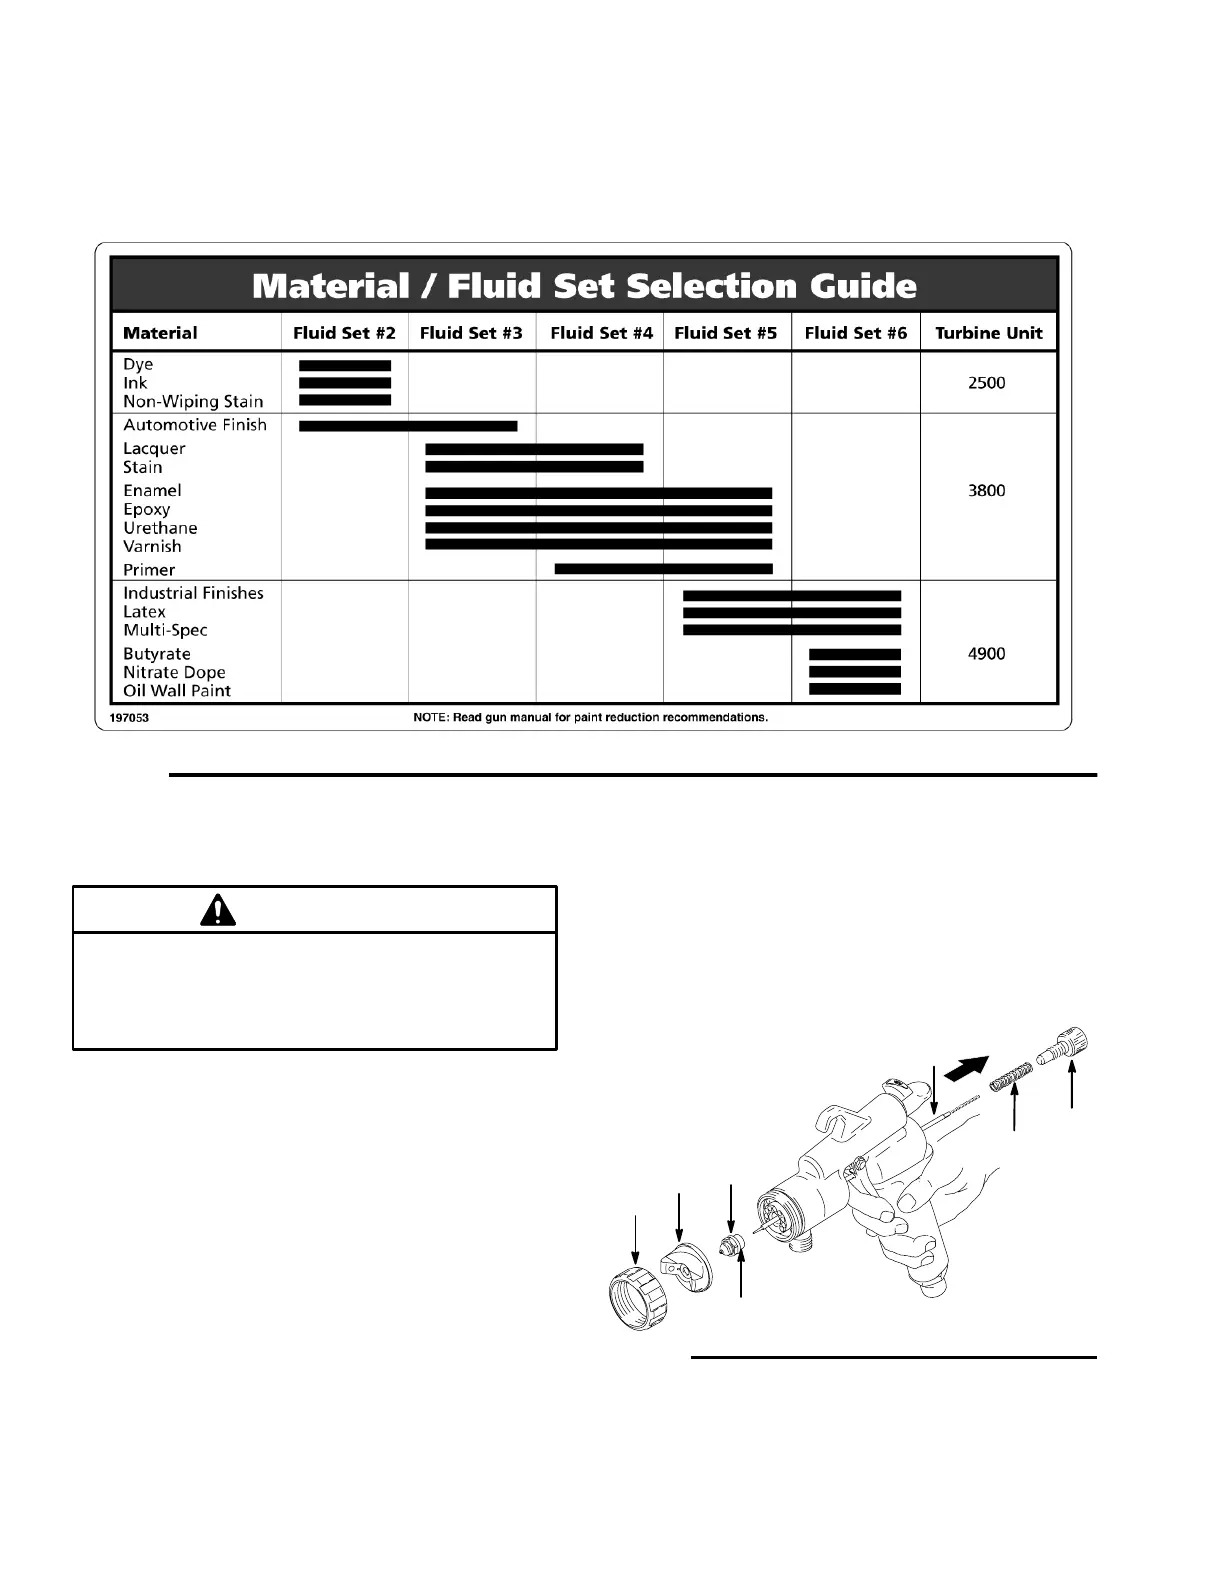
Contractor Fluid Set Chart
Use this chart to determine Fluid Set for specific contractor application. Fig. 10.
Fig. 10
Installing the Fluid Set
CAUTION
Trigger the gun whenever you tighten or remove
the nozzle. This keeps the needle seat away from
the nozzle seating surface and prevents the seat
from being scratched.
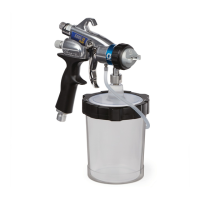
Complete spray guns are available with a #3 fluid set.
To install other fluid sets, perform the following steps.
See Fig. 11.
1. Use your hand to loosen and remove the air cap
retaining ring (13) and the air cap housing (15).
2. While triggering the gun, use your hand to loosen
and remove the nozzle (14a) from the gun.
3. Use your hand to loosen and remove the fluid
knob assembly (21) and compression spring (23)
from back of gun and remove the old needle.
4. Insert the needle assembly (14b) into the back of
the gun. Replace the nozzle (14a) air cap housing
(15) and air cap retaining ring and tighten by hand.
NOTE: O–ring (4) should always be on the nozzle.
Fig. 11
13
15
14a
21
23
14b
4
TI0816
 Loading...