3A3951A
EN
Repair Kit Instructions
Repair Kits for
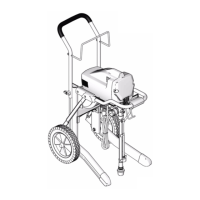
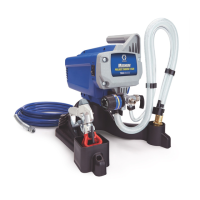
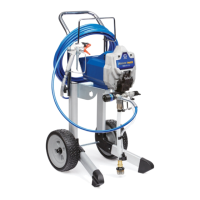
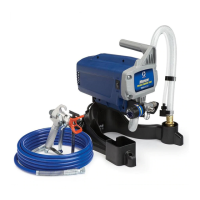
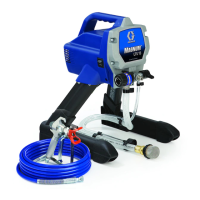
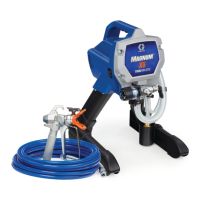
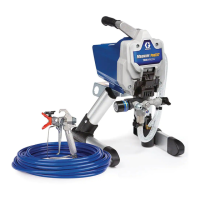
Magnum ProX & GX Sprayers
Use these instructions when repairing the ProX or GX sprayers.
Contents
IMPORTANT SAFETY INSTRUCTIONS
Read all warnings and instructions in the repair kit instructions and in the Owners/Operation manual for the
sprayer.
Section Description Kit #
1 Drive
Front Cover Replacement page 3 17J866
Motor Replacement page 3 17F756, 17F757, 17F758,
17K684, 17L083
Fan Replacement page 4 16X980, 287770
Gear & Yoke Replacement page 5 17J863, 17J864, 17J869
2 Control Control Board Replacement page 7 17J867, 17J885
3 Pump
Pressure Control Replacement page 9 17J881, 17J927
Prime/Spray Valve and Knob Replacement page 10 17J925, 235014
Pump Outlet Valve Replacement page 11 17J880
Pump Inlet Valve Replacement page 12 17J876, 17J877, 17J924
PushPrime Button Replacement page 12 17J878
4 Accessories Magnum ProX Lacquer Conversion page 13 17J873, 17L305
Refer to the illustrations in this document and your
Owners/Operation manual for additional parts
information, wiring diagrams, and any additional
assembly torques that you may need.
Pressure Relief Procedure
Before servicing the sprayer, pump pressure must be
relieved.
1. Turn ON/OFF switch to the OFF position.
2. Engage the trigger lock. Always engage the trigger
lock when sprayer is stopped to prevent the gun
from being triggered accidentally.
3. Turn pressure control to lowest setting.
4. Put drain tube into a pail and place Prime/Spray
valve in PRIME position (drain) to relieve pressure.
5. Hold the gun firmly to a pail. Point gun into pail. Dis-
engage the trigger lock and trigger the gun to
relieve pressure.
6. Engage the trigger lock.
7. If you suspect the spray tip or hose is clogged or
that pressure has not been fully relieved:
a. VERY SLOWLY loosen the spray tip guard
retaining nut or the hose end coupling to relieve
pressure gradually.
b. Loosen the nut or coupling completely.
c. Clear airless hose or spray tip obstruction.
SKIN INJECTION HAZARD: This sprayer builds up
an internal pressure of 3000 psi (20.7 MPa, 207
bar) during use. This equipment stays pressurized
until pressure is manually relieved. Follow this
Pressure Relief Procedure whenever you stop
spraying and before cleaning, checking, servicing,
or transporting equipment to prevent serious injury.