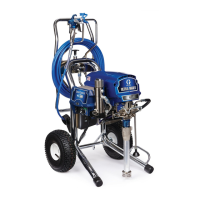
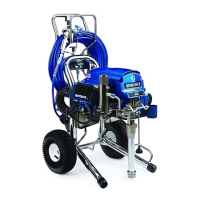
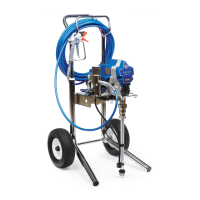
Pressure
Control Repair
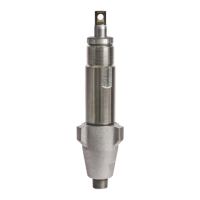
Pressure Control Transducer Removal
1. Relieve
pressure.
2.
Fig. 16. Remove five screws (28) and cover (82).
3.
Disconnect lead (E) from motor control
board (104).
4.
Remove strain relief bushing (1
16).
5.
Remove pressure control transducer (31) and
packing o-ring (59) from control housing plate (89).
Pressure Control Transducer Installation
1. Relieve
pressure.
2.
Fig. 16. Install packing o-ring (59) and pressure
control transducer (31) in control housing
plate (89). T
orque to 30–35 ft-lb.
3.
Install strain relief bushing (1
16).
4.
Connect lead (E) to motor control board (104).
5.
Install cover (82) with five screws (28).
Pressure Adjust Potentiometer Removal
1. Relieve
pressure.
2.
Fig. 16. Remove five screws (28) and cover (82).
3.
Disconnect lead (D) from motor control
board (104).
4.
Remove potentiometer knob (81), sealing shaft nut
(106) and pressure adjust potentiometer (105).
Pressure Adjust Potentiometer Installation
1. Relieve
pressure.
2.
Fig. 16. Install pressure adjust potentiometer
(105), sealing shaft nut (106) and potentiometer
knob (81).
3.
Connect lead (D) to motor control board (104).
4.
Install cover (82) with five screws (28).
 Loading...