Setup
Grounding
WARNING
Improper installation or alteration of the grounding
plug will result in a risk of electric shock, fire or
explosion that could cause serious injury or death.
1.
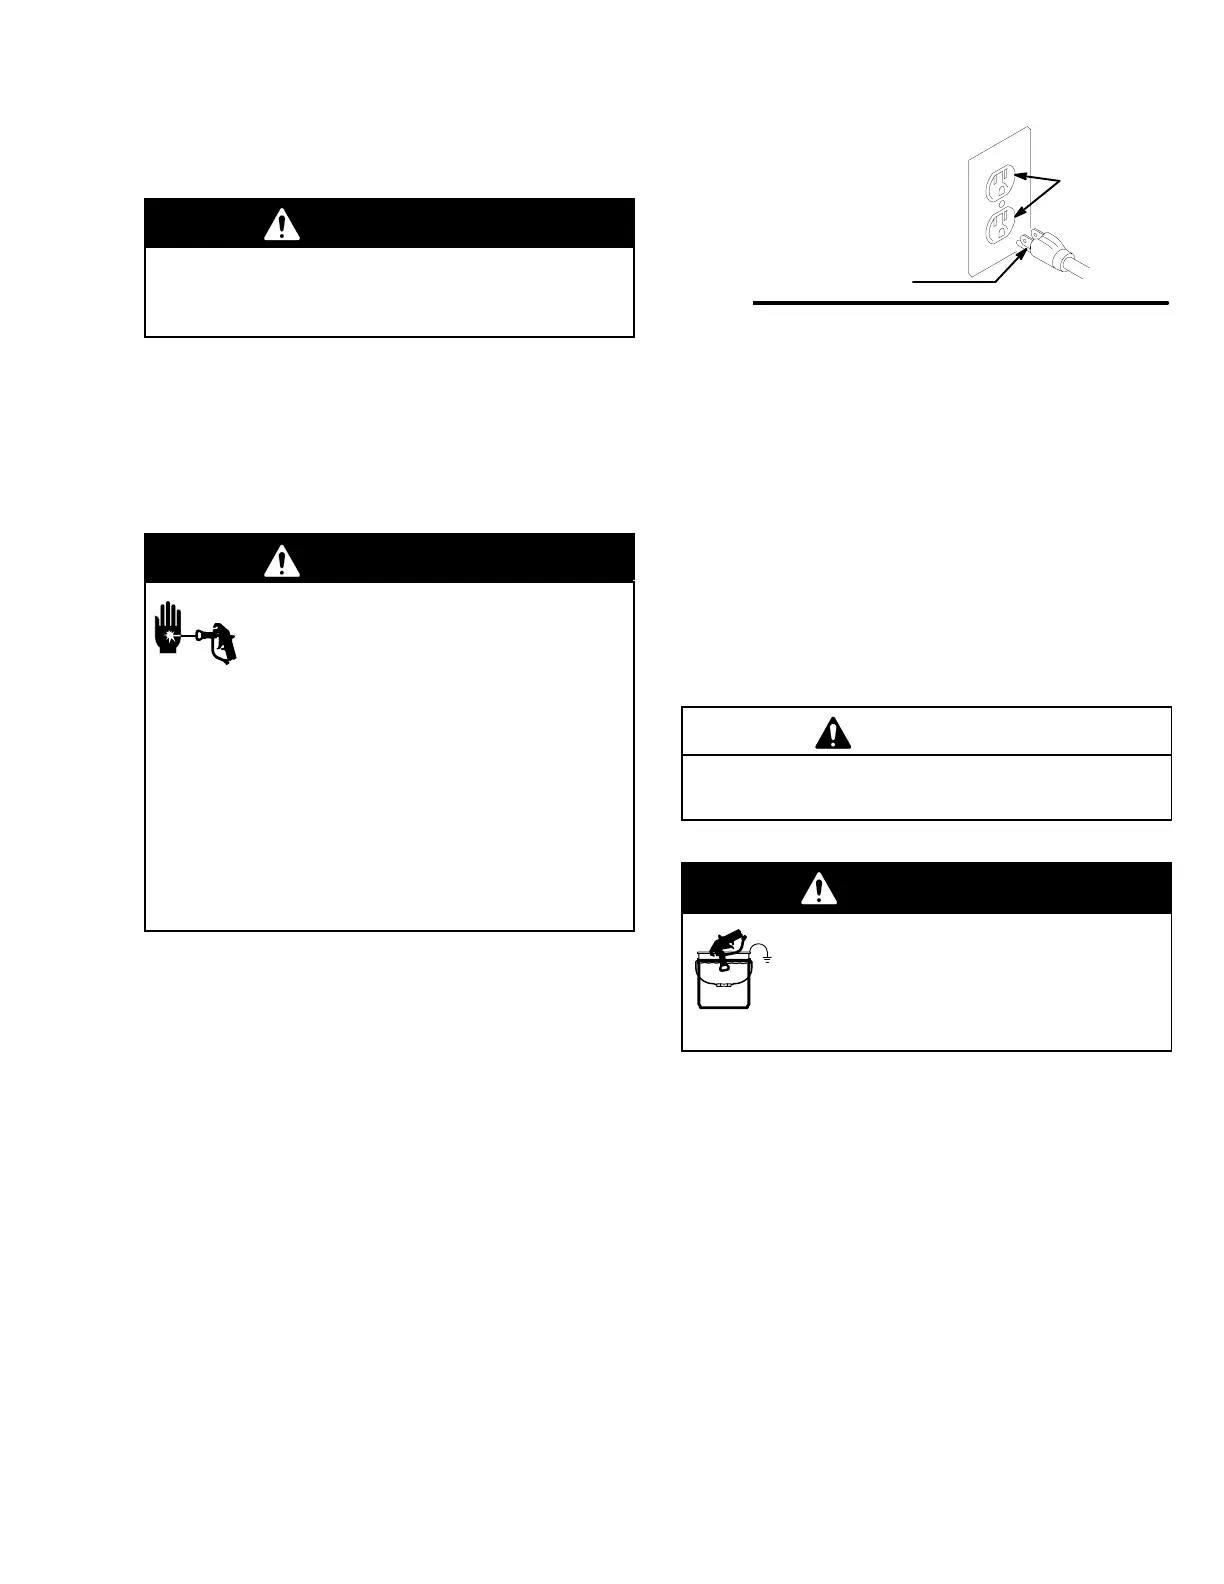
This equipment requires a 120 V
AC, 60 Hz, 15A
circuit with a grounding receptacle. See Fig. 3.
Fig. 3
Grounding
Prong
Grounded
Outlets
2. Do
not alter ground prong or use adapter
.
3.
A 12 A
WG, 3 wires with grounding prong, 300 ft
(90 m) extension cord may be used. Long lengths
reduce sprayer performance.
Startup
WARNING
INJECTION HAZARD
The system pressure must be manually
relieved to prevent the system from
starting or spraying accidentally
. Fluid
under high pressure can be injected through the
skin and cause serious injury
. T
o reduce the risk of
an injury from injection, splashing fluid, or moving
parts, follow the
Pressure Relief Procedure
whenever you:
are instructed to relieve the pressure,
stop spraying,
check or service any of the system equipment,
or install or clean the spray tip.
Pressure Relief Procedure
1.
Engage gun safety latch.
2.
T
urn ON/OFF switch to OFF
.
3.
Unplug power supply cord.
4.
Disengage gun safety latch. Hold metal part of gun
firmly to grounded metal pail. Trigger gun to relieve
pressure.
5.
Engage gun safety latch.
6.
Open pressure drain valve. Leave pressure drain
valve open until ready to spray again.
If you suspect that the spray tip or hose is completely
clogged, or that pressure has not been fully relieved
after following the steps above
, VER
Y SLOWL
Y loos
-
en tip guard retaining nut or hose end coupling to
relieve pressure gradually
, then loosen completely
.
Now clear tip or hose obstruction.
Use this procedure each time you start sprayer to en
-
sure sprayer is ready to operate safely
.
Startup Procedure
NOTE: Flush
sprayer if first-time startup.
See page 10.
NOTE:
See Fig. 4 except where noted.
1.
Put suction tube (39) into paint container
.
2. T
urn pressure adjusting knob (J) fully counter
-
clockwise to zero pressure.
3.
Plug in sprayer power cord.
CAUTION
Do not run pump without fluid in it for more than 30
seconds to avoid damaging pump packings.
WARNING
FIRE AND EXPLOSION HAZARD
T
o reduce risk of static sparking and
splashing when priming or flushing
system, hold metal part of gun firmly to
side of grounded metal pail before triggering gun.
4.
Prime pump
.
a.
Open (handle down) pressure drain valve (G).
If no secondary hose is installed, be sure sec
-
ondary outlet cap is installed. T
urn ON/OFF
(L) switch ON. Slowly turn pressure adjusting
knob clockwise until sprayer starts. When fluid
comes from drain hose, close pressure drain
valve (handle forward).
b.
Fig. 5. Disengage gun safety latch. Following
warning, above, trigger gun until all air is
forced out of system and paint flows freely
from gun.
c.
Release trigger
. Engage gun safety latch.
5.
Check all fluid connections for leaks
.
Relieve fluid
pressure before tightening connections.
6.
Fig. 5. Engage gun safety latch. Install spray tip.
Install tip guard. See manual 308–644, supplied.
 Loading...