21
Click
Click the [Cut...] button. The registration marks are
read automatically. Do not touch the printed sheet
during the reading operation, as this will affect the
accuracy.
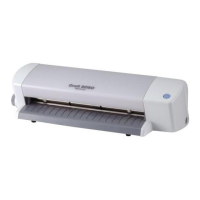
Standby switch
LED lamp
Press the standby switch on
your Craft ROBO and confirm
that the LED lamp is lit.
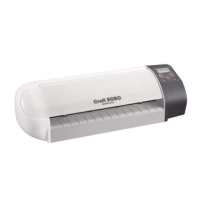
Align the printed sheet with the
guide line, and then turn the
feed knob to feed it so that it is
aligned with the top edge of
the black cutting mat.
(For details on how to load
media, please refer to the
Quick Start Instruction Sheet).
Make sure that the blade
adjustment cap is [yellow], and
then mount the cutter in the
Craft ROBO.
(For details on how to replace
the cap, please refer to the
Quick Start Instruction Sheet).
Click the [Next] button to
proceed to the “Design
Orientation” step. Click the
[Next] button again to proceed
to the “Media loading” step.
Close the top cover.
Click the [Next] button to
proceed to the “Alignment”
step. Click the [Next] button
again to proceed to the “Start
cutting” step.
Cutter
33
Make preparations for cutting
1
Load the printed sheet in your Craft ROBO and mount the cutter
2
Perform Auto Registration
Mark Reading
HINT
If a “Registration Mark Reading Failure”
error message is displayed, please refer
to the Craft ROBO User’s Manual (CD-
ROM).
Load the printed
sheet so that this
registration mark will
be inserted at the
left of the Craft
ROBO when you are
facing the Craft
ROBO.
HINT
HINT
Cutter plunger
Blade adjustment cap
Blue : For thin film
Yellow : For thick film, thin paper
Red : For thick paper such as a
postcard
Cutter blade
Media Trial Kit User Guide
2
 Loading...