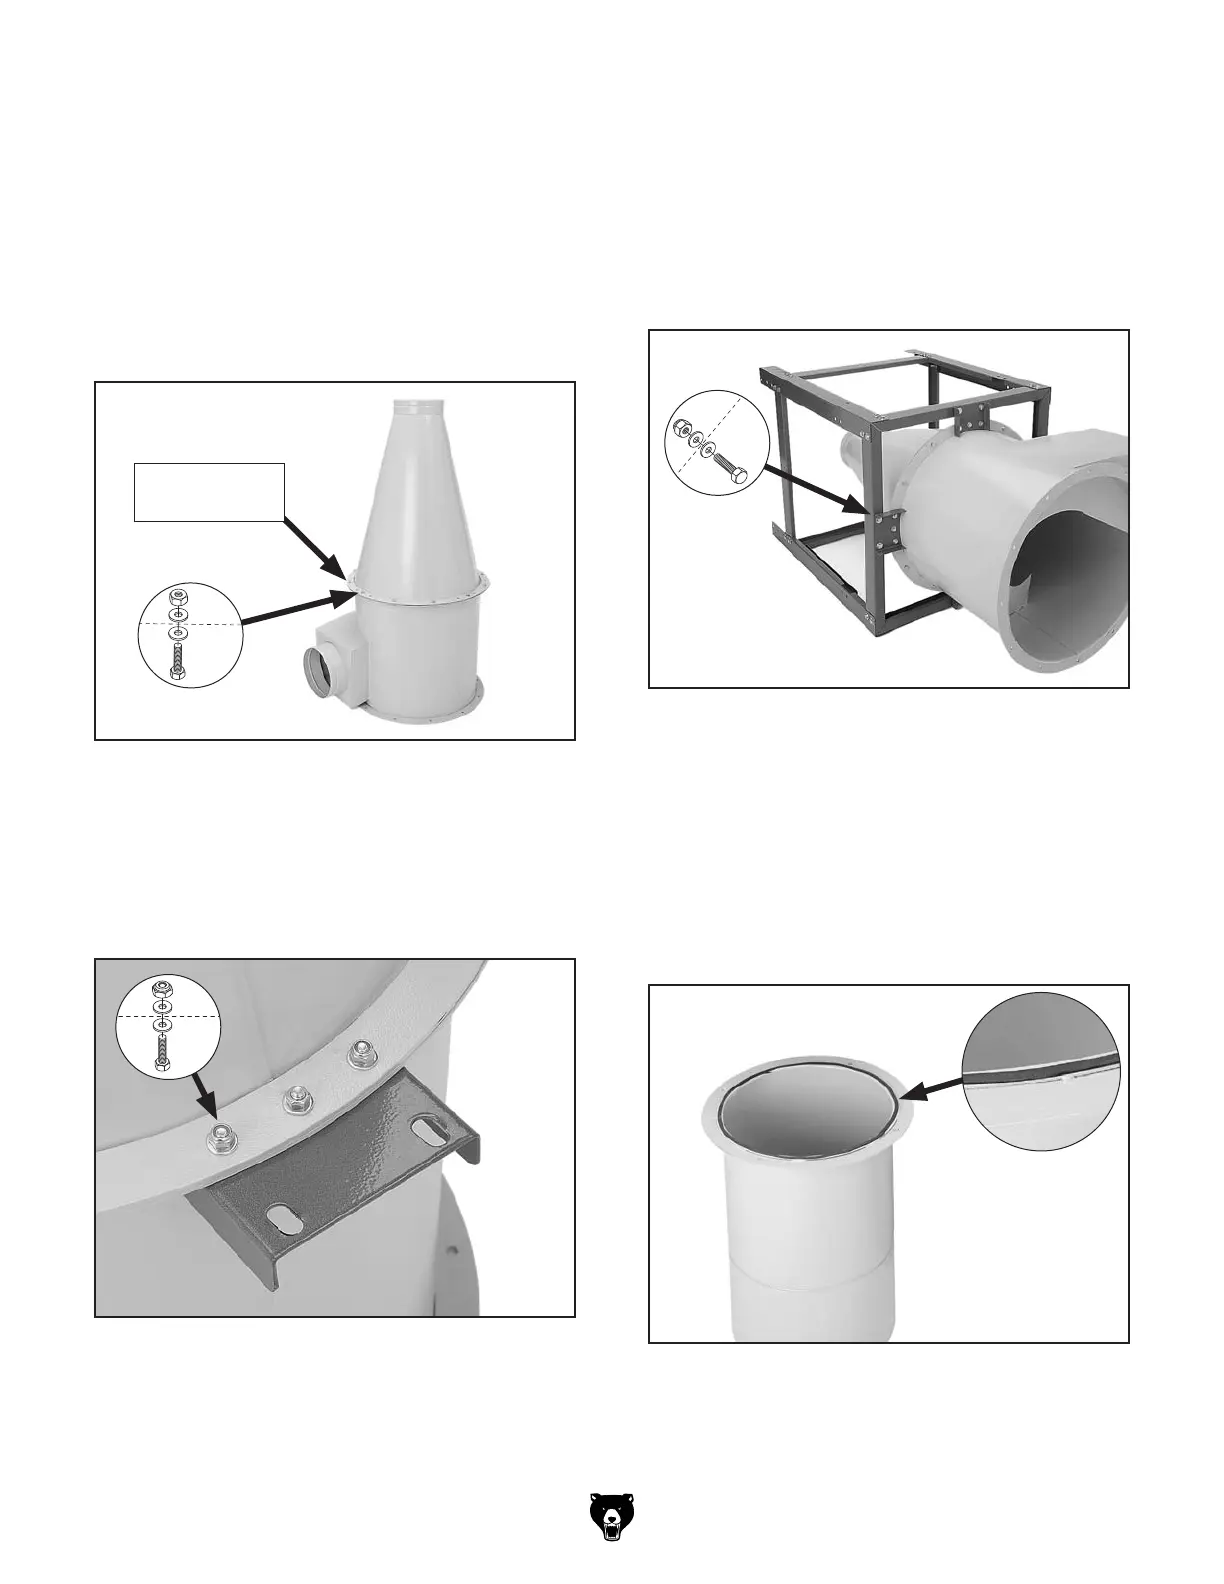
4.
Figure 13
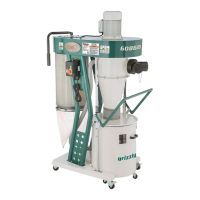
Note: At the places where you see three
holes close together as shown in Figure 14,
only use the center hole for this step. The two
outside holes will be used in the next step.
5.
Figure 14
Figure 13.
6.
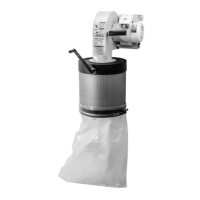
7.
Figure 15
8.
Figure 15
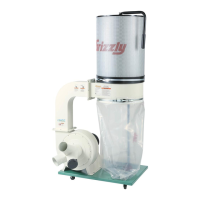
9.
Figure 16
Figure 15.
Figure 16.
Figure 14.