5 OM-SSB-3E/5E/10E & (2)SSB-3E/5E/10E Domestic
4. Close the door. When the READY indicator is lit take one of the following
steps:
If you want to steam the food for a certain length of time push the TIMED
button and set the desired time with the TIMER knob. The timer will
automatically run the steamer for the set time and then STOP. A beeper
will sound. Push CANCEL to stop beeping.
If you want to steam continuously push the MANUAL button. The unit will
continue steaming until stopped.
Push STOP to stop producing steam.
5. To remove pans from cavity open the door. Remove the pans from the
steamer using hot pads or oven mitts to protect your hands from the hot
pans.
6. To shut off the unit press the ON/OFF rocker switch to OFF, (FL
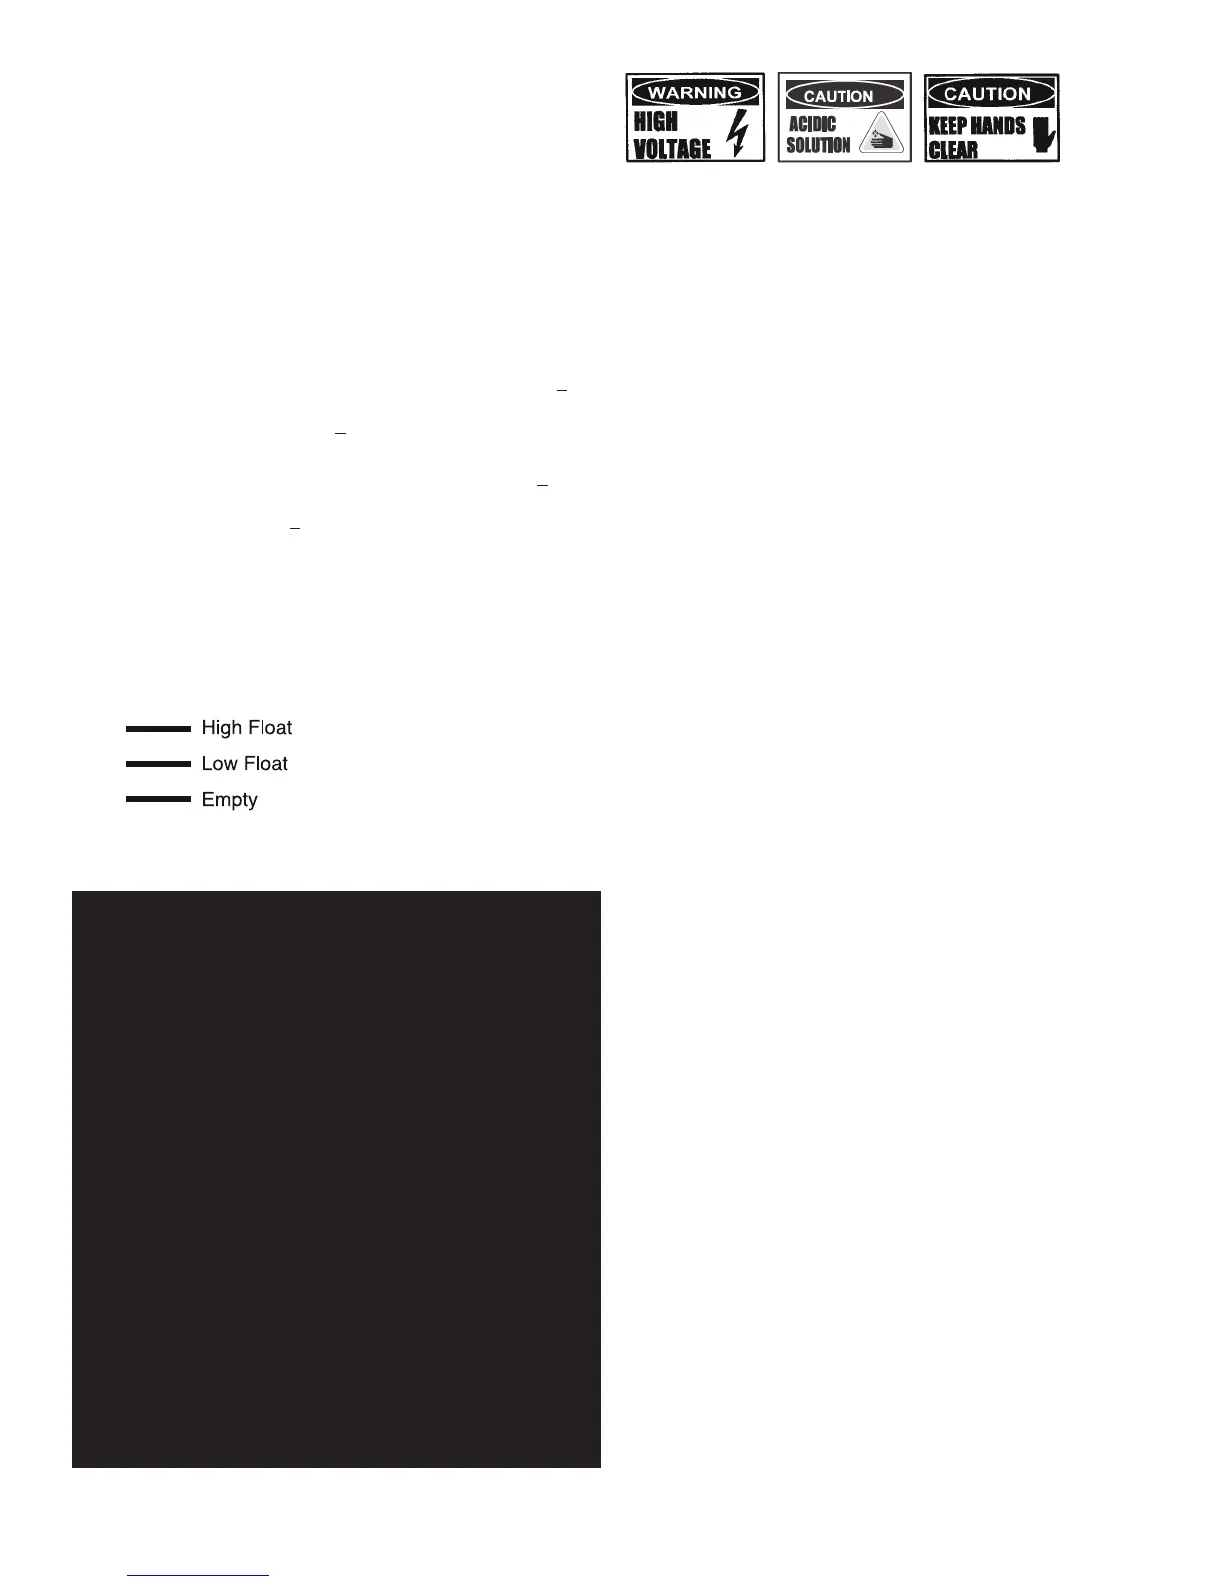
=
) will
appear in the timer display. The steam generating reservoir will begin
draining, displaying (Fi=) and (Fi
=
) as it drains, and refill to the high float
twice and finally drain completely and turn off the unit.
NOTE: When filling or draining the steam generating reservoir (
=
) will be
displayed indicating the water level in the reservoir. (_) reservoir is empty,
(=) low float is satisfied, (
=
) high float is satisfied.
NOTE: If a large amount of shrimp is cooked in the SmartSteam100
foaming will occur because the steam lid actually gets so hot that the
shrimp will cook on its surface and the shrimp proteins in the dripping will
foam on the surface of the steam lid.
* To avoid this use a catch pan to catch shrimp drippings and proteins to
prevent foaming when cooking a large amount of shrimp.
CLEANING
WARNING: DISCONNECT THE POWER SUPPLY BEFORE CLEANING THE OUTSIDE OF THE
STEAMER.
KEEP WATER AND CLEANING SOLUTIONS OUT OF CONTROLS AND
ELECTRICAL COMPONENTS. NEVER HOSE OR STEAM CLEAN ANY PART OF
THE UNIT.
AVOID CONTACT WITH ANY CLEANERS, DELIMING AGENT OR DEGREASER
AS RECOMMENDED BY THE SUPPLIER. MANY ARE HARMFUL. READ THE
WARNINGS AND FOLLOW THE DIRECTIONS!
EVEN WHEN THE UNIT HAS BEEN SHUT OFF, DON’T PUT HANDS OR TOOLS
INTO THE COOKING CHAMBER UNTIL THE FAN HAS STOPPED TURNING.
DON’T OPERATE THE UNIT UNLESS THE REMOVABLE PARTITION HAS BEEN
PUT BACK IN ITS PROPER LOCATION.
DON’T USE ANY CLEANING AGENT THAT CONTAINS ANY SULFAMIC AGENT
OR ANY CHLORIDE,INCLUDING HYDROCHLORIC ACID (HCL). TO CHECK FOR
CHLORIDE CONTENT SEE ANY MATERIAL SAFETY DATA SHEETS PROVIDED
BY THE CLEANING AGENT MANUFACTURER.
IMPORTANT
: DO NOT USE ANY METAL MATERIAL (SUCH AS METAL SPONGES) OR METAL
IMPLEMENTS (SUCH AS A SPOON, SCRAPER OR WIRE BRUSH) THAT
MIGHT SCRATCH ANY STAINLESS STEEL SURFACE. SCRATCHES MAKE THE
SURFACE HARD TO CLEAN AND PROVIDE PLACES FOR BACTERIA TO GROW.
DO NOT USE STEEL WOOL, WHICH MAY LEAVE PARTICLES EMBEDDED IN
THE SURFACE, WHICH COULD EVENTUALLY CAUSE CORROSION AND
PITTING.
WARNING: ALLOW THE STEAMER TO COOL COMPLETELY BEFORE CLEANING. HOT
SURFACES CAN CAUSE SEVERE BURNS.
WARNING: FAILURE TO CLEAN THE STEAMER AS SPECIFIED COULD NEGATIVELY
IMPACT THE PERFORMANCE OF THE STEAMER.
To keep your SmartSteam100 Boilerless Steamer in proper working condition, use
the following procedure to clean the unit. This regular cleaning will reduce the
effort required to clean the steam generator and cavity.
A. Suggested Supplies
1. Mild detergent
2. Stainless steel exterior cleaner Groen Spray DeGreaser (Part Number
140830WS)
3. Cloth or sponge
4. Brush with soft bristles
5. Spray bottle
6. Measuring cup
7. Nylon pad
8. Towels
9. Plastic disposable gloves
10. Funnel
B. Procedure
1. Exterior Cleaning
a. Prepare a warm solution of the mild detergent as instructed by the
supplier. Wet a cloth with this solution and wring it out. Use the moist
cloth to clean the outside of the unit. Do not allow freely running liquid
to touch the controls, the control panel, any electrical part, or any
louver on the rear panels.
b. To remove material which may be stuck to the unit, use a fiber brush
or a plastic or rubber scraper with a detergent solution.
c. Stainless steel surfaces may be polished with a recognized stainless
steel cleaner.
2. Interior Cleaning
Daily cleaning must be done in order to enhance the performance and
prolong the life of your SmartSteam Boilerless Steamer.
CLEANING INSTRUCTIONS:
STEP 1 - Press OFF switch to turn steamer OFF and open steamer door.
STEP 2 - CAUTION: allow the steamer to cool completely before cleaning.
STEP 3 - Remove steam lid by grasping the two tabs located on the lid
front and sliding pan forward.
STEP 4 - Remove left pan rack by lifting rack up and pulling away from
cavity wall.
STEP 5 - Remove right fan shroud and rack assembly by lifting rack up
and pulling away from cavity wall.
STEP 6 - Clean steam lid, left pan rack and rack/ shroud assembly to
remove food soils. These three parts may be cleaned in a dishwasher.
STEP 7 -Use a mild detergent to wipe down the entire steamer cavity
to remove food and scale particles. Carefully clean float probes if food
residue or loose scale is present. A thin layer of tightly bound scale is
normal and will not affect steamer performance. If scale is excessive, then
refer to deliming instructions below.
STEP 8 - Remove drain strainer and clean thoroughly to remove any build-
up of debris.
STEP 9 - Replace pan racks and steam lid. Steamer is now cleaned and
ready to use.
 Loading...