14
13
Fig 5.4 Installation environment
Ø It is not allowed to install or operate the inverter in a sealed box.
Fig 5.5 Closed box
Ø It is recommended to install an awning over the inverter to extend its service life. The
distance requirements between the awning and the inverter are as follows:
5.2 Wall-mounted installation
5.2.1 Installing the wall-mounting bracket
For safety reason, avoid water pipes and power cables when drilling
holes.
Danger
Fix the mounting bracket as the figure shows. The screws should not be fully flush when
inserted. Instead, leave 2 to 4 mm of the screw exposed.
5.3 Installing the inverter
Note: Before installing the inverter, ensure that the wall-mounting bracket is securely
installed.
Follow the steps to install the inverter:
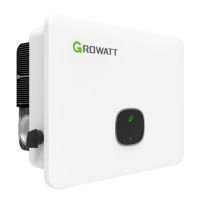
1. Place the inverter on the bracket and keep balance when moving the inverter.
2. To fix the inverter is to the wall, tighten the M5 safety locking screw on the left.
Fig 5.6 Awning
Fig 5.7 Dimensions of the wall-mounting bracket
Fig 5.8 Installing the wall-mounting bracket

 Loading...


