7
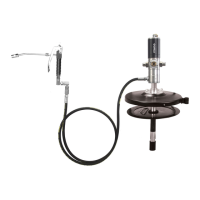
MAINTENANCE & REPAIR (Refer to Exploded View - Page 12)
Service Precautions
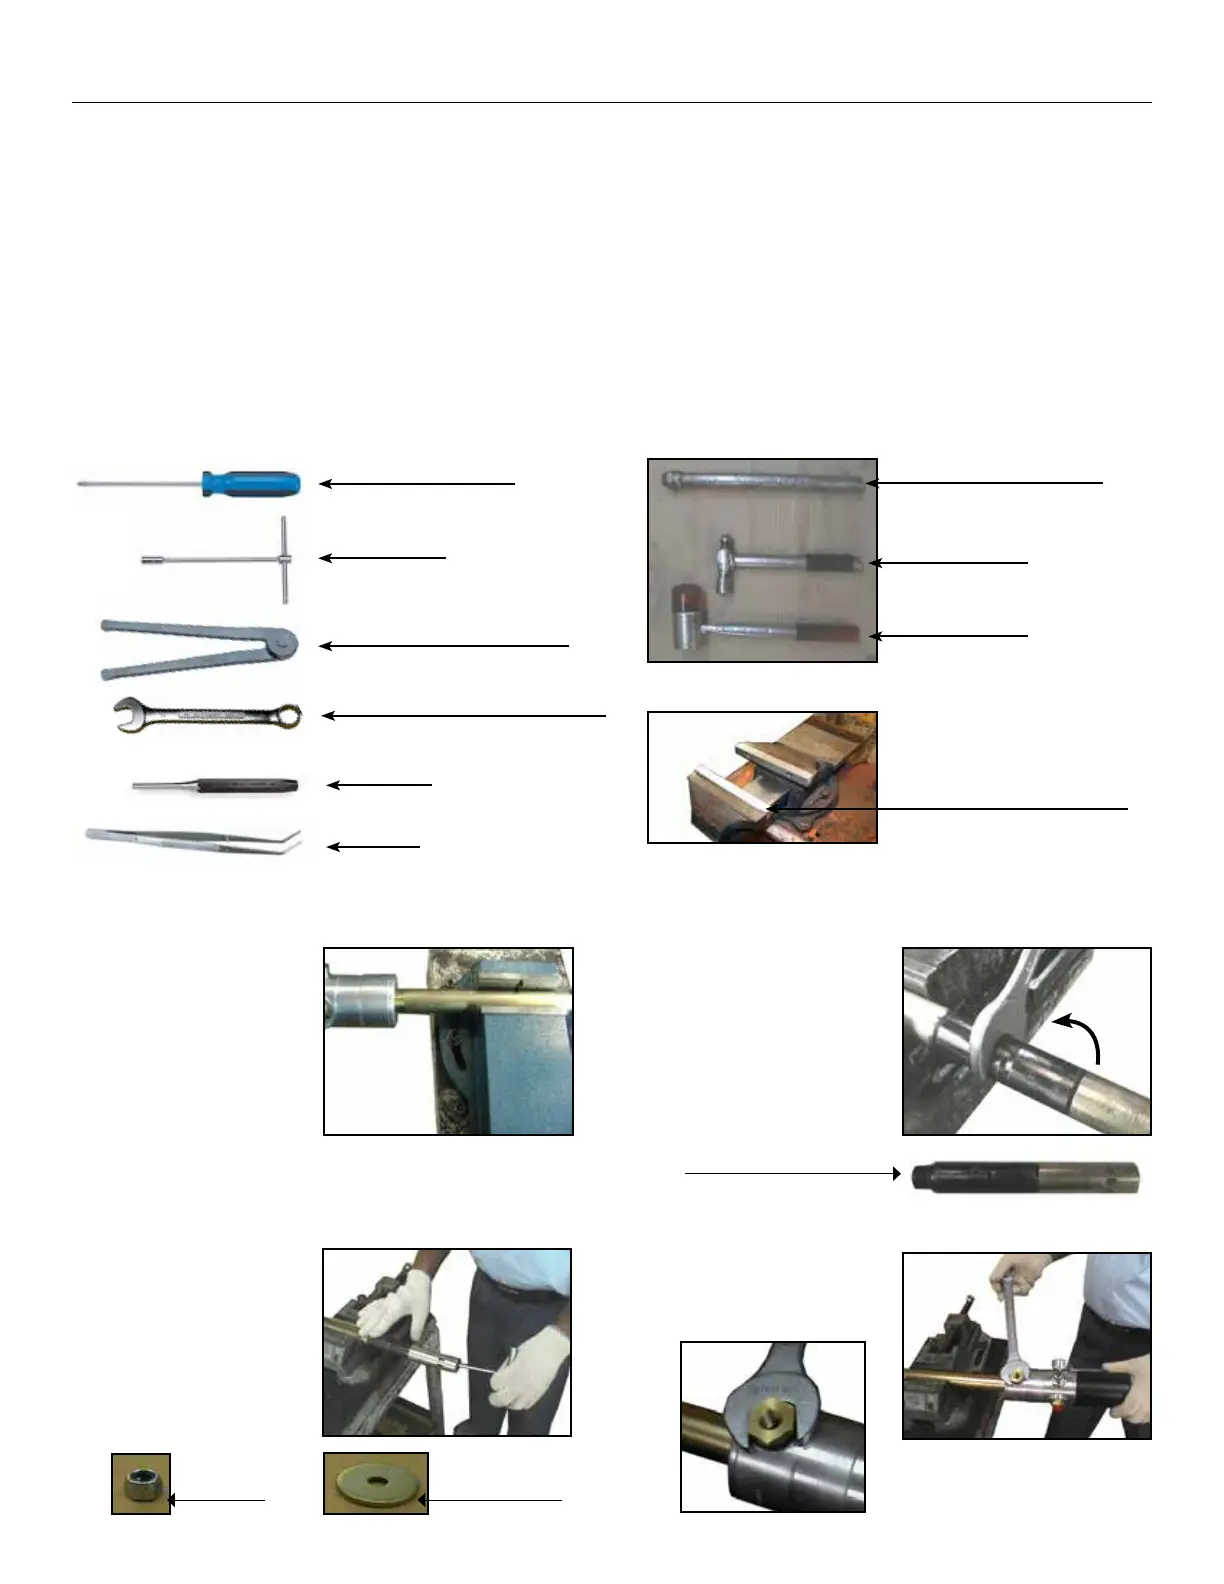
Recommended Tools
• Before performing any service operation, always shut off the air supply and release the pressure of the medium, i.e. let the grease out so
that the pressure decreases. When storing the pump assembly without the bucket, cover the Filter Tube (57) with Filter Cap (62).
• Be careful not to damage any parts when dismantling. While removing shafts which do not have key flats, use a Pipe wrench, Polygrip
wrench or the like. The easiest way to remove such a shaft is to grip it in a vice with aluminium or copper jaws, clamp the shaft in a
hand-drill chuck and then turn the chuck by hand.
• Be careful when fitting O-rings and seals. Always lubricate them with grease before fitting. They must never be threaded over sharp
edges when being fitted. Lubricate all moving parts with synthetic grease. Apply minor locking fluid on all threaded joints.
• When troubleshooting, be on a lookout for dirt in valves / ball seats, scratches in sealing surfaces & damaged O-rings / seals / gaskets.
Pumping Section Kit Replacement (Refer to Table 5 - Page 17)
1. Hold Barrel (63) in a soft-
jaw vice. Pull out Filter
Cap (62) by hand.
2. Unscrew Nyloc Nut (61)
using T-handle (size 10
mm) & also remove
Piston Washer (60) from
the end of Filter Tube
(57).
3. Unscrew Top Coupler (52)
using wrench (size 28
mm) on the given flats.
Remove lower coupler
assembly.
4. Remove the outlet adapter
(35) using wrench (size 25
mm).
Lower Coupler Assembly
Nyloc Nut Piston Washer
Combination Wrench
Size 10, 14, 21, 25, 28 & 32 mm
Adjustable Caliper Wrench
Ball Pein Hammer
Plastic Mallet
A Soft - Jaw vice
(Aluminum or Copper Jaws)
Pin Punch
2 mm
Tweezer
T- Handle
Size 10 mm
1/2” Male Threaded Pipe
Phillips Screwdriver