17
10. Commissioning
10.1 Checks before start-up
• Check that the rated voltage stated on the pump nameplate
corresponds to the local conditions!
• Check that all connections are secure and tighten,
if necessary.
• Check that the dosing head screws are tightened with the
specified torque and tighten, if necessary.
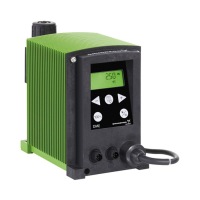
• Check that all electrical connections are correct.
10.2 Start-up
1. Open the suction and discharge isolating valves (15, 16),
if installed.
2. Open the deaeration valve (17), if installed, in the discharge
line, or relieve the pressure on the discharge side so that the
medium can run out without a counter-pressure.
3. Switch on the power supply.
4. Pumps with AR control unit only: Press the "Start/Stop" button
and keep it pressed.
– The pump switches to continuous operation.
5. Set the stroke-length adjustment knob to 100 %.
6. Leave the pump running until the dosed medium is free of air
bubbles.
7. Close the deaeration valve (17), if installed.
– The pump is now ready for operation.
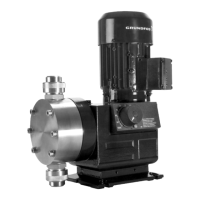
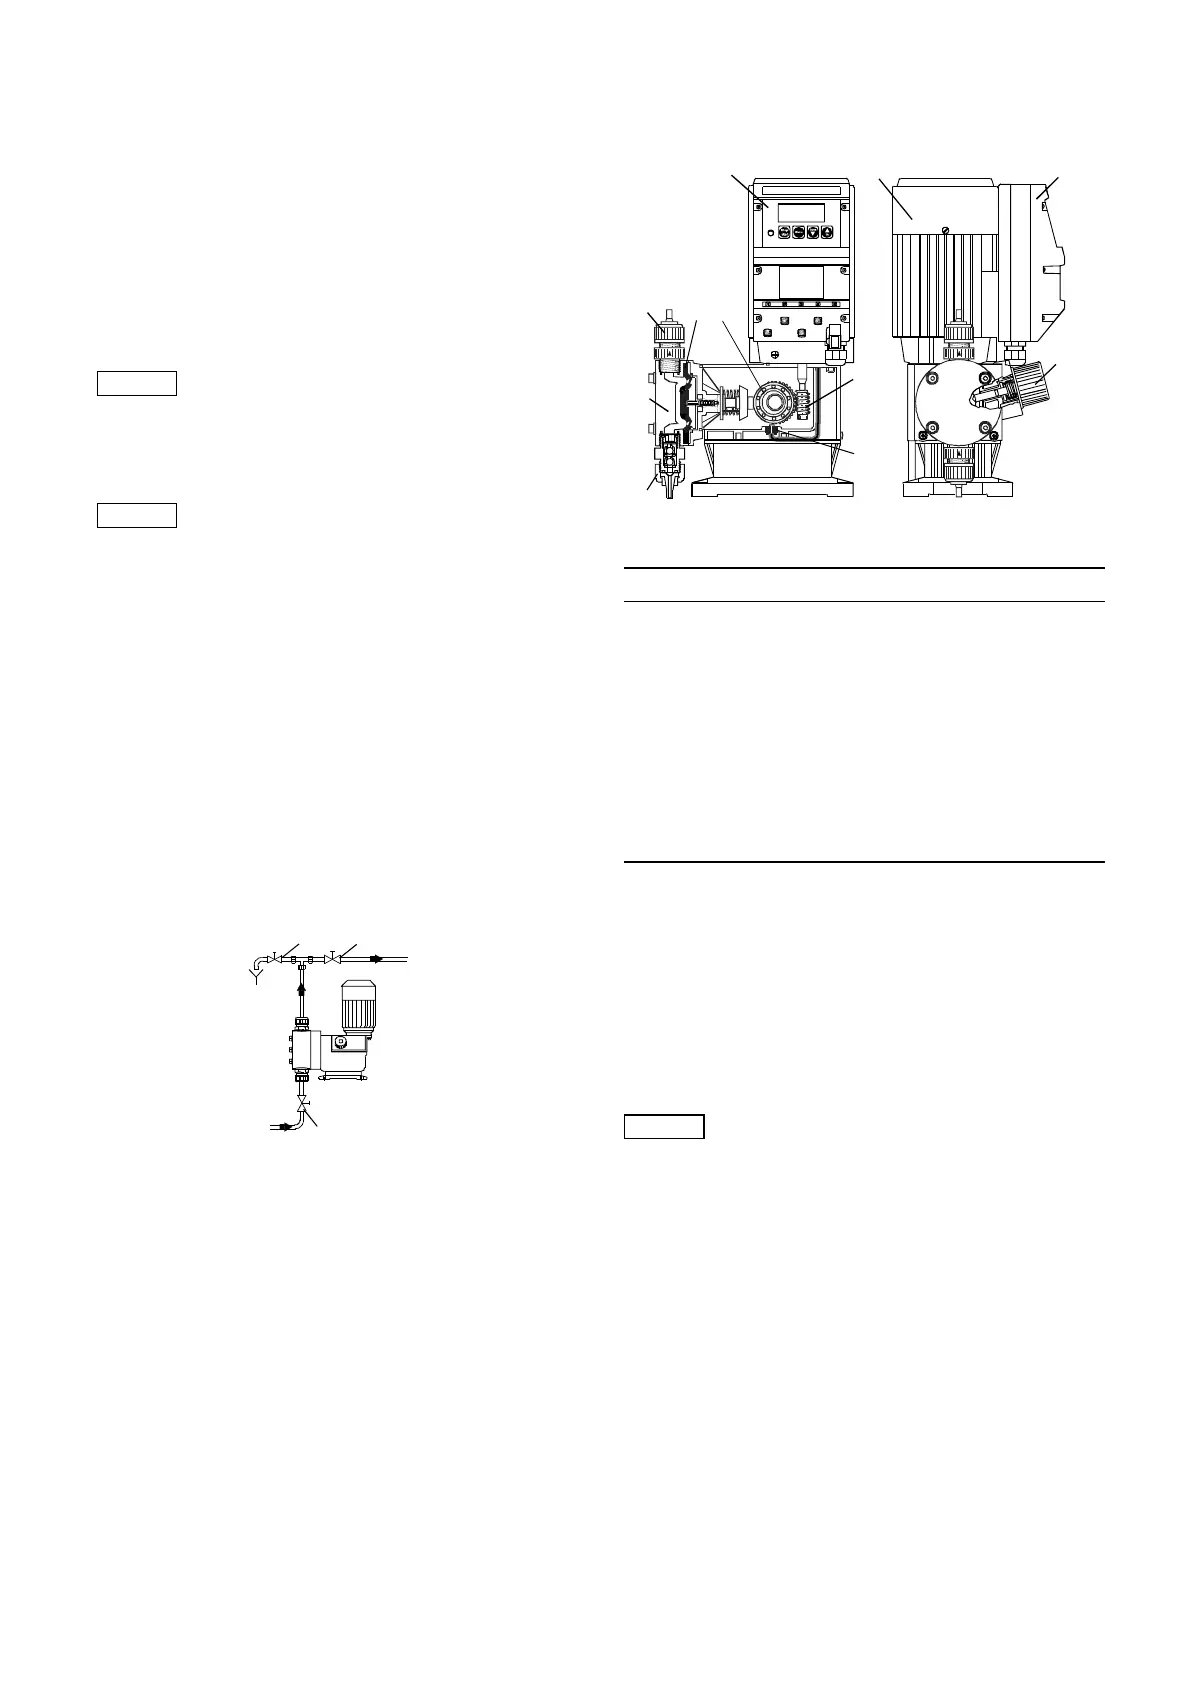
Fig. 15 Initial start-up
11. Operation
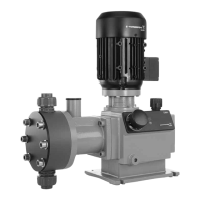
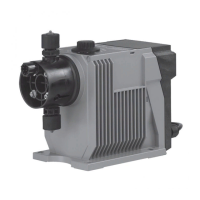
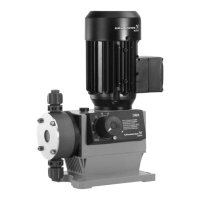
11.1 Description of the pump
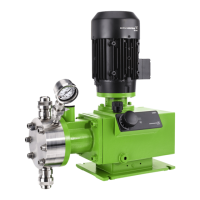
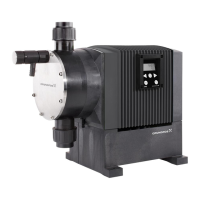
Fig. 16 DMX 221
Functional principle
• Reciprocating displacement pump with electric motor and
mechanical diaphragm control.
• The rotation of the motor is transformed into the reciprocating
movement of the dosing diaphragm by the eccentric and the
tappet.
• The dosing flow can be set by adjusting the stroke length of
the tappet.
11.2 Switching on/off
• To start the pump, switch on the power supply.
• To stop the pump, switch off the power supply.
Caution
Before start-up, open the venting cartridge
(pull cap approx. 5 mm).
For transport or cleaning, the venting cartridge
must be closed.
Caution
After initial start-up and after each time the
diaphragm is changed, tighten the dosing head
screws.
After approximately 6-10 operating hours or
two days, cross-tighten the dosing head screws
using a torque wrench.
Maximum torque: 6 Nm.
TM03 6307 4506
1617
15
TM03 6308 4506
Pos. Components
1 Motor
2 Gears
3Eccentric
4 Dosing diaphragm
5 Dosing head
6 Suction valve
7 Discharge valve
8 Stroke-length adjustment knob
9 AR control unit (optional)
10 Stroke sensor
Caution
Before switching on the pump, check that it is
installed correctly. Refer to sections
8. Installation and 10. Commissioning.
1
2
34
5
6
7
8
9
10
9
 Loading...