English (US)
14
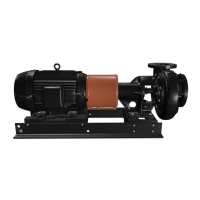
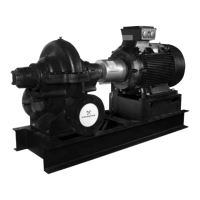
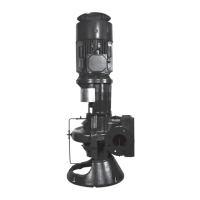
8.5 Replacing the wear ring
1. Complete the preparations in sections 8.3.1 Preparations
before disassembling the pump and 8.3.2 Disassembling the
pump.
2. Remove the rotating assembly.
3. Remove the pump housing (1A) from the pipes, if necessary,
to facilitate easy access to the interior of the pump housing. If
necessary, remove the flange bolts at the pipes.
4. Remove a worn wear ring (4A) by drilling two holes slightly
smaller than the width of the wear ring into the exposed edge
of the wear ring. Insert a chisel into the holes to completely
sever the wear ring at the holes and break the wear ring into
two halves for easy removal.
5. Clean the wear ring cavity in the pump housing prior to
installing a new wear ring to ensure a properly aligned fit.
6. To reassemble, press fit the new wear ring squarely into the
pump housing cavity. Tap the wear ring into place to make
sure it is pressed home into the cavity.
8.6 Reassembling the pump
1. Clean all parts before reassembly.
2. Refer to the parts list to identify required replacement items.
Specify the pump serial or catalog number when ordering
parts.
3. Reassemble the pump in the reverse procedure used for
disassembling.
4. Observe the following when reassembling the pump:
– All mechanical seal components must be in good condition
or leakage may result. We recommend that you replace the
complete shaft seal.
– Install new shaft sleeves by bonding them to the shaft with a
thread-locking fluid.
5. Re-install the coupling guards on coupled pumps.
Do not use metal tools on the wear ring surfaces.
Use only rubber, rawhide, wood or other soft
material to prevent damage to the wear ring.
LC_LCV_LF_LCS_1 language_US Eng.book Page 14 Thursday, August 24, 2017 4:08 PM