English (GB)
2
English (GB) Installation and operating instructions
Original installation and operating instructions
CONTENTS
Page
1. General information
3
1.1 Symbols used in this document
3
1.2 Qualification and training
3
1.3 Safety instructions for the operator/user
3
1.4 Safety of the system in the event of a
failure in the dosing pump
4
1.5 Dosing chemicals
4
1.6 Diaphragm leakage
4
1.6.1 Diaphragm leakage detection (optional) 5
2. Storage and handling
5
2.1 Storage
5
2.2 Unpacking
5
2.3 Transport
5
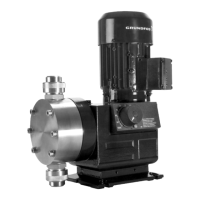
3. Product introduction
6
3.1 Applications
6
3.2 Improper operating methods
6
3.3 Symbols on the pump
7
3.4 Nameplate
7
3.5 Type key
8
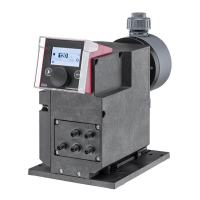
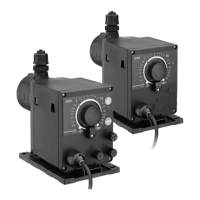
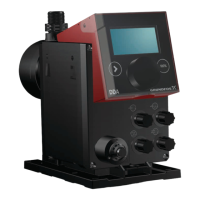
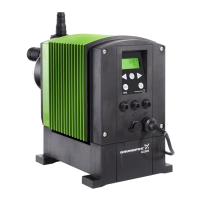
3.6 Product overview
9
4. Technical data / Dimensions
10
4.1 Technical data
10
4.2 Technical data for CIP (Clean-In-Place)
applications
12
4.2.1 Dimensions 12
5. Assembly and installation
13
5.1 Pump assembly
13
5.1.1 Requirements 13
5.1.2 Aligning and installing the mounting plate 13
5.1.3 Installing the pump on the mounting plate 13
5.1.4 Adjusting the control cube position 14
5.2 Hydraulic connection
14
5.3 Electrical connection
16
6. Startup
18
6.1 Preparing the pump for startup
18
6.2 Starting up the pump
18
6.3 Setting the menu language
19
6.4 Deaerating the pump
20
6.5 Calibrating the pump
20
6.5.1 Calibration process - example for DDA
60-10
21
7. Operation
22
7.1 Control elements
22
7.2 Display and symbols
22
7.2.1 Navigation 22
7.2.2 Operating states 22
7.2.3 Sleep mode (energy-saving mode) 22
7.2.4 Overview of display symbols 23
7.3 Main menus
24
7.3.1 Operation 24
7.3.2 Info 24
7.3.3 Alarm 24
7.3.4 Setup 25
7.4 Operation modes
25
7.4.1 Manual 25
7.4.2 Pulse 26
7.4.3 Analog 0/4-20 mA 26
7.4.4 Batch (pulse-based) 27
7.4.5 Dosing timer cycle 28
7.4.6 Dosing timer week 29
7.5 Analog output
30
7.6 SlowMode
30
7.7 Stop after power failure
31
7.8 FlowControl
32
7.9 Pressure monitoring
33
7.9.1 Pressure setting ranges 33
7.9.2 Calibration of pressure sensor 33
7.10 Flow measurement
34
7.11 AutoFlowAdapt
34
7.12 Auto deaeration
34
7.13 Diaphragm leak. detect.
34
7.14 Key lock
35
7.14.1 Temporary deactivation 35
7.14.2 Deactivation 35
7.15 Display setup
35
7.15.1 Units 35
7.15.2 Additional display 35
7.16 Time+date
36
7.17 Bus communication
36
7.17.1 GENIbus communication 36
7.17.2 Possible industrial bus types 36
7.17.3 Activate communication 36
7.17.4 Setting the bus address 37
7.17.5 Characteristics of bus communication 37
7.17.6 Deactivate communication 37
7.17.7 Communication faults 37
7.18 Inputs/Outputs
38
7.18.1 Relay outputs 38
7.18.2 External stop 39
7.18.3 Empty and Low level signals 39
7.19 Basic settings
39
8. Service
40
8.1 Regular maintenance
40
8.2 Cleaning
40
8.3 Service system
40
8.4 Perform service
41
8.4.1 Service overview 42
8.4.2 Dismantling the dosing head, diaphragm
and valves
43
8.4.3 Reassembling the dosing head,
diaphragm and valves
43
8.4.4 Replacing the deaeration valve 44
8.4.5 Replacing the DLD sensor 44
8.4.6 Replacing the mains cable 44
 Loading...