2-16
Figure2-14 Removing a fan tray
Installing and removing a power supply
!
To avoid bodily injury or switch damage, strictly follow the procedures in Figure2-15 and
Figure2-16 to install and remove a power supply.
• You must provide a circuit breaker for each power supply.
Figure2-15 Installation procedure
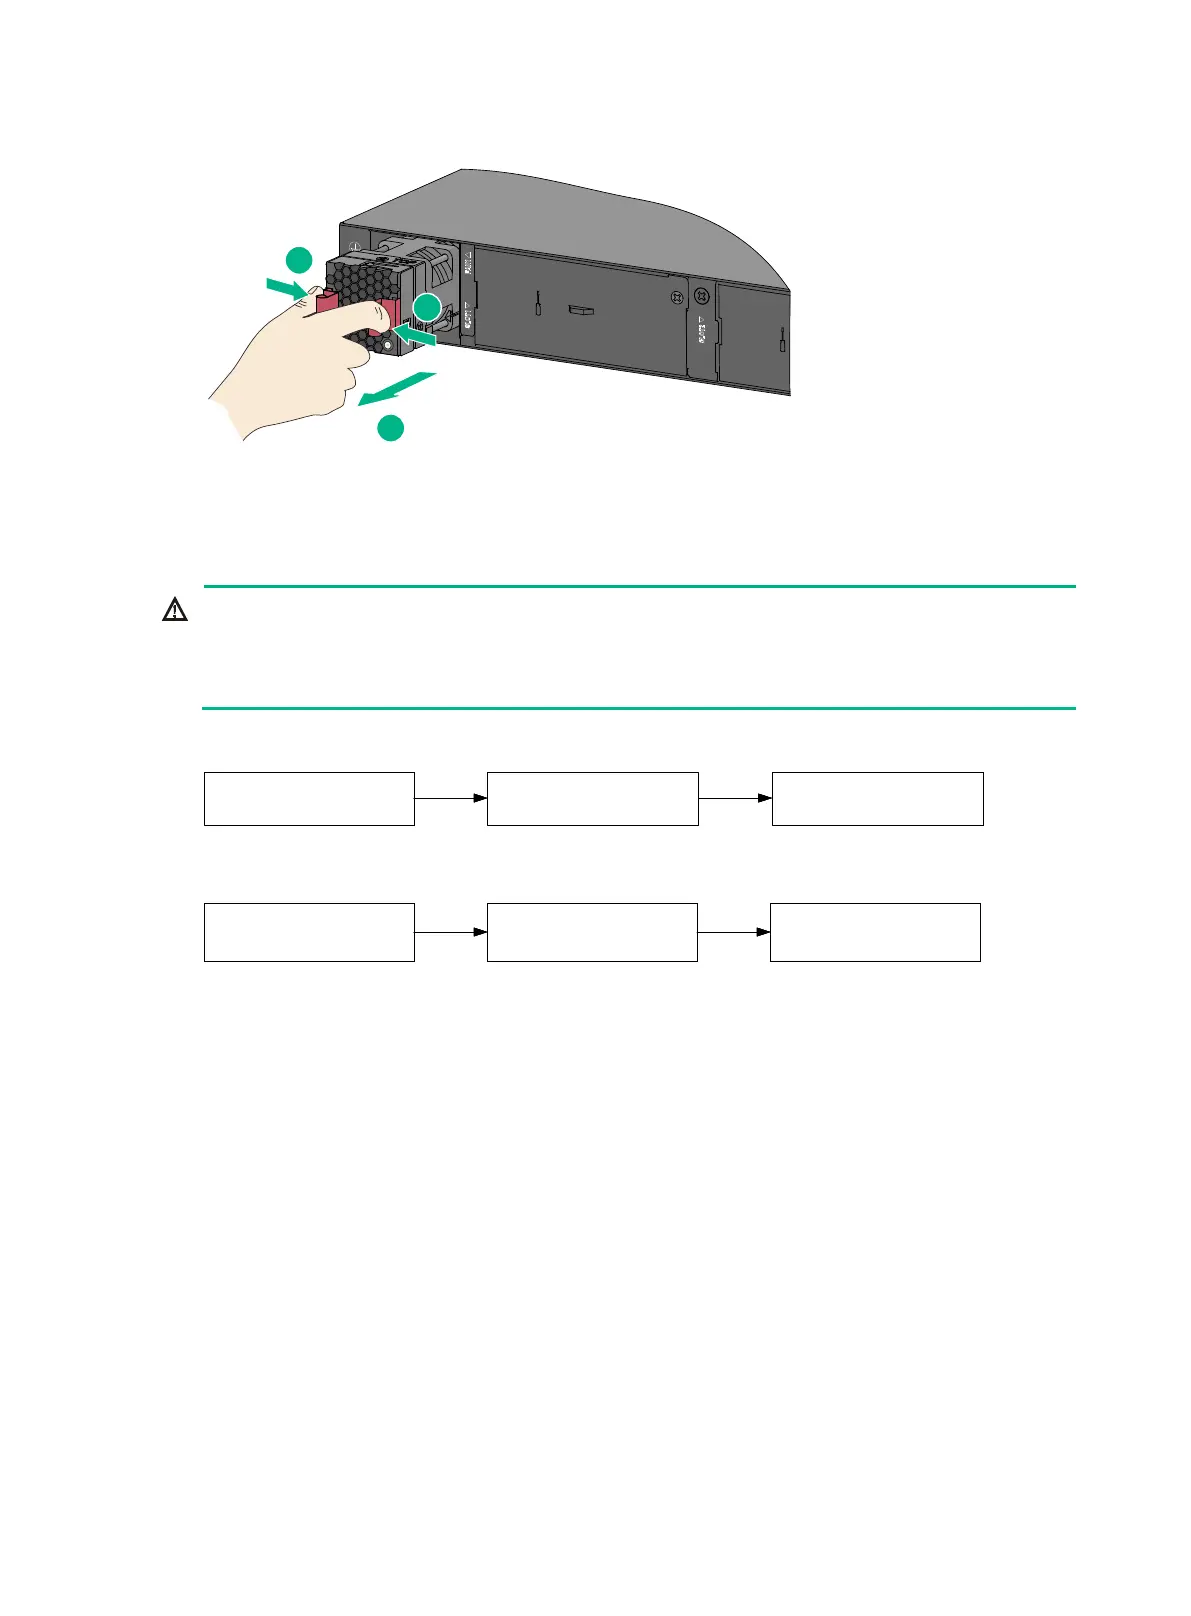
Figure2-16 Removal procedure
The switch provides two power supply slots. It comes with power supply slot PWR1 empty and power
supply slot PWR2 installed with a filler panel. You can install one or two power supplies for the switch
as required. For the power supplies available for the switch and their specifications, see Hardware
Information and Specifications.
The installation and removable procedures are the same for the PSR250-12A and PSR250-12A1
power supplies. The following procedure installs and removes a PSR250-12A1 power supply.
Installing a power supply
The installation procedure is the same for the PSR250-12A, PSR250-12A1, and PSR450-12D power
supplies. The following procedure installs a PSR250-12A1 power supply.
To install a PSR250-12A1 power supply:
1. Wear an ESD wrist strap. Make sure the strap makes good skin contact and is reliably
grounded.
2. Remove the filler panel, if any, from the target power supply slot.
Put your forefinger into the hole in the filler panel and then pull the filler panel out of the slot
gently.
安装电源模块 连接电源线 给电源模块加电安装电源模块 连接电源线
给电源模块加电安装电源模块 连接电源线 给电源模块加电
Install the power supply Connect the power cord
Turn on the circuit
breaker
将电源模块断电
拆卸电源线
拆卸电源模块将电源模块断电
拆卸电源线
拆卸电源模块将电源模块断电
拆卸电源线
拆卸电源模块
Turn off the circuit
breaker
Remove the power cord
Remove the power
supply

 Loading...