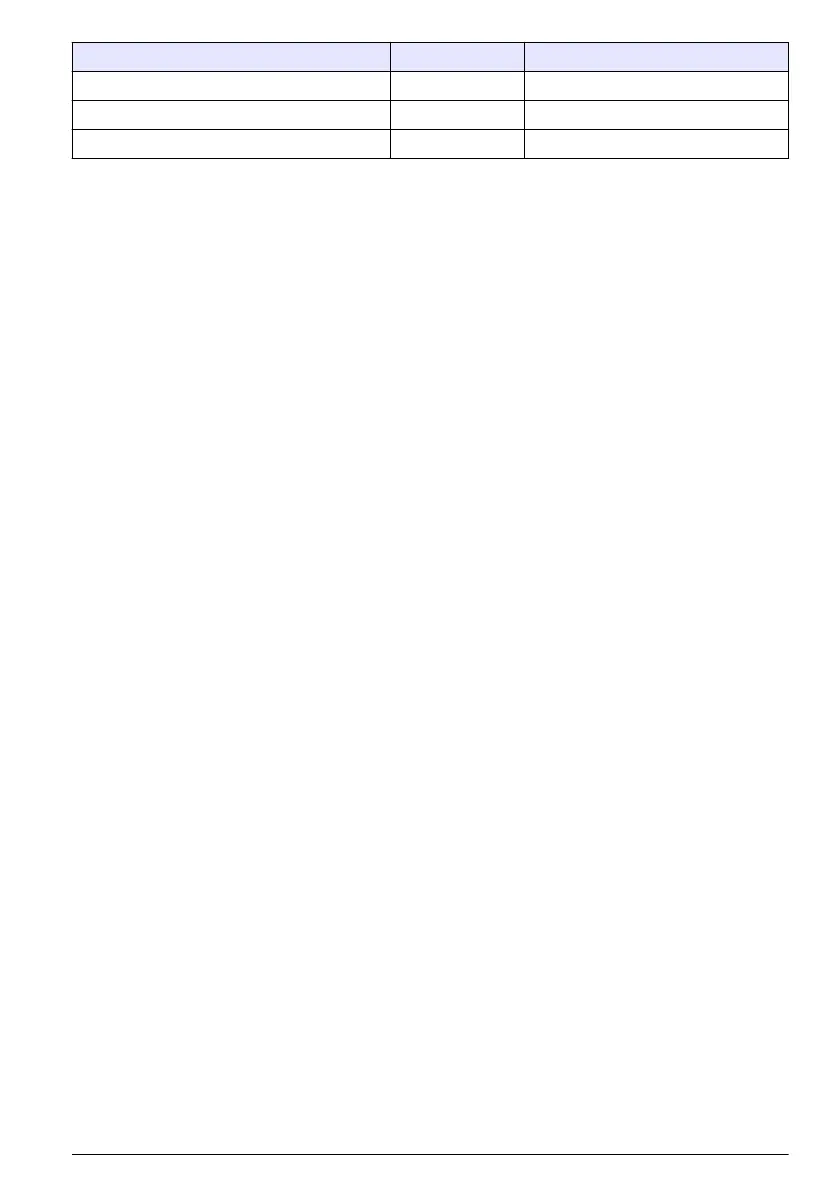
Level ID Password
Administrator 000 123
Manager 001 123
Operator 002 123
After setting up your own user list, these three default entries should be removed.
To log on, press Login on the banner at the bottom of the screen. Enter a valid User ID and
Password combination in the boxes provided, and press Ok to continue. The details will be
displayed at the top left corner of the screen. Press the Ok button at the bottom left of the screen to
gain access to the menu.
Note: For security purposes, when the session inactivity delay period has expired the user is logged off
automatically.
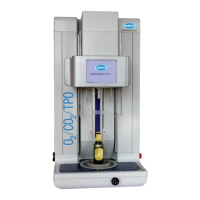
Instrument options
A banner is displayed at the foot of each screen showing the available options:
• Standby - Press this button to leave the instrument in operational mode if there is a long time
delay between measurements. The screen will go blank, but can be reactivated by tapping it. Once
reactivated, you will need to enter a valid user ID and password combination if this has been set
up.
• Configuration - Refer to Configuration on page 9
• Calibration - Refer to Calibration on page 15
• Measurement - Refer to Measurement process on page 17
• Analysis - Refer to Analysis on page 18
• Maintenance - Refer to Maintenance on page 19
Note: If any of the options are unavailable for any reason (e.g. access level not high enough), they will be greyed
out.
Instrument status indicator
A colored LED indicator on the top right of the screen will indicate the current status of the
instrument:
• Green - no problems have been detected
• Yellow - a problem has been detected but is not serious enough to stop measurements being
taken
• Red - there is a serious problem with the system which must be corrected before any
measurements can be taken
If multiple problems have been detected, the color of the LED will reflect the most severe error. If the
LED indicator is not green, pressing it on any screen will display a list of errors and warnings. To
make sure the instrument is working correctly, it is advisable to correct all errors and warnings before
continuing.
Configuration
Units and resolutions
For each value displayed by the instrument select the required unit from the drop-down list and press
Ok to continue. When all units have been assigned, press Ok on the main screen to save these
values and continue.
For each value displayed by the instrument select the required display resolution from a drop-down
list and press Ok to continue. A maximum of 4 digits and a decimal point can be displayed (i.e. 1234,
123.4, 12.34, or 1.234). This does not affect the actual resolution of data measured and stored, only
English
9