TX100 USB 23 6T7639a
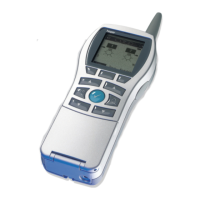
After some seconds, the Installation type screen is displayed:
• Press the YES screen key if the installation is a TP or mixed one.
• Press the NO screen key if the installation is entirely a RF one.
In this case, the Auto screen is displayed and switching to the Auto mode allows
starting the configuration of the RF products.
!If NO is selected, a screen reminds that the configuration of the TP products will not
be possible.
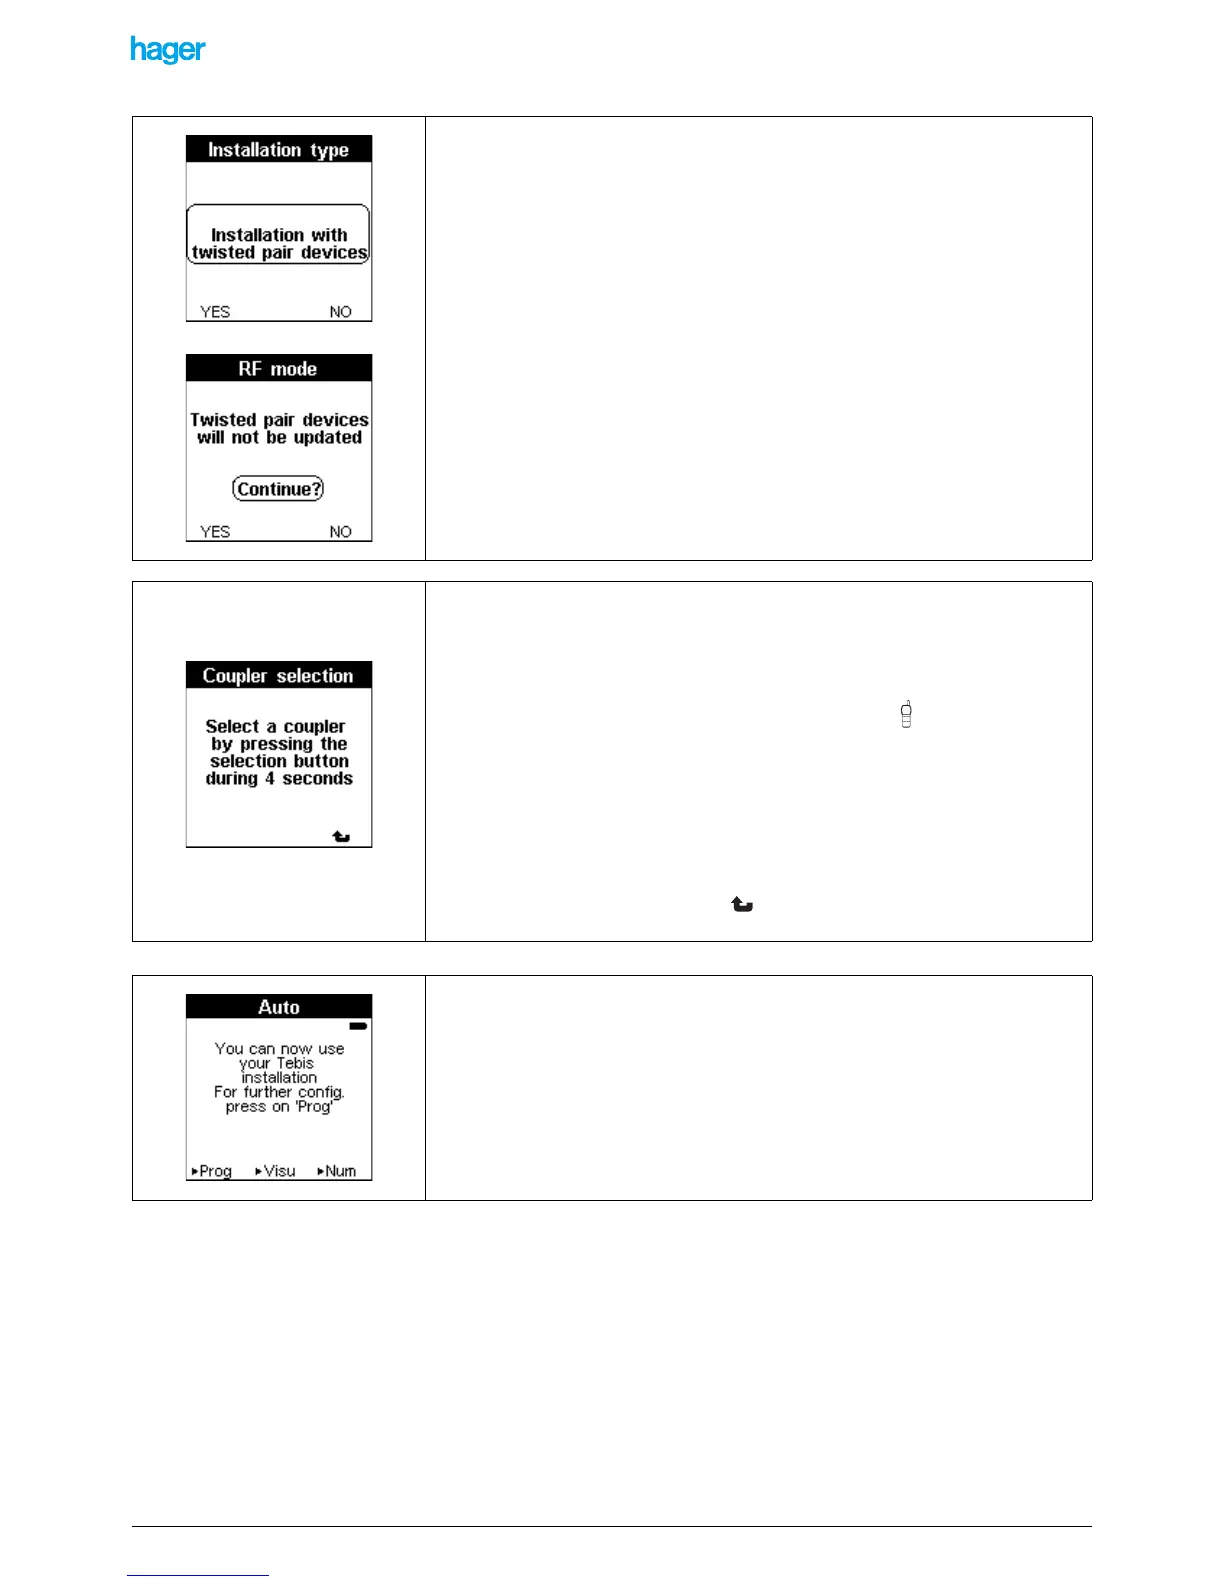
In case of a TP or mixed installation:
A screen indicates that the TX100 searches for the media coupler that will allow it to
communicate with the installation.
To detect and assign the media coupler
• Select the media coupler to be used by pressing its button until the red
indicator turns on (4 sec).
• Release the button.
A Download wait screen is displayed for some seconds. A sound signal is emitted when
the selection is done.
! If the configurator is outside of the radio range, the title bar blinks on the screen.
!To cancel the assignment, press the screen key, a RF Mode screen is displayed
and informs that only the RF products will be updated.
The Auto screen is displayed at the end of the assignment phase.
This screen indicates that:
- The project was created in the memory of the TX100.
- The media coupler of the installation was detected and assigned.
The configuration of the products of the installation is now possible.