TX100 USB 22 6T7639a
5.2.4 Checking the operating mode and the configuration status of the products
• Make sure that all modular products equipped with Manu / Auto selection switches are in Auto mode.
• Make sure that all products are in the Factory Reset status:
• New products, which never have been configured, are in this status.
• Products which already were configured may be in a different status.
In this case, reset them to the factory settings.
5.3.1 Case of TP and mixed installations
In the case of a TP or mixed installation, the first phase of the configuration consists in creating the project and assigning the
media coupler to the TX100.
5.3 Coupling and assigning the TX100 to the installation
• Switch the installation on.
• Start the TX100.
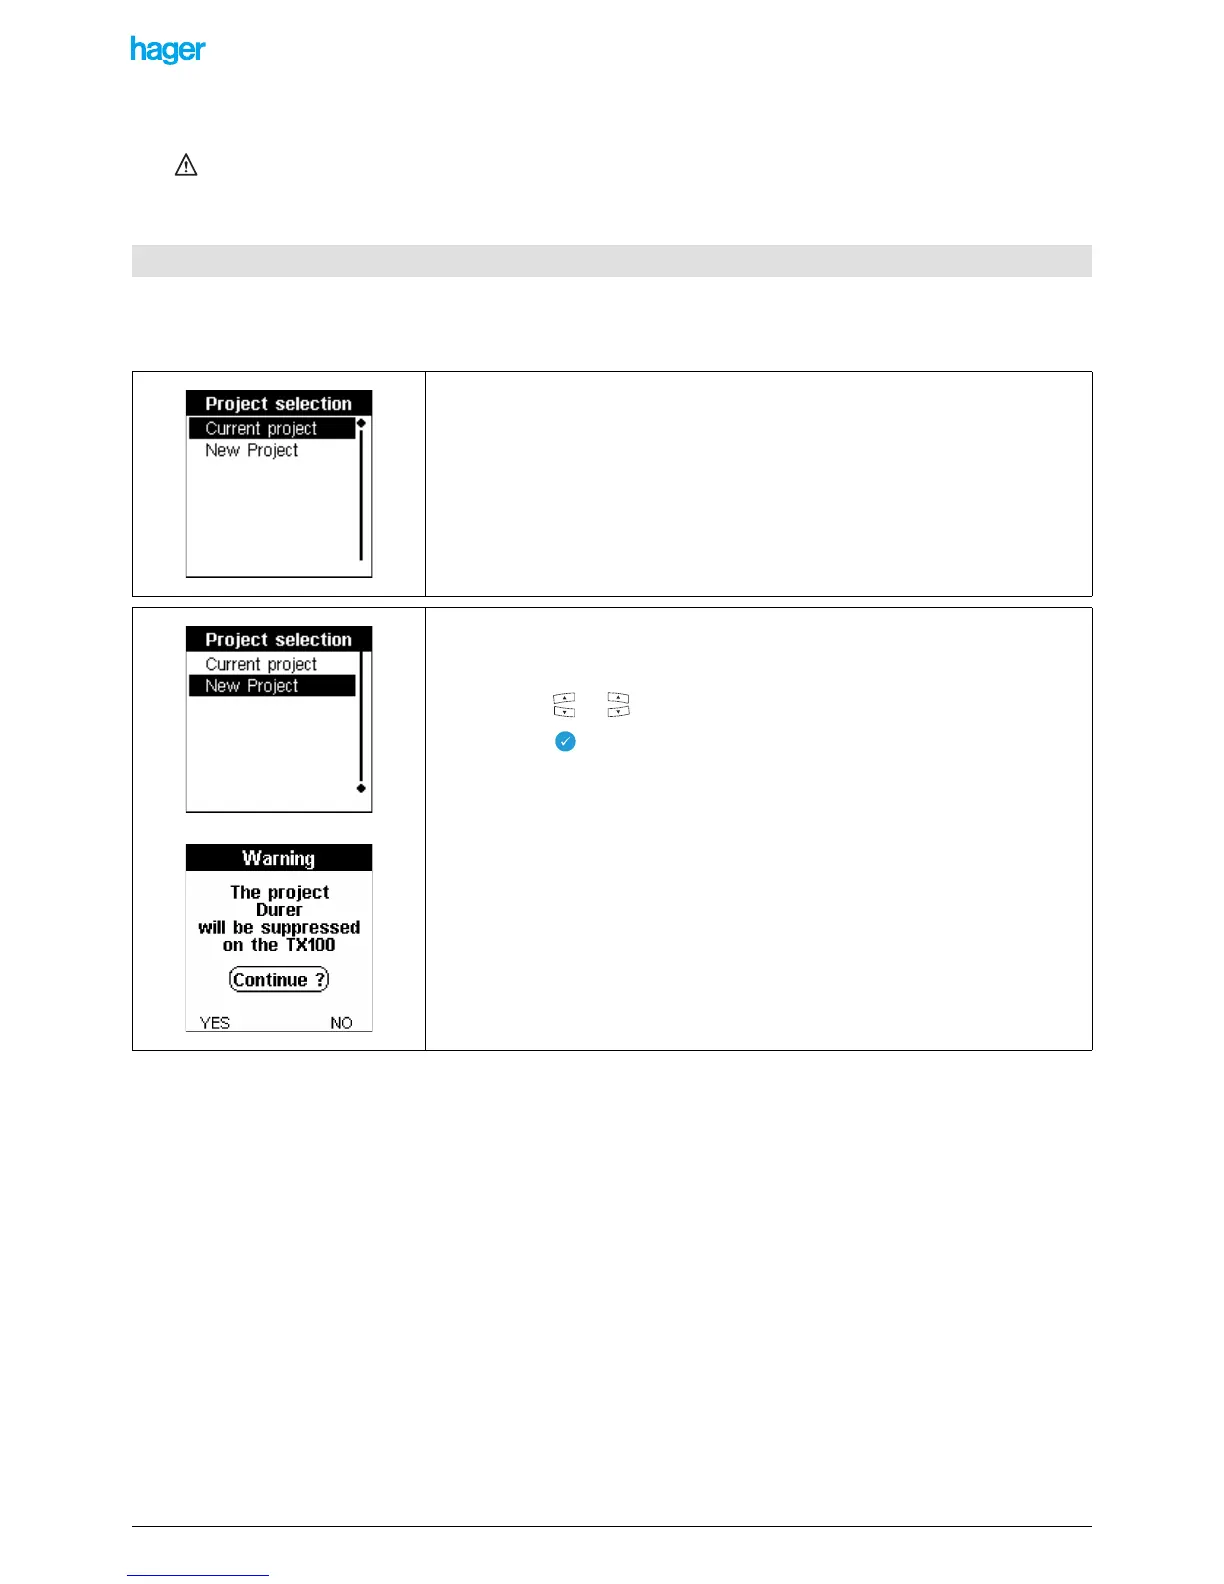
After some seconds, the Project selection screen is displayed:
• Press the or key to select New project.
• Press the key to confirm your selection.
A Warning screen allows authorising or not the deletion of the current project possibly
present in the TX100:
• Press the YES screen key to delete the current project and authorise the creation
of the new project.
• Press the NO screen key to retain the current project and return to the previous
screen.
A Write running... wait screen is displayed. The TX100 creates the project in its internal
memory and starts the first phase of the configuration procedure.