56
Smart Power
(1)
(a)
(b)
(2)
(3)
(4)
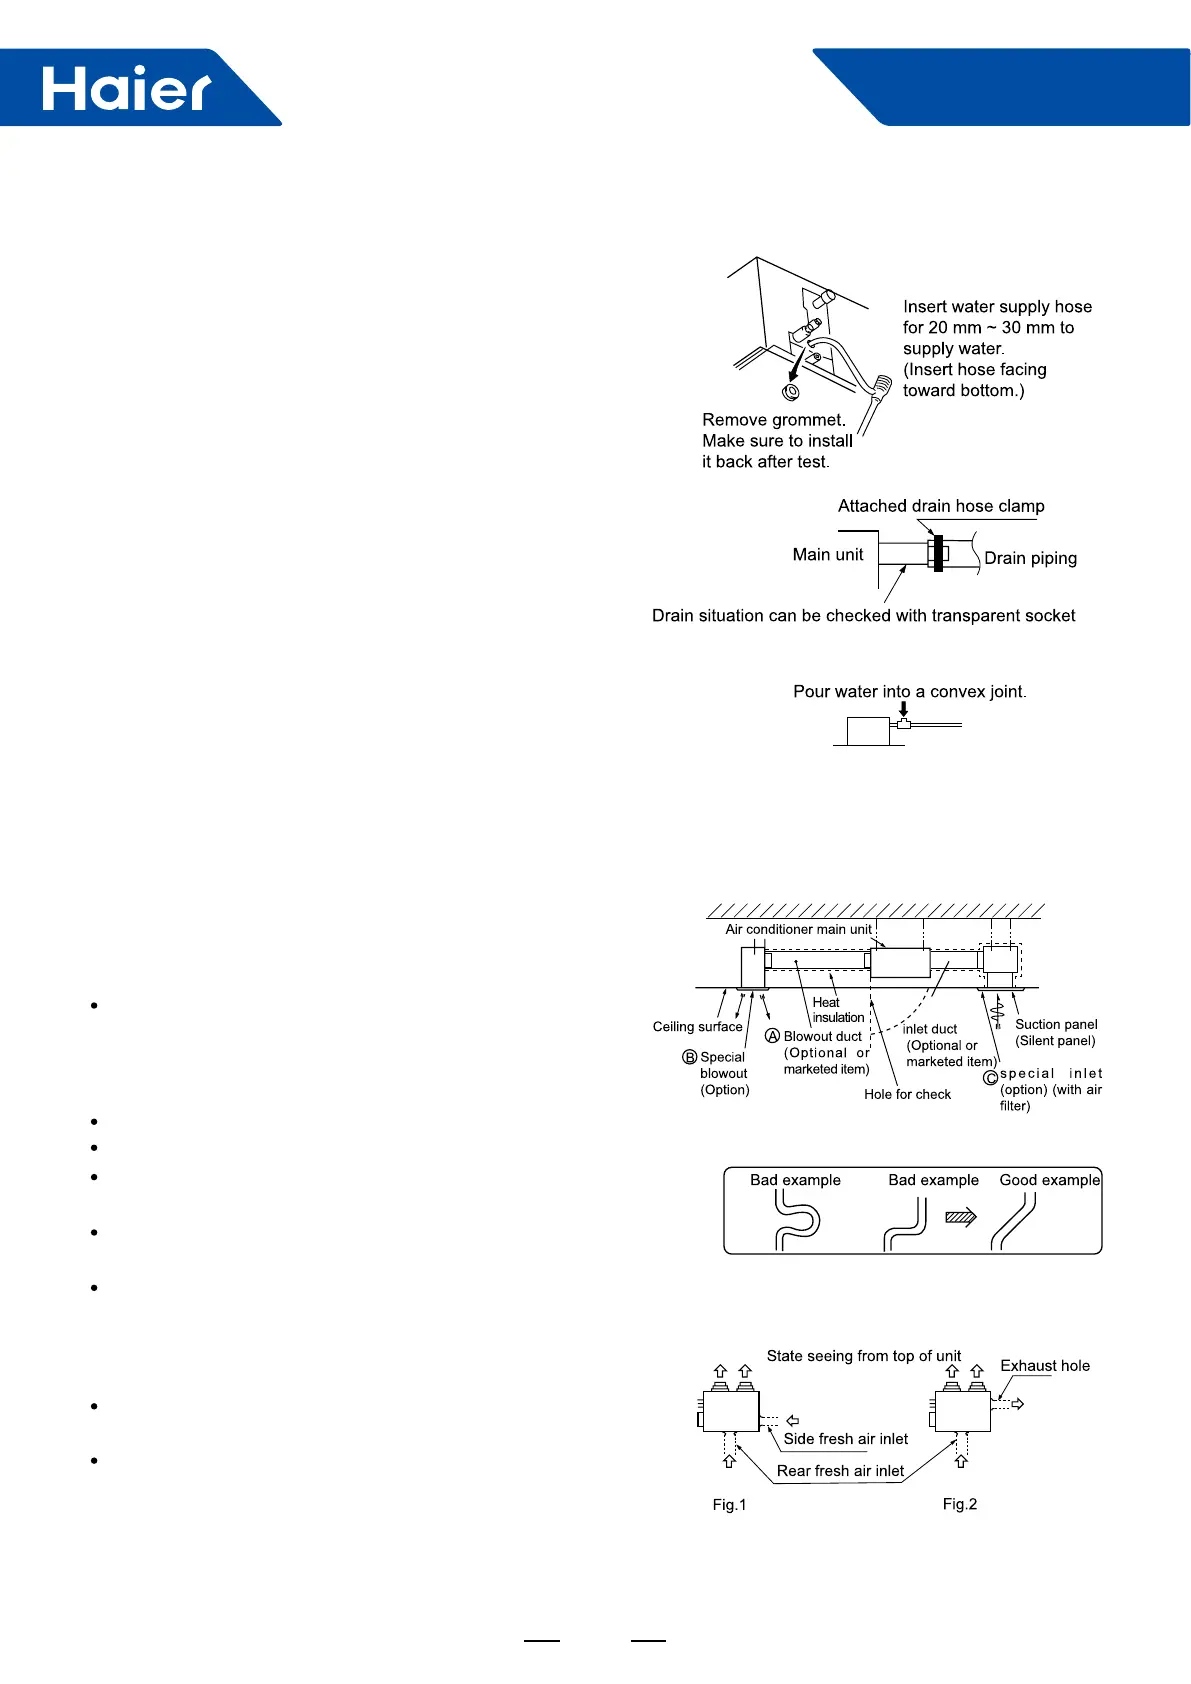
Conduct a drainage test after completion of the electrical
work.
During the trial, make sure that drain ows properly
through the piping and that no water leaks from
connections.
In case of a new building, conduct the test before it is
furnished with the ceiling.
Be sure to conduct this test even when the unit is installed
in the heating season.
Supply about 1000 cc of water to the unit through the air
outlet using a feed water pump.
Check the drain while cooling operation.
Before the electrical work has not been completed, connect
a convex joint in the drain pipe connection to provide a water
inlet. Then, check if water leaks from the piping system and
that drain ows through the drain pipe normally.
Calculate the draft and external static pressure and select
the length, shape and blowout.
Note (1) Shield the central blowout hole for 2-spot.
(2) Shield the blowout hole around the center for 3-spot.
2-spot, 3-spot and 4-spot with φ 200 type duct are the
standard specications.
Inlet can be selected from the side or rear faces depending
on the working conditions.
Use the rear fresh air inlet when the simultaneous intake
and exhaust is conducted. (Side inlet cannot be used.)
Use the side exhaust port.
Limit the difference in length between spots at less than 2:1.
Reduce the length of duct as much as possible.
Reduce the number of bends as much as possible. (Corner
R should be as larger as possible.)
Use a band. etc. to connect the main unit and the blowout
duct ange.
Conduct the duct installation work before nishing the
ceiling.
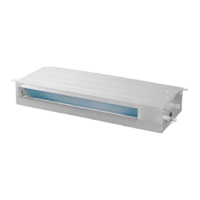
A Blowout duct
Drainage Test
Procedures
Installation work for air outlet ducts
Connection of suction, exhaust ducts
a.Fresh air inlet
b.Exhaust (Make sure to use also the suction.)
 Loading...