4
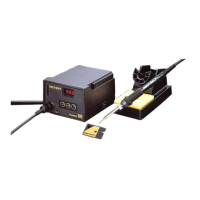
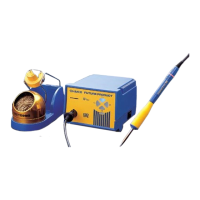
B. Connections
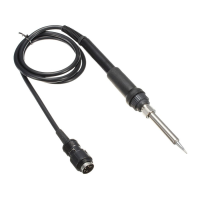
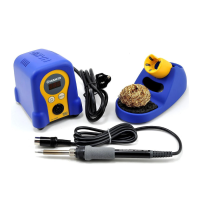
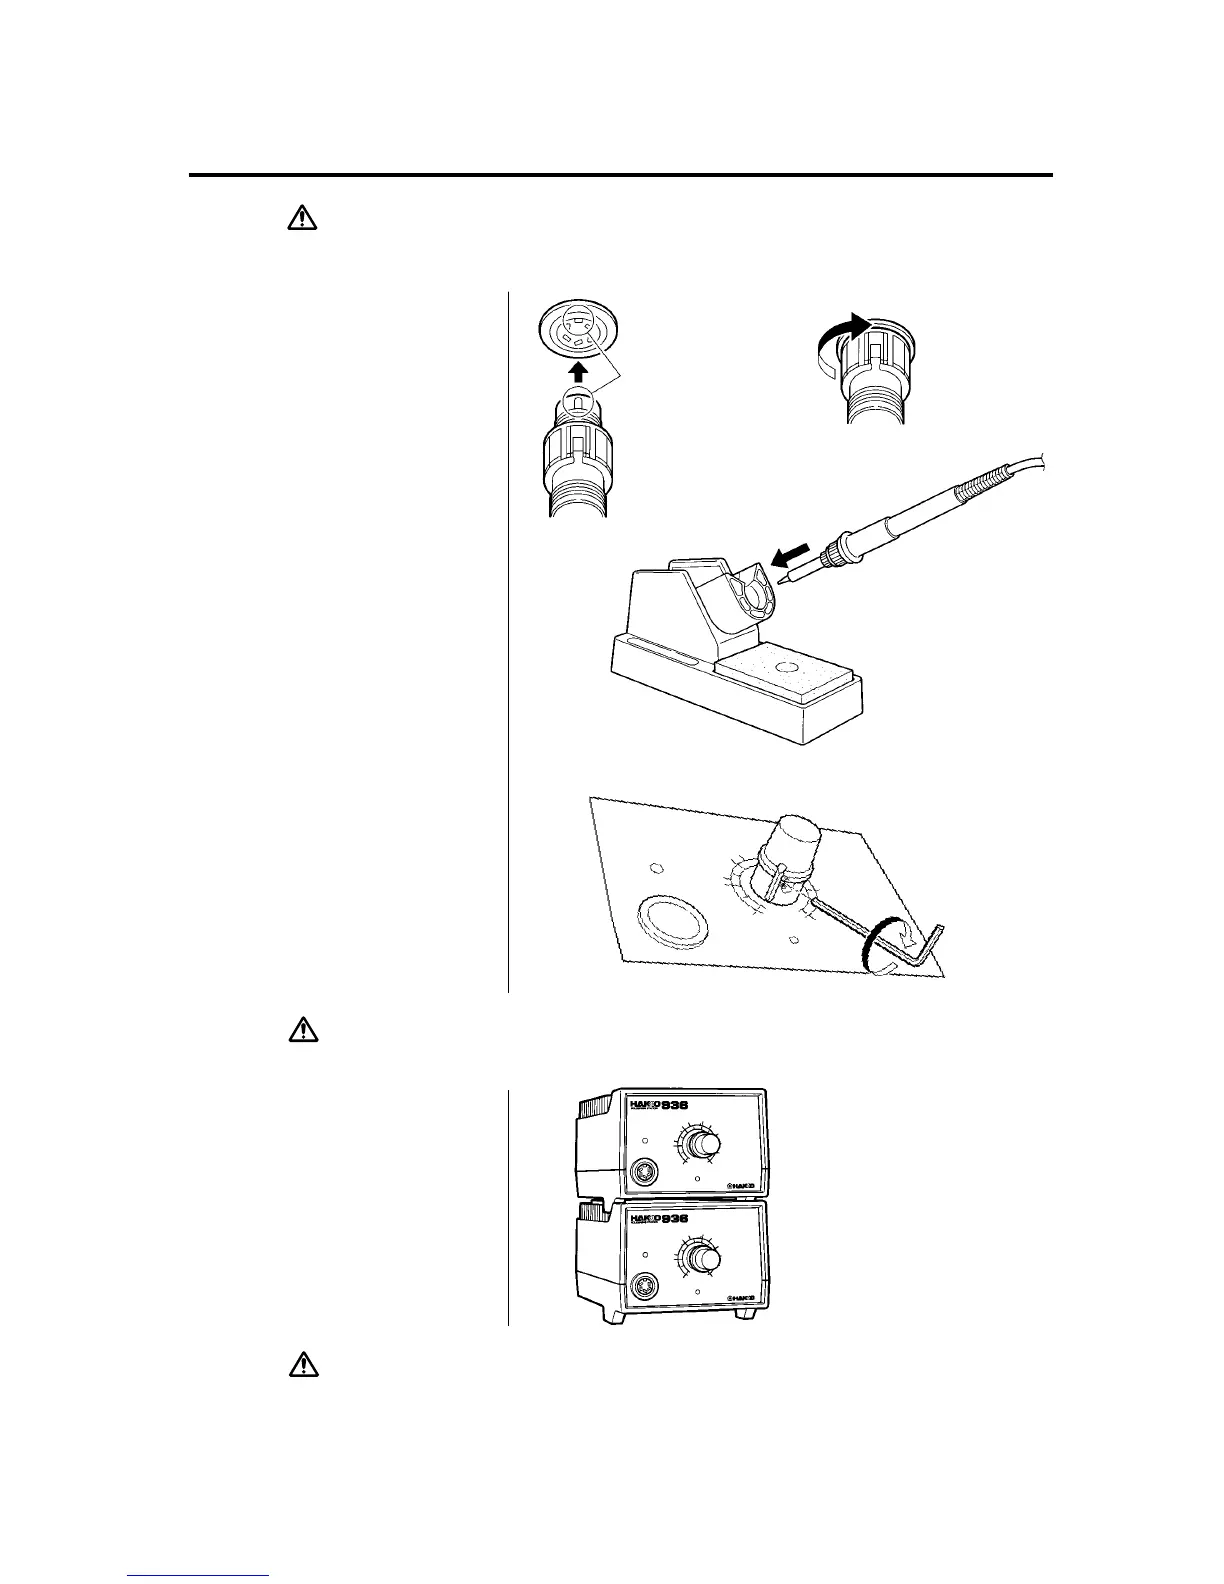
1. Connect the cord assembly to
the receptacle.
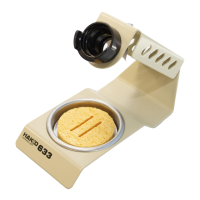
2. Place the soldering iron in the
iron holder.
3. Plug the power cord into the
power supply. Be sure to ground
the unit.
CAUTION : Be sure to turn off the power switch before connecting or disconnecting
the soldering iron. Failure to do so may damage the P.W.B.
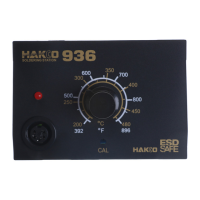
C. Set the Temperature
1. Set the temperature control knob
to the desired temperature.
2. Lock the knob.
The HAKKO 936 station is
equipped with a temperature
control knob lock. After setting
the desired temperature,
tighten the hex nut on the
underside of the knob mount
using the supplied hex wrench.
Turn the nut clockwise to tighten
the knob lock.
CAUTION : •Don't overtighten the knob lock.
•Don't attempt to turn the knob when the knob lock is on.
D. Turn on the Power
Switch.
The heater lamp blinks on and off
when the tip temperature reaches
the set temperature. The unit is now
ready to perform soldering work.
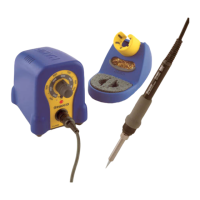
For greater convenience, and
soldering efficiency, two stations can
be securely stacked as shown.
CAUTION : The soldering iron must be placed in the iron holder when not in use.
Receptacle
Turn clockwise firmly
Align the grooves and pins,
and push straight in.