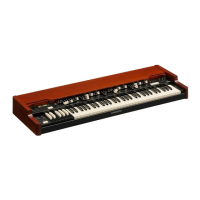
SECTION
II.
DISASSEMBLY
1M>
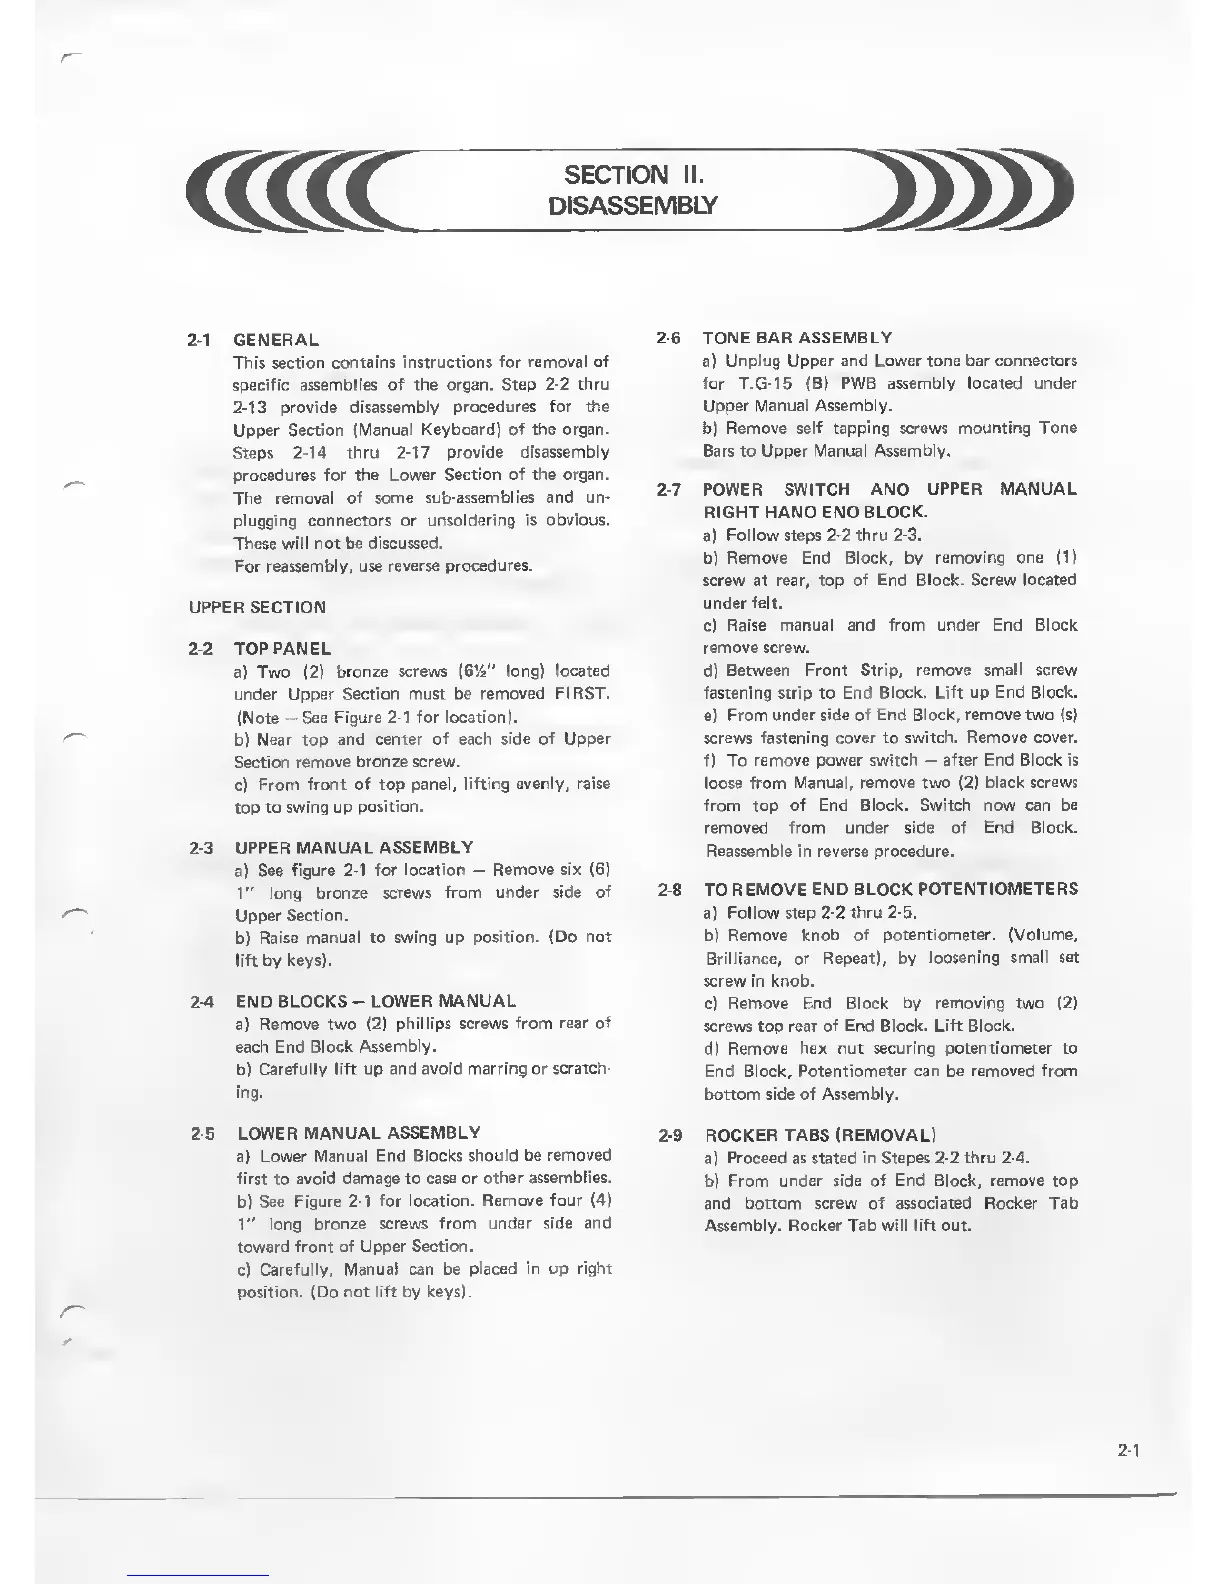
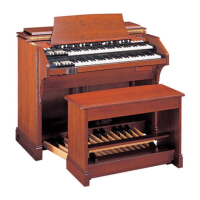
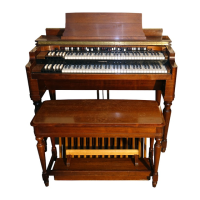
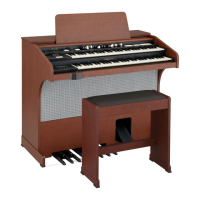
2-1 GENERAL
This section contains
instructions for removal of
specific assemblies
of the organ. Step
2-2
thru
2-13
provide
disassembly procedures for the
Upper
Section (Manual Keyboard)
of the organ.
Steps
2-14
thru
2-17
provide
disassembly
procedures
for the Lower Section of
the organ.
The
removal of some sub-assemblies and un-
plugging connectors
or unsoldering is
obvious.
These will not be
discussed.
For
reassembly,
use
reverse procedures.
UPPER SECTION
2-2 TOP PANEL
a) Two (2)
bronze screws
(614" long) located
under
Upper Section must be
removed FIRST.
(Note
—
See Figure
2-1 for location).
b)
Near
top
and center
of each side of Upper
Section remove bronze screw.
c)
From front of top
panel, lifting evenly, raise
top to swing up
position.
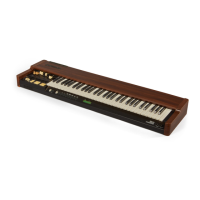
2-3
UPPER MANUAL
ASSEMBLY
a)
See figure
2-1
for location
-
Remove six
(6)
1"
long bronze
screws from under
side of
Upper
Section.
b)
Raise manual to swing up
position. {Do not
lift
by
keys).
2-4
END BLOCKS
-
LOWER MANUAL
a)
Remove
two (2)
phillips screws
from rear of
each
End Block Assembly.
b)
Carefully lift up and avoid
marring or scratch-
ing.
2-5
LOWER
MANUAL
ASSEMBLY
a) Lower
Manual End Blocks
should be removed
first to avoid damage to
case or other assemblies.
b)
See Figure
2-1 for location. Remove four
(4)
1"
long bronze screws
from under side
and
toward front of Upper
Section.
c)
Carefully, Manuai can be
placed in up right
position. (Do not lift by keys!.
2-6
TONE BAR ASSEMBLY
a)
Unplug Upper and Lower tone bar connectors
for T.G-15 (B) PWB assembly located under
Upper Manual Assembly.
b) Remove
self tapping screws mounting Tone
Bars
to
Upper Manual Assembly.
2-7
POWER
SWITCH AND UPPER MANUAL
RIGHT
HAND END BLOCK.
a) Follow steps
2-2
thru
2-3.
b)
Remove End Block, by removing one
(1)
screw at rear, top
of End Block. Screw located
under
felt.
c)
Raise manual
and
from under End Block
remove screw.
d) Between Front
Strip, remove small screw
fastening strip to
End Block. Lift up End Block.
e) From
under side of End Block, remove two (s)
screws fastening cover to switch.
Remove cover.
f) To
remove power switch
-
after End Block is
loose from Manuai, remove two
(2)
black
screws
from top of End Block. Switch now
can be
removed from
under side of End Block.
Reassemble
in reverse procedure.
2-8
TO
REMOVE END BLOCK POTENTIOMETERS
a)
Follow step
2-2
thru
2-5.
b)
Remove knob of potentiometer. (Volume,
Brilliance, or Repeat),
by loosening small
set
screw in knob.
c) Remove End
Block by removing two
(2}
screws top
rear of End Block. Lift Block.
d)
Remove hex nut securing potentiometer to
End Block,
Potentiometer can be removed from
bottom side of
Assembly.
2-9 ROCKER TABS (REMOVAL)
a! Proceed as stated in Stepes
2-2
thru
2-4.
b)
From under side of End Block, remove top
and bottom screw of associated Rocker Tab
Assembly. Rocker Tab will lift out.
2-
1