9
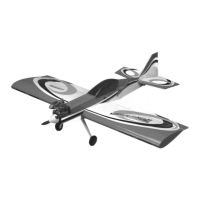
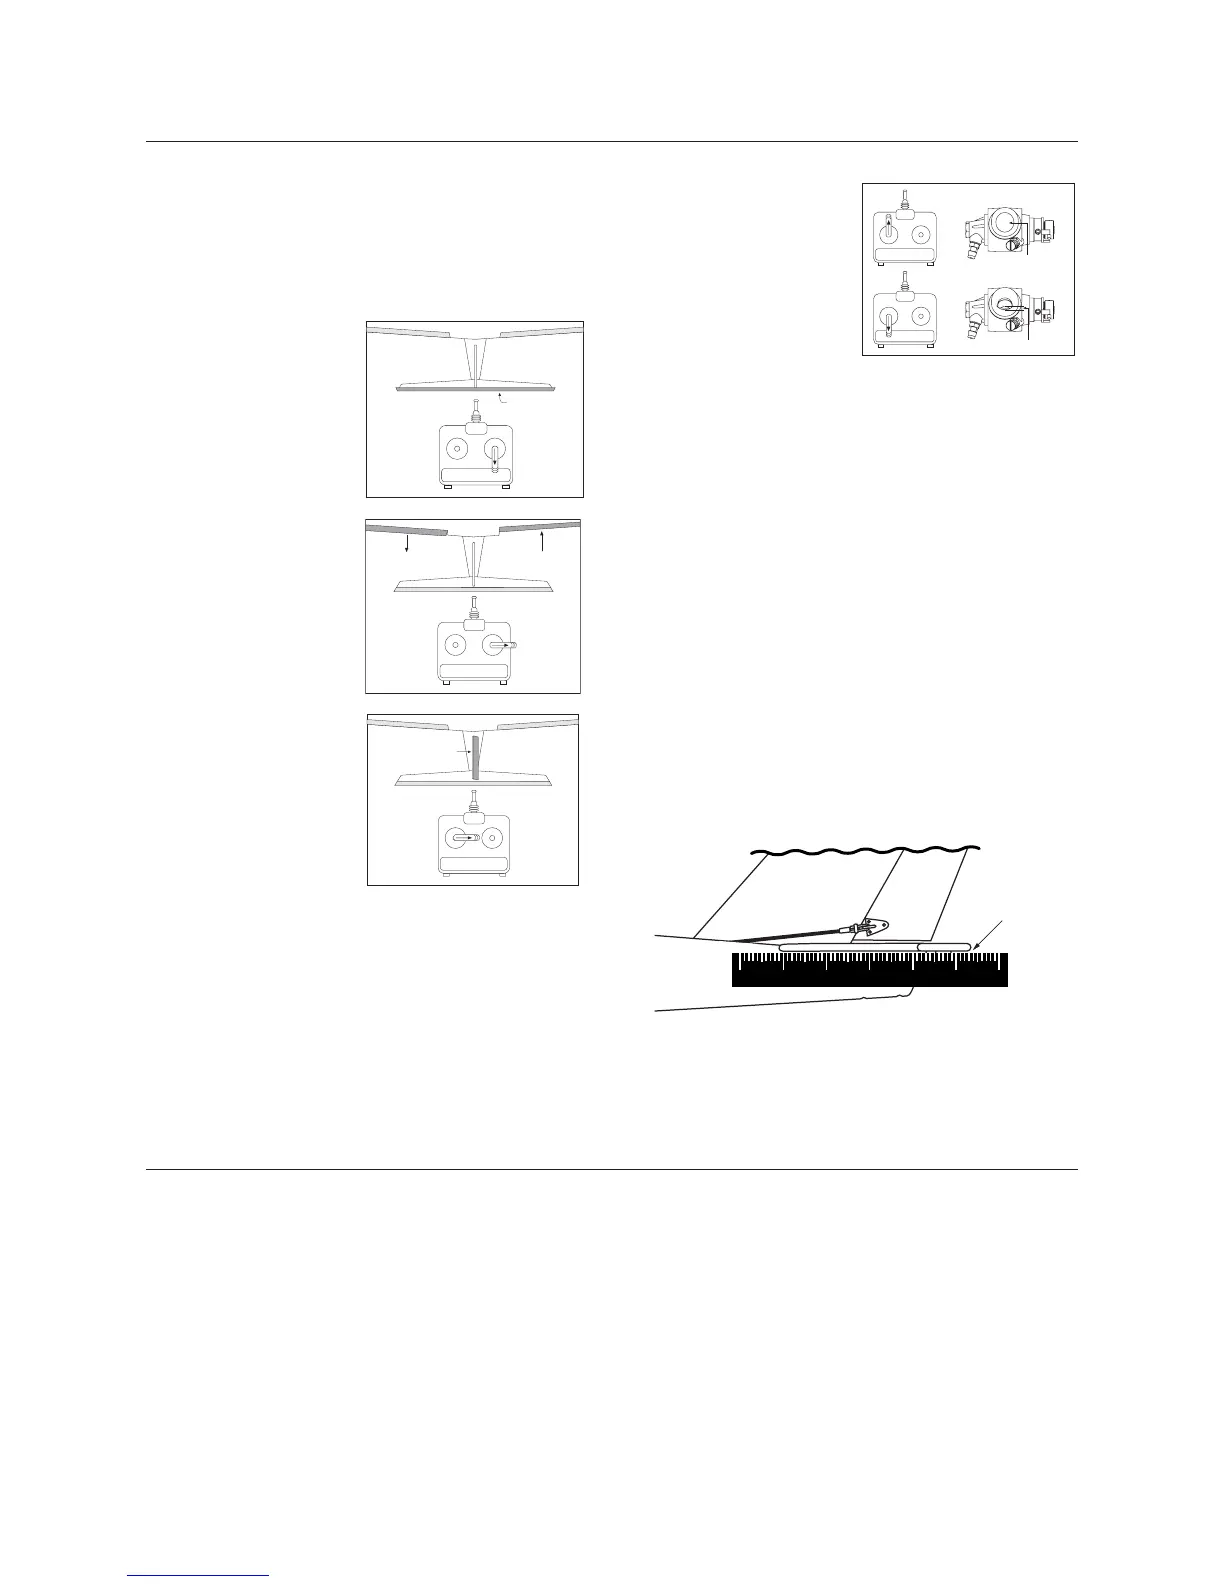
Control Checks
The correct servo directions are preadjusted, but it’s a good idea
to confirm the correct direction. After charging the transmitter and
receiver batteries per the instruction included with the radio, turn
on the transmitter and airplane and check that the controls are
moving in the correct direction, as per the illustration below.
Elevator: Moving the right
stick down should cause the
elevator to move upward.
Pushing the right stick up
will cause the elevator to
move down.
Aileron: Moving the right
stick to the right should
move the right aileron up
and the left aileron down.
Moving the stick in the
opposite direction will give
the opposite result.
Rudder: Moving the left
stick to the right should
move the rudder to the right.
Moving the stick to the left
moves the rudder to the left.
Throttle: Look into the
carburetor. With the throttle
(left stick) in the up position,
the carburetor should be fully
open. With the throttle in the
lower position and trim lever
at the mid-point, the carbure-
tor should be 1/16" open.
It is very important that you make sure the control surfaces (rudder,
elevator and ailerons) are at 0 degrees when the transmitter control
sticks and trim levers are centered. Turn on your transmitter and
receiver. Make sure the rudder, elevator and aileron sticks are
centered and the trim levers are centered. Place a ruler against the
control surfaces to see if there are any deflections from the center
(0 degrees).
Adjustments to the control surfaces can be made by temporarily
disconnecting the clevis from the horn and threading the clevis in
or out on the control rod. Threading in causes the surface to move
toward the rod. Threading out causes the surface to move away
from the rod. Set the control surfaces, ailerons, elevator and rudder
to 0 degrees.
Reconnect the clevises to the outer hole of the control horn of
the rudder and elevator control horns. Make sure that the clevis
keepers are in place.
0°
Preflight Checks at the Flying Field
Important: Be sure your batteries are fully charged,
per the instructions included with your radio system.
Before each flight, check the screws and nuts that secure the
metal plate holding the engine in place on the engine mount. Also
check the clevises of each control surface for security and presence
of a clevis keeper.
Check the screws that hold the tail assembly in place, as they can
loosen during flight.
Check the muffler screws that attach the muffler to the engine
after every flight.
Perform a ground range check before each day’s flying as follows:
1. Do not extend the transmitter antenna. Turn the transmitter on.
2. Turn the model on.
3. Slowly walk away from the model while moving the control
surfaces. The aircraft should function properly at a distance
of 75–100 feet.
4. Make sure all trim levers on the transmitter are in the
proper position.
5. Make sure all servos and switch harness plugs are secure.