27
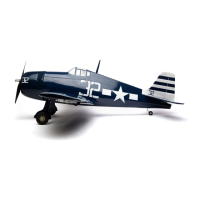
Step 5
Use a piece of cardstock to indicate the location of the
engine head, needle valve and cowl mounting blocks.
Hint: Remove the muffler at this
time and fit the cowl to it later.
Step 6
Remove the engine. Position the cowl onto the fuselage
so it is 5
1
/
2
" (140mm) from the firewall. Transfer the
location for the engine and needle valve onto the cowl.
Step 7
Remove the cowl and remove the necessary material
to fit the cowl over the engine. Install the engine back
onto the firewall and test fit the cowl over the engine.
Use a small amount of threadlock on the four bolts
to prevent them from loosening during flight.
Hint: Start by removing only a little
material at a time. Work until the
cowl fits nicely over the engine.
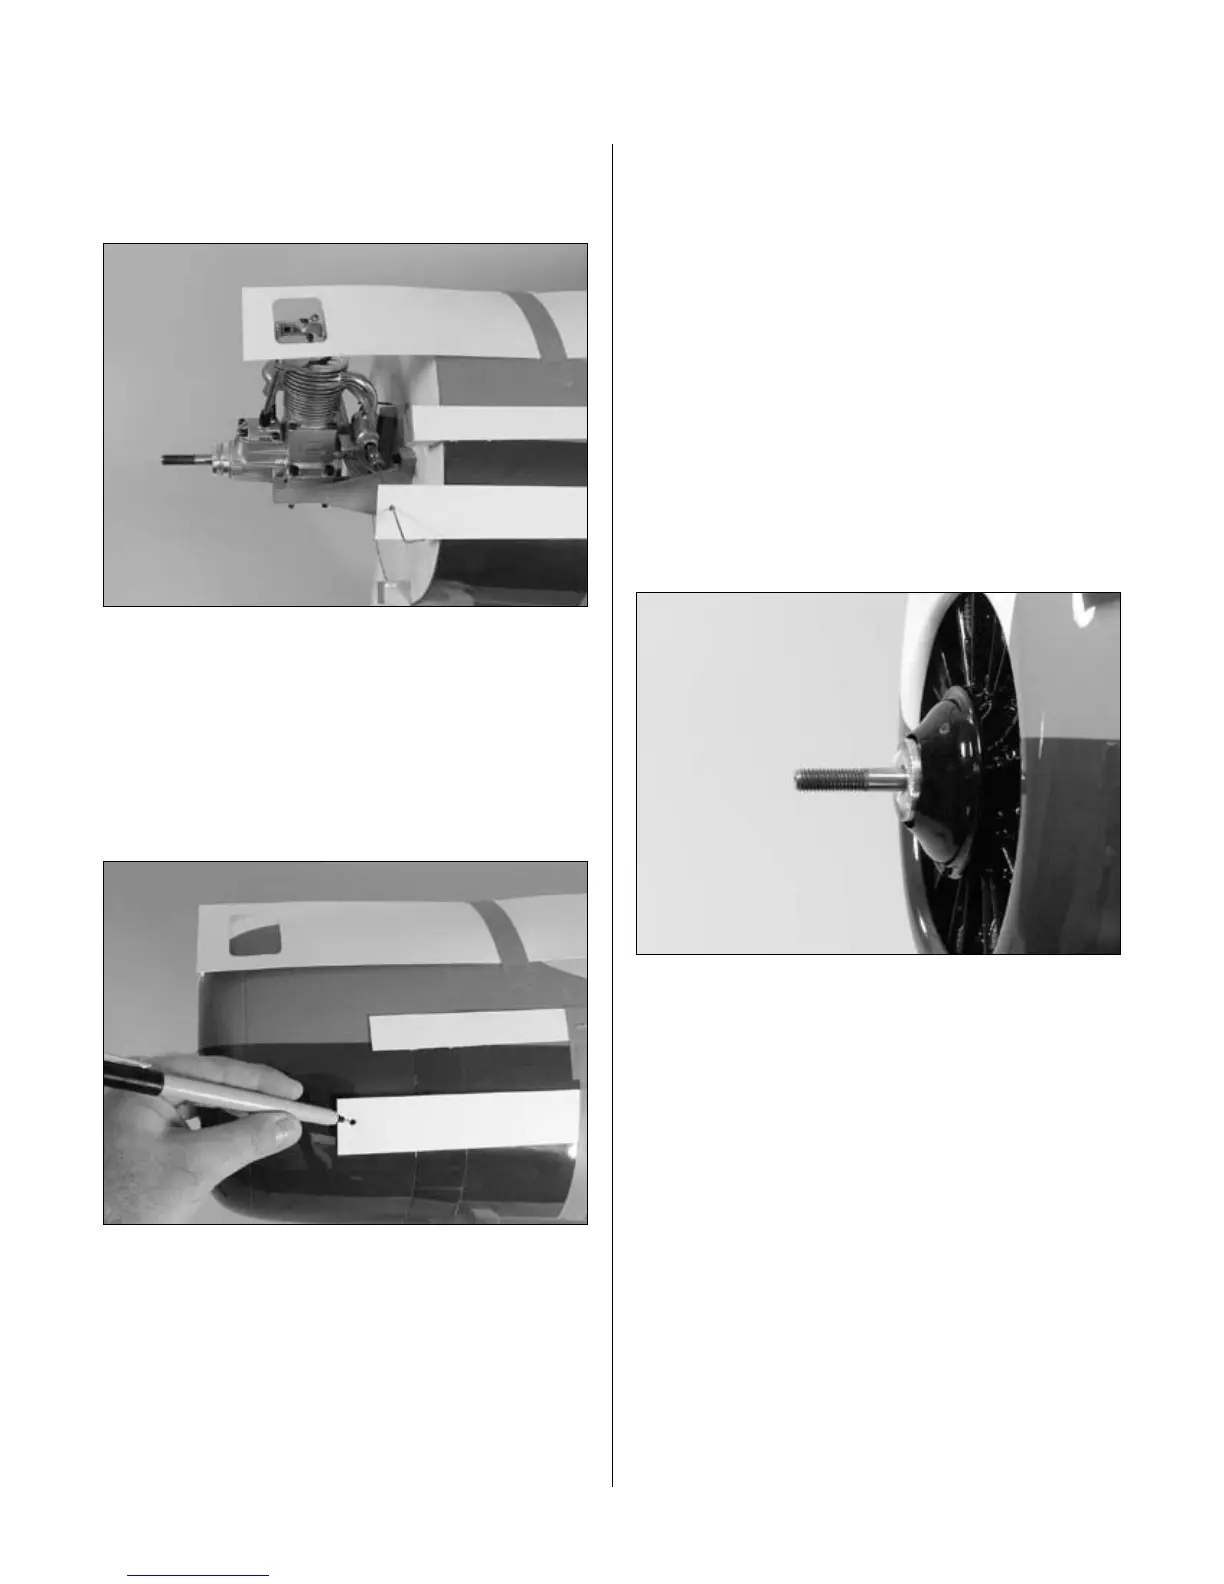
Step 8
Slide the cowling onto the fuselage. Position
the cowl so the engine drive washer is 1/8"
(3mm) in front of the dummy engine.
Section 6: Cowling Installation