24
Required Parts
• Fuselage assembly • Canopy
• #2 x 1/2" sheet metal screw (2)
Required Tools and Adhesives
• Canopy glue • Rubbing alcohol
• Zap-A-Dap-A-Goo • Paper towel
• Sandpaper (medium grit)
• 1/7 U.S. WWII Pilot (HAN8311)
Step 1
Trim the instrument decal from the decal sheet.
Place the instrument panel into position. Use Zap-
A-Dap-A-Goo to glue the backrest into position.
Step 2
Install a pilot of your choosing. We used the
1/7 U.S. WWII Pilot (HAN8311). Use epoxy
or Zap-A-Dap-A-Goo to secure the pilot.
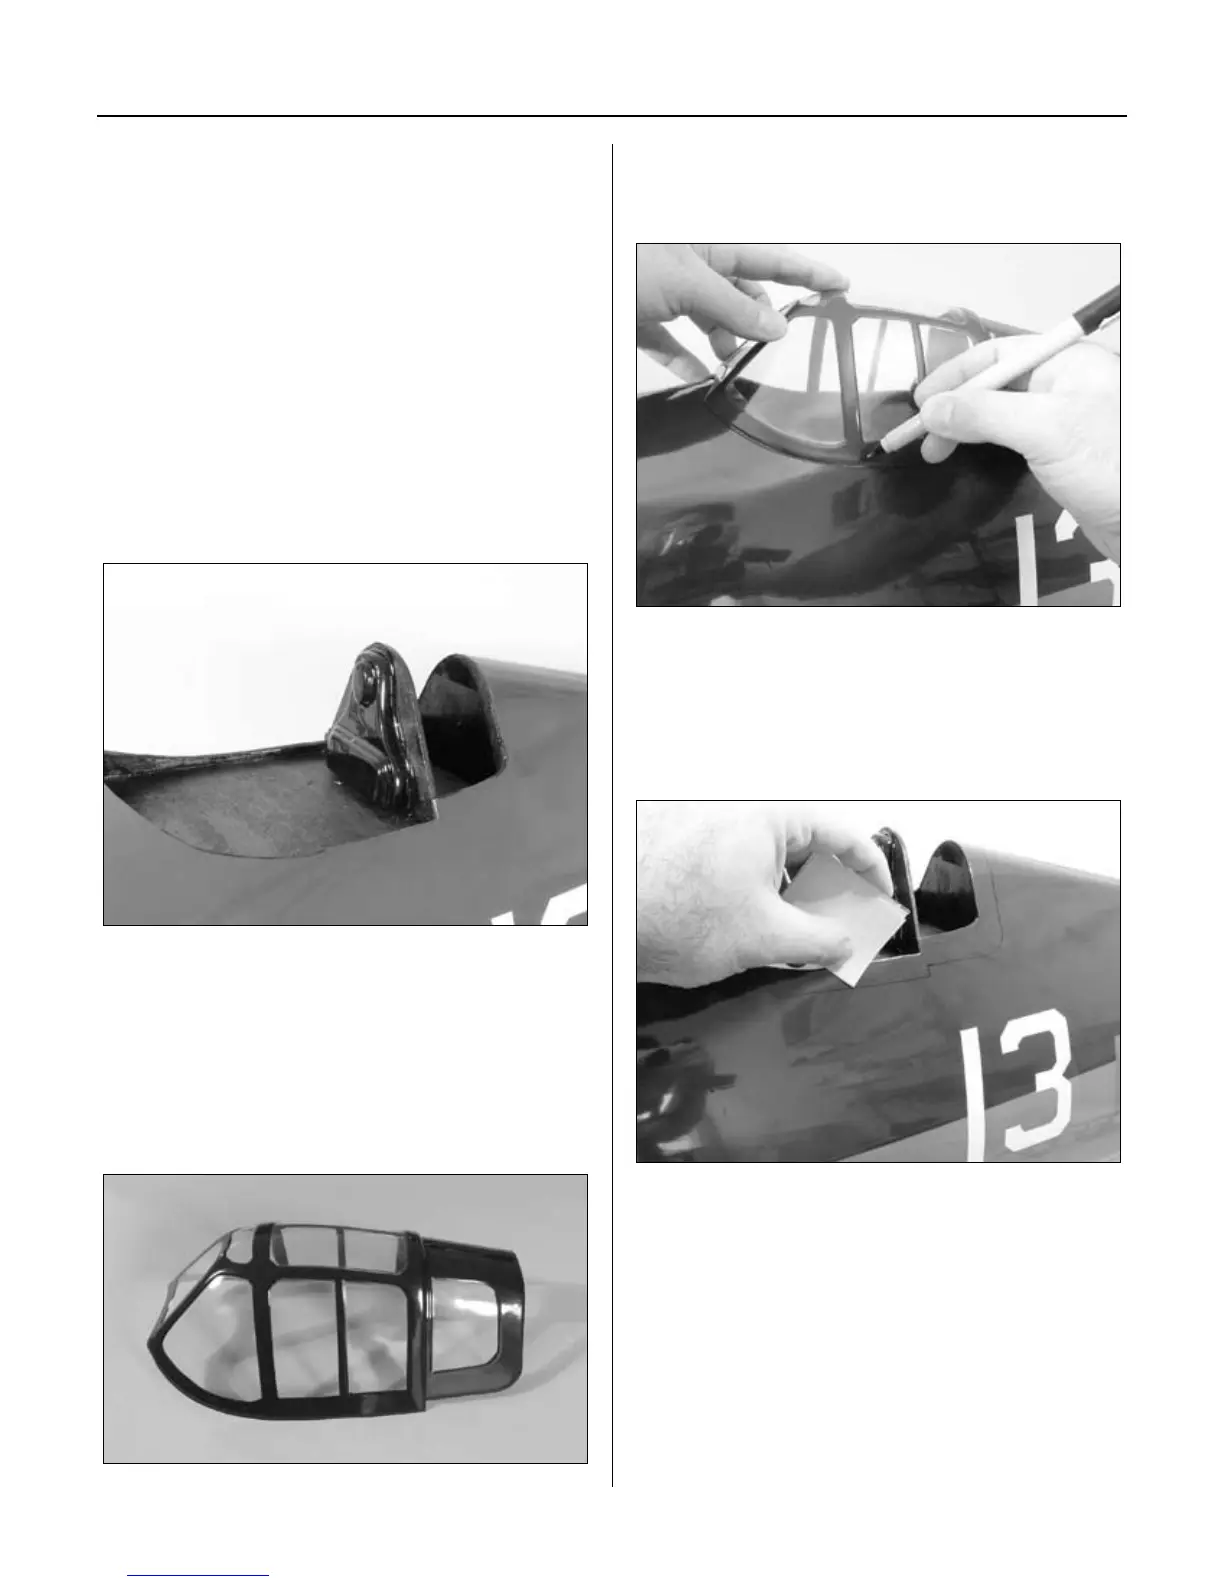
Step 3
Use Lexan scissors to trim the canopy.
Step 4
Position the canopy onto the fuselage. Trace around the
canopy and onto the fuselage using a felt-tipped pen.
Step 5
Lightly sand the inside edge of the canopy and
slightly inside the line drawn on the fuselage using
medium sandpaper. Clean both the fuselage and
canopy using rubbing alcohol and a paper towel.
Note: A better bond can be made between
the canopy and fuselage by removing
about 1/8" (3mm) of the covering
inside the line drawn in Step 4.
Section 5: Canopy and Decal Installation