29
Required Parts
• Assembled wing • Fuselage
• 1/4-20 blind nut (2) • 1/4" washer (2)
• Stabilizer
• 1/4-20 x 1
1
/
2
" socket head bolt (2)
Required Tools and Adhesives
• 30-minute epoxy • Pliers
• Hex wrench: 3/16" • Hobby knife
• Felt-tipped pen • Ruler
• Paper towels • Mixing sticks
• Measuring cup • Epoxy brush
• Rubbing alcohol
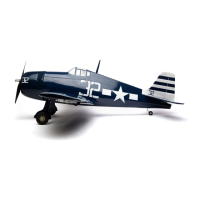
Step 1
Locate the two 1/4-20 blind nuts. Mix a small
amount of 30-minute epoxy and apply it to the
barbs of the blind nut. Use pliers to install the
blind nut from the inside of the fuselage.
Hint: A short 1/4-20 bolt and fender
washer can also be used to draw
the blind nut up into position.
Note: Make sure no epoxy gets into
the threads of the blind nut.
Step 2
Use the two 1/4 x 1
1
/
2
" socket head bolts and 1/4"
washers to attach the wing to the fuselage.
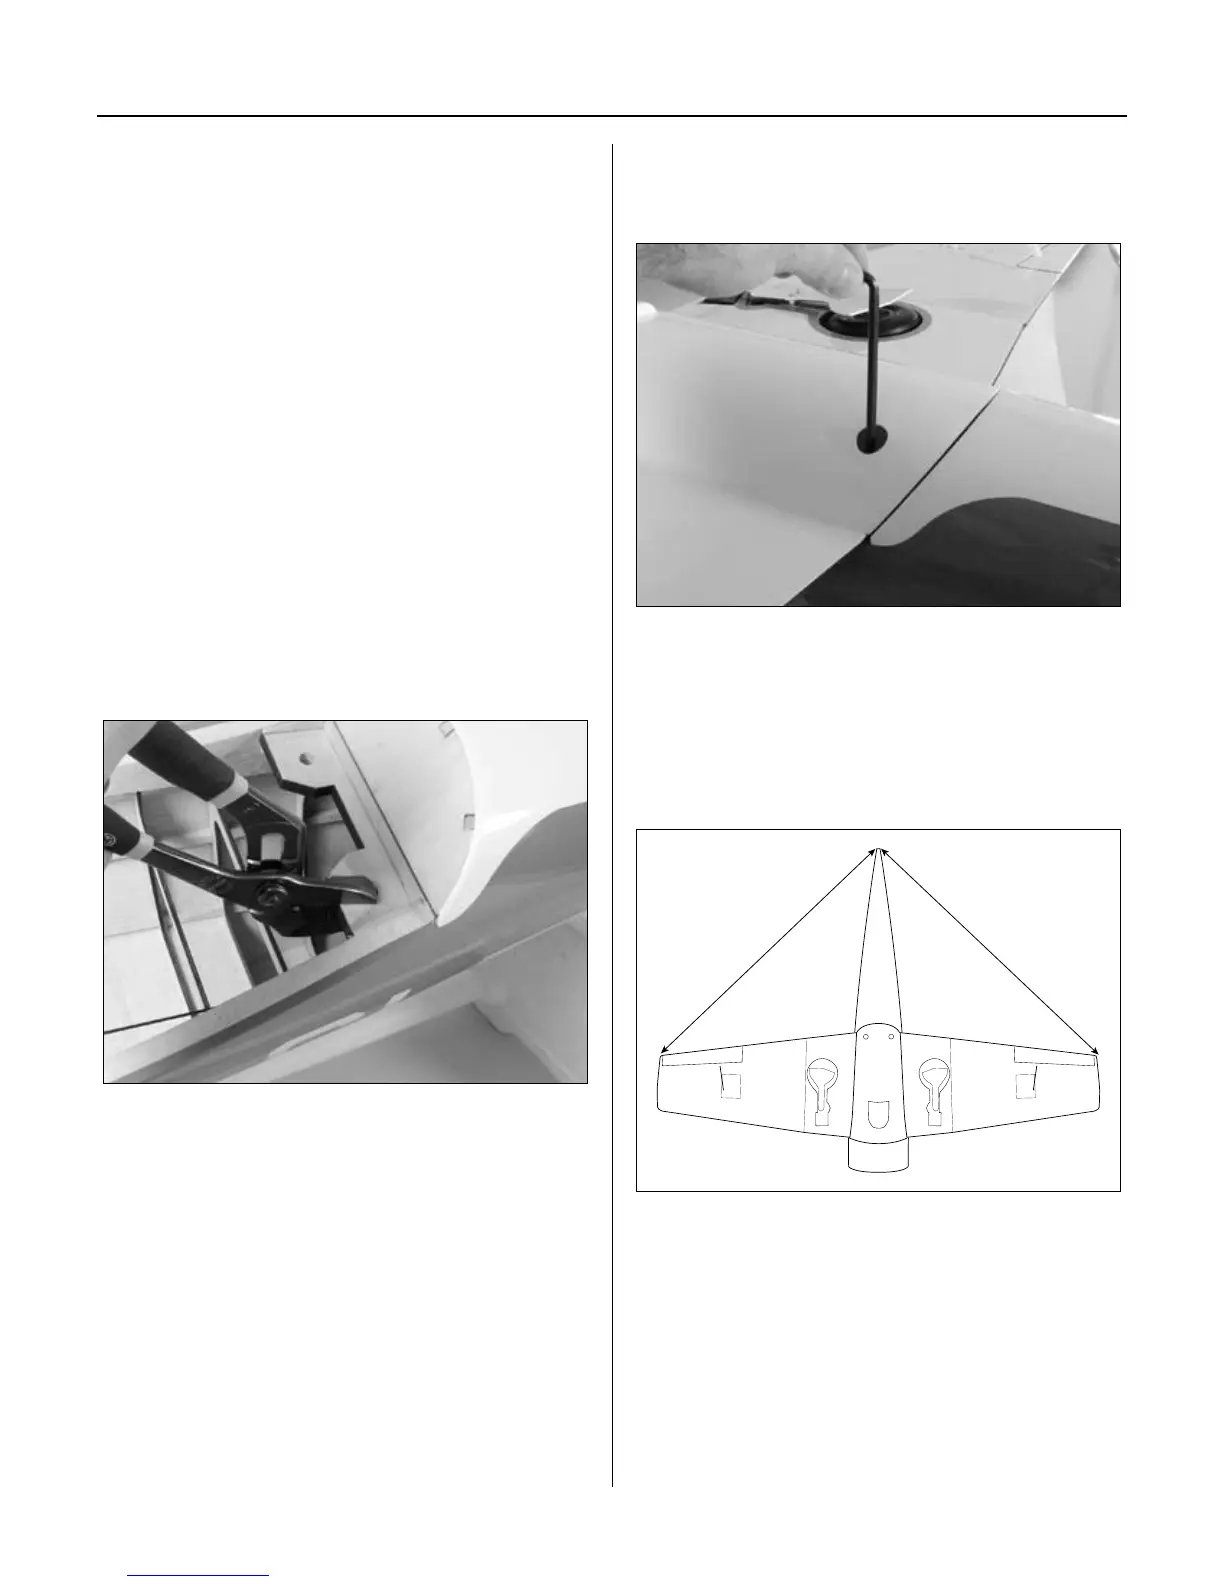
Step 3
Measure the distance between a point centered at the
rear of the fuselage and each wing tip. The measurement
will be equal if the wing is aligned correctly. If the
measurement is not the same, slightly oval the hole for
the wing bolts until an equal measurement is achieved.
A A
A=A
Section 7: Stabilizer Installation