33
Required Parts
• Fuselage assembly • Rudder
• CA hinge (3) • Tail wheel wire
Required Tools and Adhesives
• Thin CA • T-pins
• 30-minute epoxy • Medium sandpaper
• Hobby knife • Rubbing alcohol
• Hex wrench • Ruler
• Mixing sticks • Paper towel
Step 1
Remove the covering from the bottom of the fuselage and
behind the fin using a sharp hobby knife. Slide the tail
gear wire into position from the bottom of the fuselage.
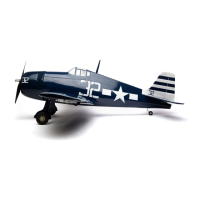
Step 2
Push the tail wheel until the wheel collar is against the
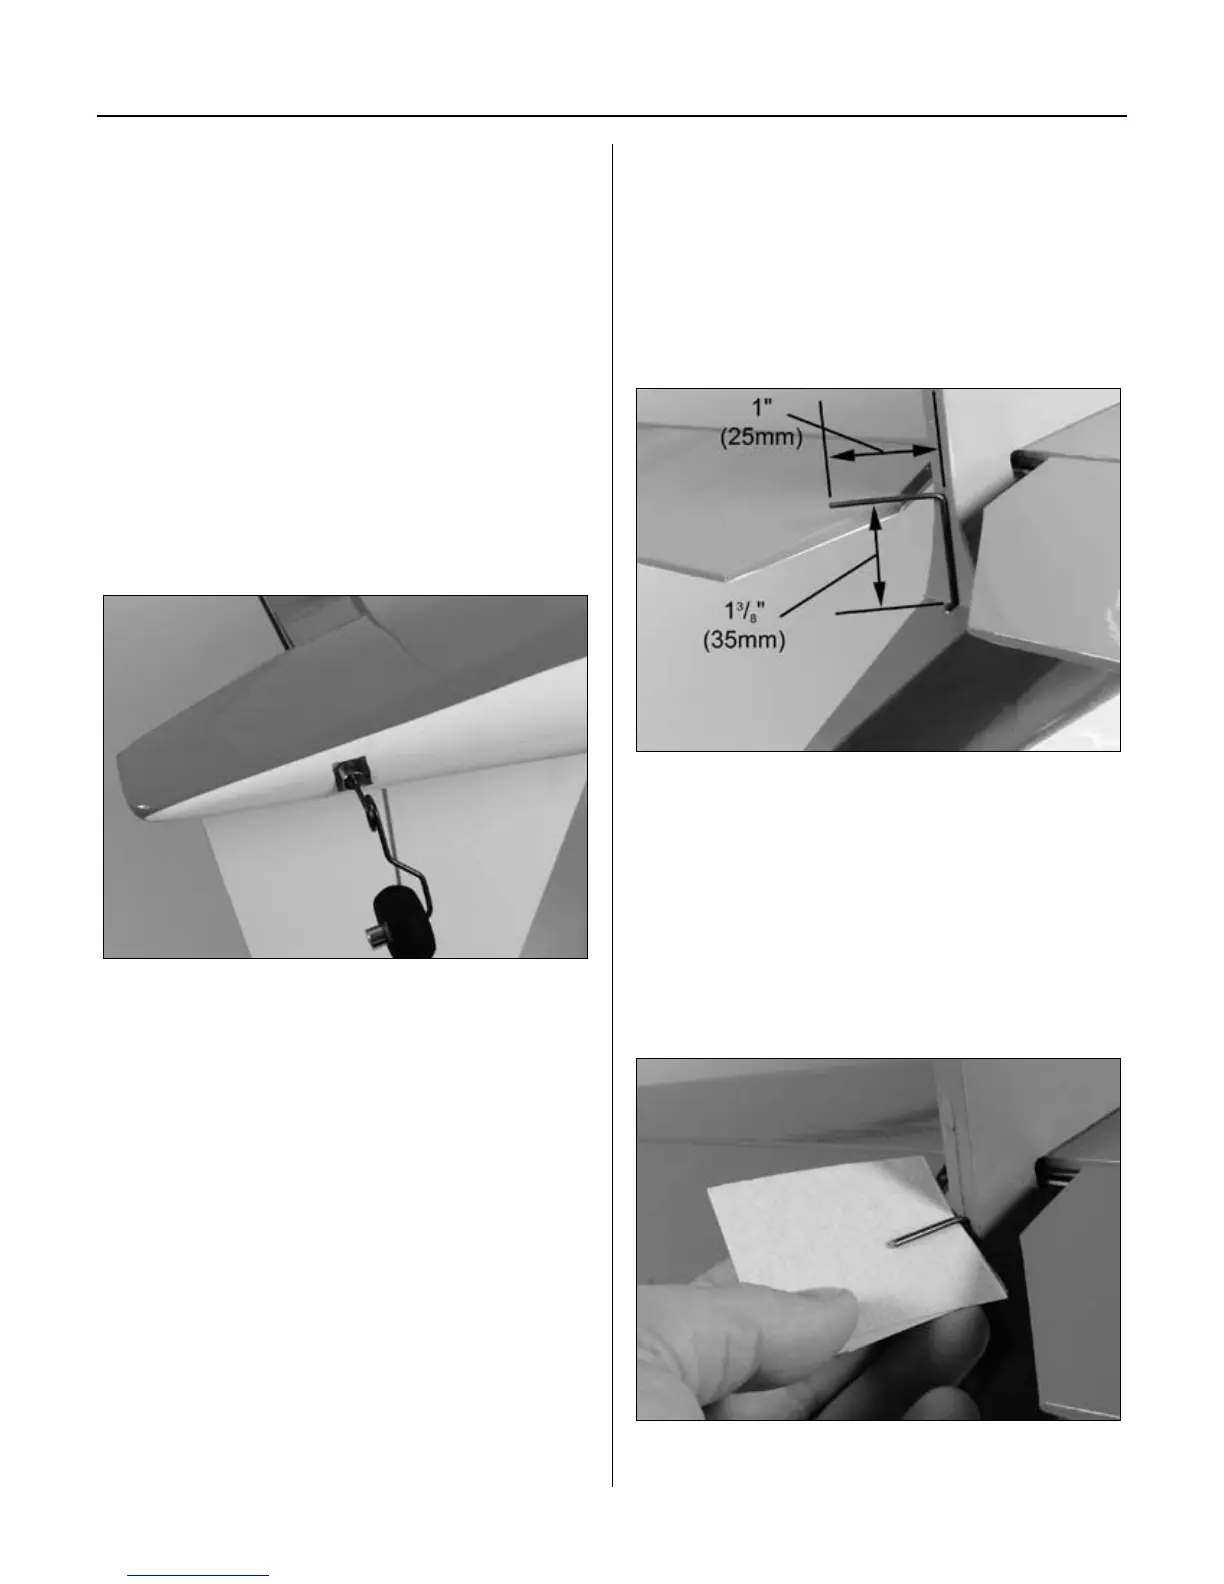
bracket inside the fuselage. Measure 1
3
/
8
" (35mm) up
from the fuselage and mark the tail wheel wire. Position
the wire so the tail wheel will be parallel to the runway.
Make a 90-degree bend in the wire at the mark so the
wire will extend into the rudder. Cut the excess wire so
only 1" (25mm) extends past the rear edge of the fin.
Step 3
Remove the covering from the slot in the rudder.
Locate three CA hinges. Place a T-pin in the center of
the hinges. Place the hinges into the elevator half.
Step 4
Use medium sandpaper to roughen the portion of the
tail wheel wire that will be inserted in the rudder. Clean
the wire using rubbing alcohol and a paper towel.
Section 9: Installing the Rudder