34
Step 5
Locate three CA hinges and place a T-pin in the center
of each hinge. Place the hinges into the rudder.
Step 6
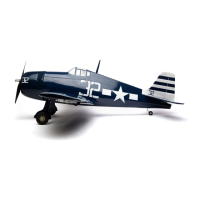
Test fit the rudder to the fin and tail wheel wire. The
gap between the rudder and fin should be a maximum
of approximately 1/64" (.4mm). Check the movement
of the rudder to make sure it clears the fin.
Step 7
Remove the rudder from the fin. Mix 1/2 ounce of
30-minute epoxy and apply it to the groove and hole
in the rudder. Insert the rudder control rod. Remove any
excess epoxy using rubbing alcohol and a paper towel.
Note: You can combine the previous step with
the following step if you like. This will hold
the rudder in position while the epoxy cures.
Important: Do not let epoxy get into
the tail wheel wire support brackets.
Step 8
Check to make sure the rudder moves freely. Apply
thin CA to both sides of the hinges. Make sure to
saturate the hinge and don’t use accelerator.
Step 9
Once the CA and epoxy have fully cured, gently pull on
the fin and rudder to make sure the hinges are well glued.
Flex the rudder a few times to break in the hinges.
Step 10
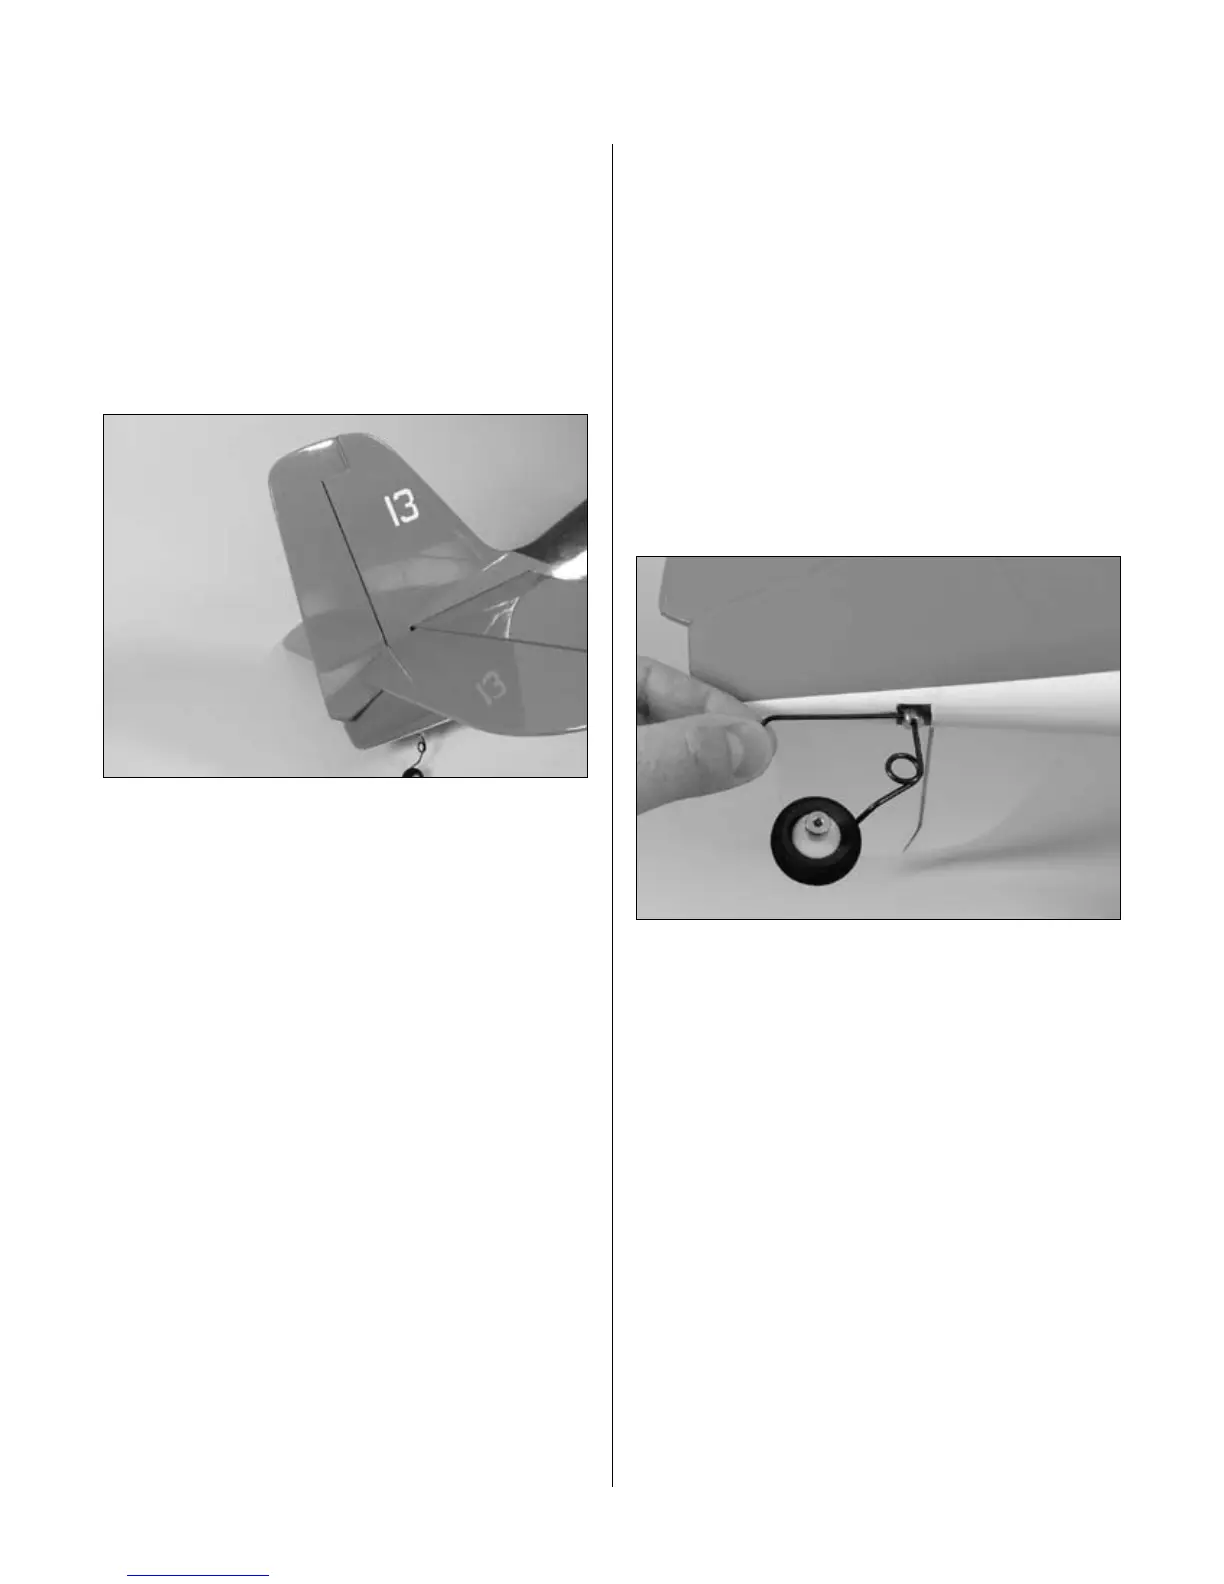
Loosen the setscrew in the wheel collar and slide it
tightly against the bracket inside the fuselage. This
prevents loads from landing on the rudder hinges.
Section 9: Installing the Rudder