26
Required Parts
• Fuselage assembly • Cowling
• #2 x 1/2" sheet metal screw (4)
• Dummy radial engine
Required Tools and Adhesives
• Drill • Sandpaper
• Drill bit: 1/16" (1.5mm), 1/8" (3mm)
• Hobby scissors • 6-minute epoxy
• Phillips screwdriver (small) • Cardstock
• Felt-tipped pen • Rubbing alcohol
• Paper towel
• Rotary tool with sanding drum
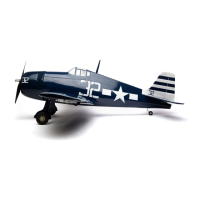
Step 1
Locate the dummy radial engine. Use a sharp
hobby knife to trim the material between the
cylinders and bottom as shown. Leave the material
above the cylinders in tact for strength. Remove
the center area for the engine drive washer.
Hint: The dummy radial engine can also be
painted at this time. Just remember to test
the paint on the pieces removed to make
sure the paint won’t attack the plastic.
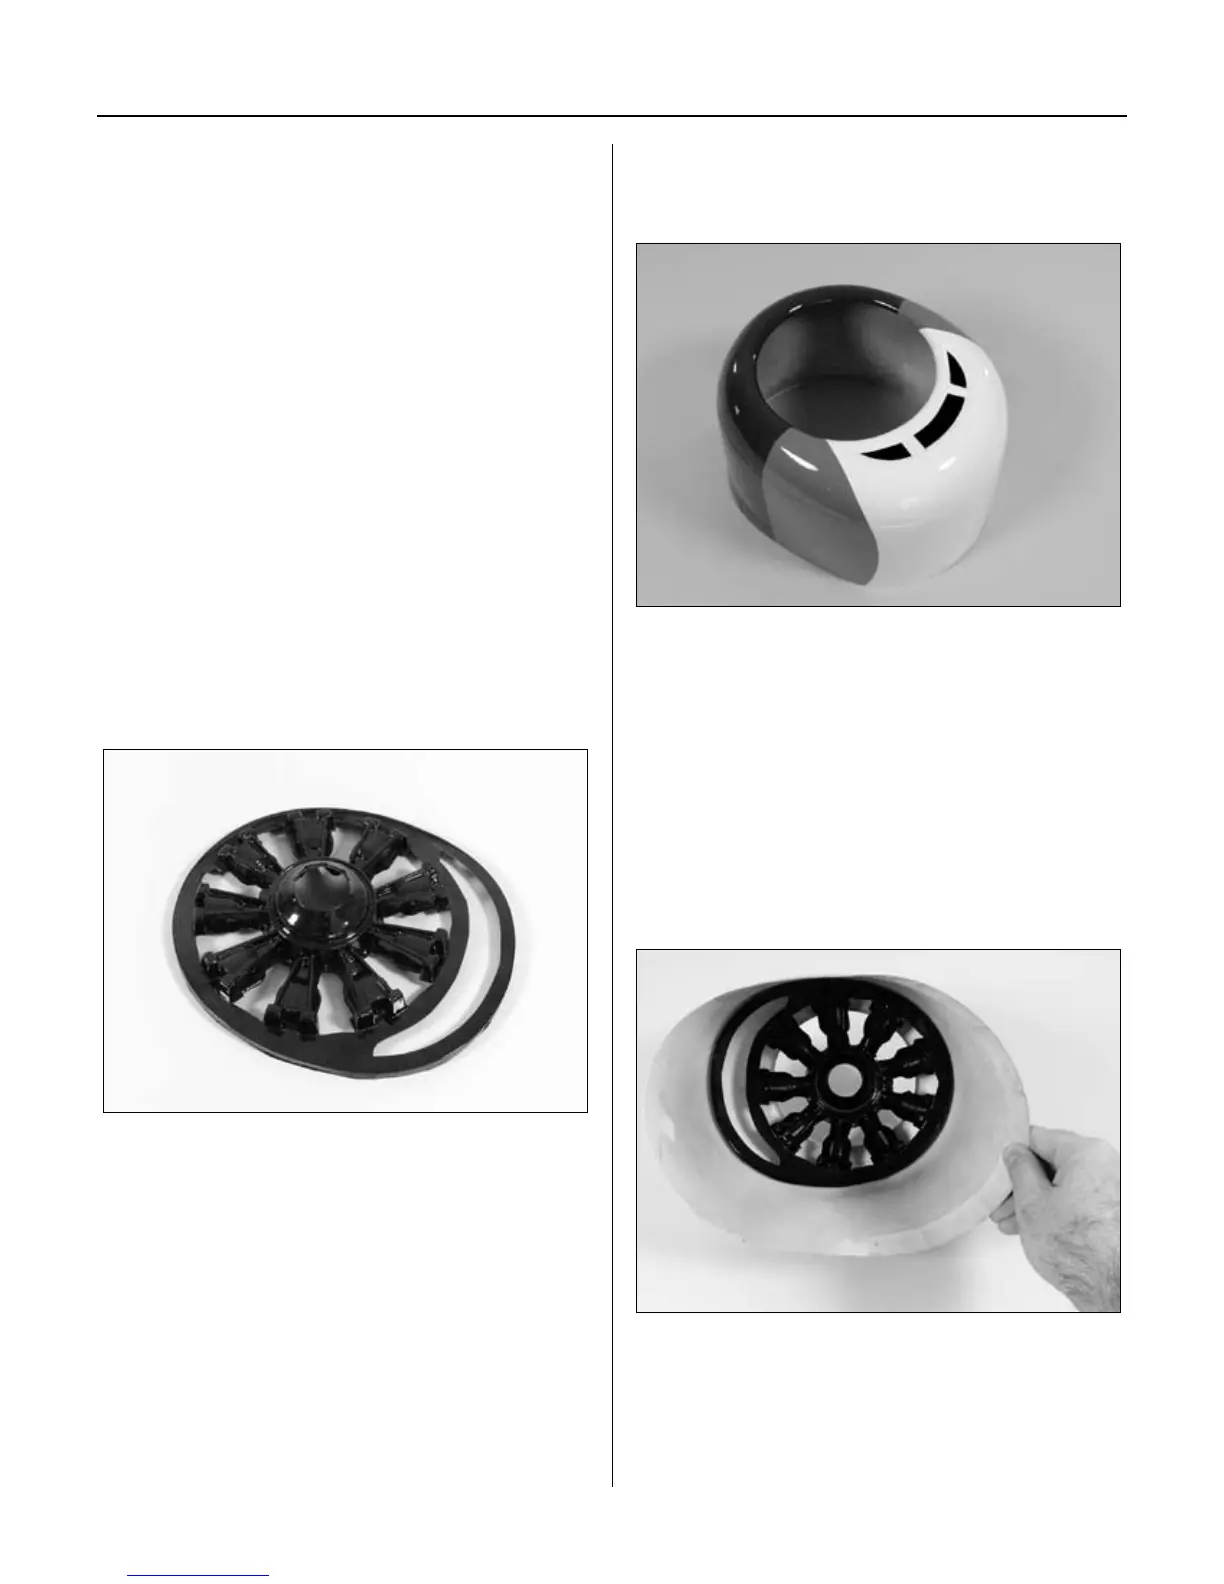
Step 2
Use a rotary tool to remove the openings in the
cowling to allow for air to flow to the engine.
Step 3
Use medium grit sandpaper to sand the inside of
the cowling where the dummy radial engine will be
positioned. Clean the inside of the cowling using a mild
detergent. This will remove the mold release and sanding
dust from inside the cowling.
Step 4
Use 6-minute epoxy to glue the dummy radial engine
inside the cowl.
Section 6: Cowling Installation