© 2015Harmar Mobility, LLC • All Rights Reserved
800-833-0478 | www.harmar.com10
Vantage Stair Lift PREPARATION - CUTTING THE RAIL
BOTTOM SECTION
SPLICE JOINT TOP SECTION
96" STANDARD LENGTH
36" MINIMUM CUT LENGTH
Two Rail Conguration
Two Rail Installation (96¼ -192 inches)
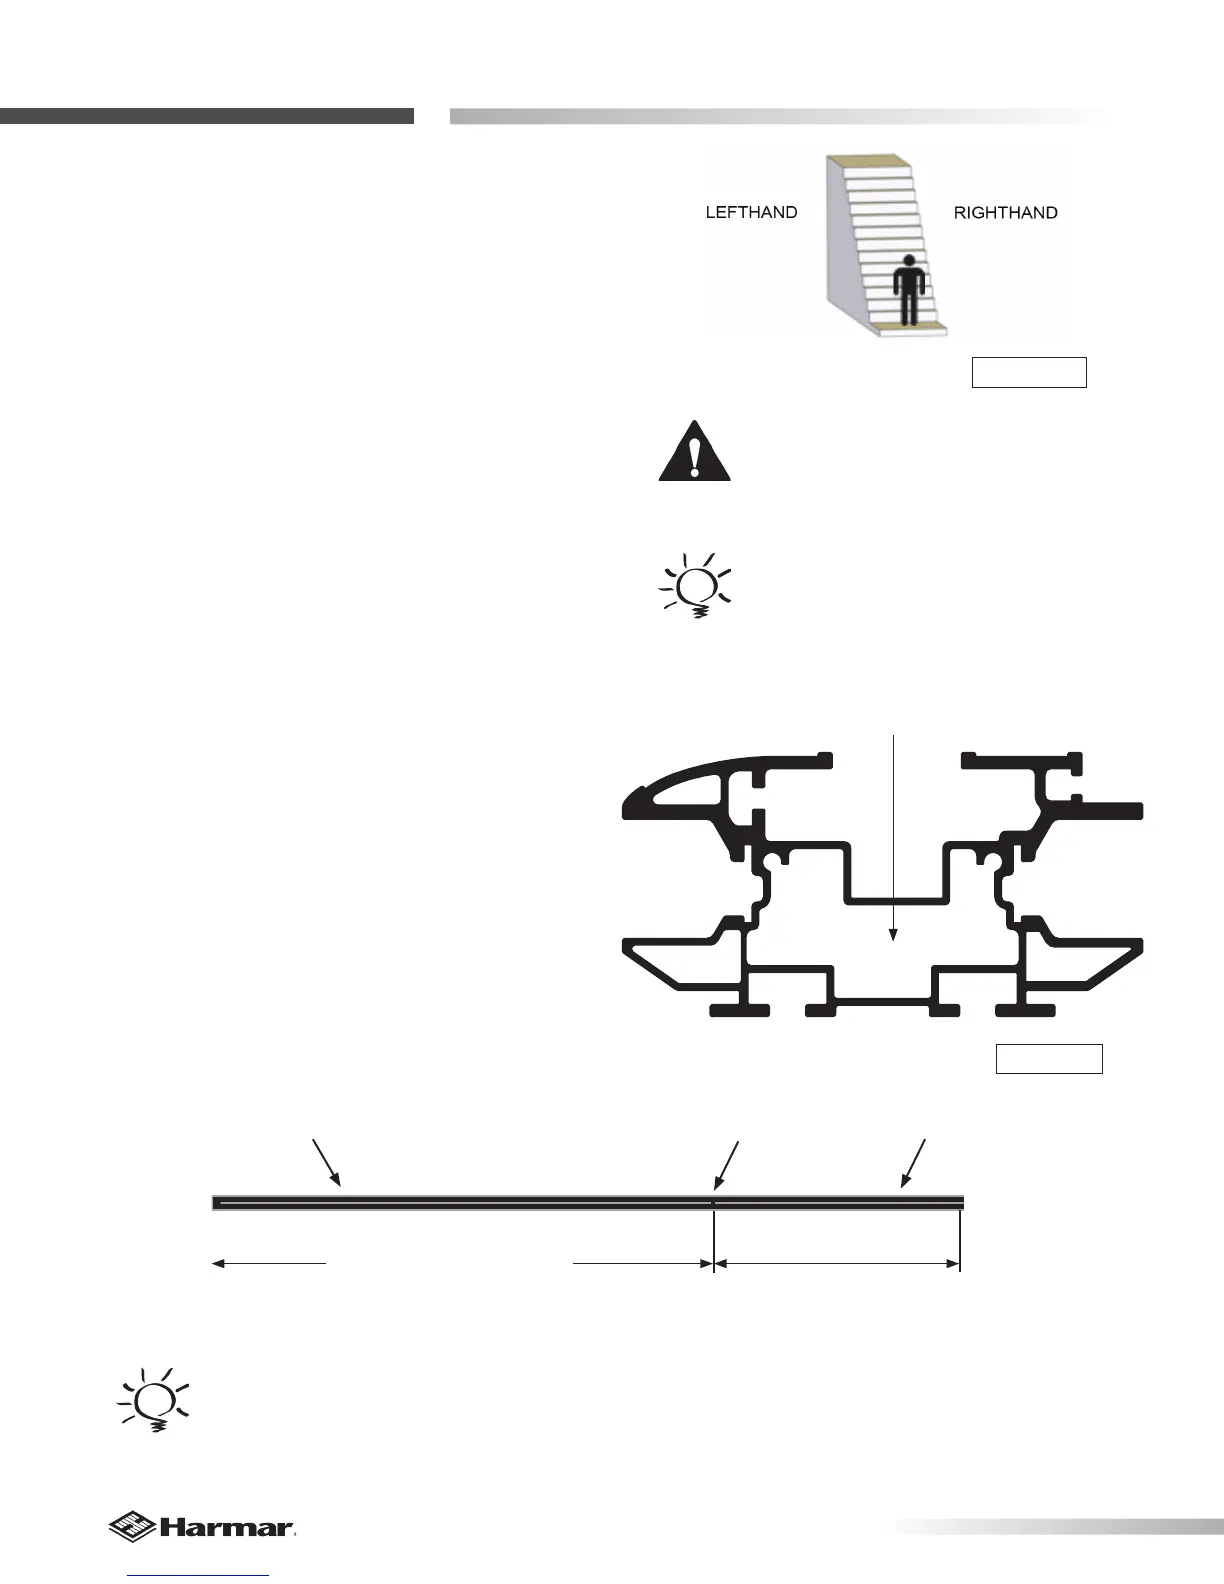
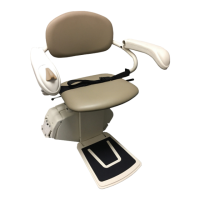
1. Determine if the lift will be installed on the right or
left side of the staircase. [Figure 10-1]
When deciding on which side of the staircase to
install the lift, consider:
• Which side oers access to an electrical
outlet?
• Which side has protruding obstructions such
as handrails or wall or window trim?
• Is there a doorway at the top or bottom?
2. Determine top and bottom of rail. The teeth of the
gear rack must face toward the wall nearest to where
the lift will be installed.
3. Remove the charge strips and wiring from the rail.
4. Cut the rail to length at the top end.
5. Replace charge strips in the top end of the rail
routing the wire through the main interior channel.
[Figure 10-2]
CAUTION
Before cutting the rail, remove the
gear rack, charge strips and wire
from the rail that will be cut.
TIP
When removing the gear rack DO NOT
remove the screws from the gear rack. If
you do, the fastening plate will become
lost within the channel and the gear
rack will need to be removed.
Figure 10-1
TIP
Remember to keep the factory cuts
together at the splice joint to assure the
smoothest transition.
MAIN INTERIOR CHANNEL
Figure 10-2