1-18 InstallatIon
P/N 0387183_V
U.S. & Canada 1-800-922-1919 • Mexico 1-800-890-2900 • WWW.HUSSMANN.COM
6
Move the second merchandiser
against first, mating alignment
pins with corresponding holes.
Use care when pushing the cases
together.
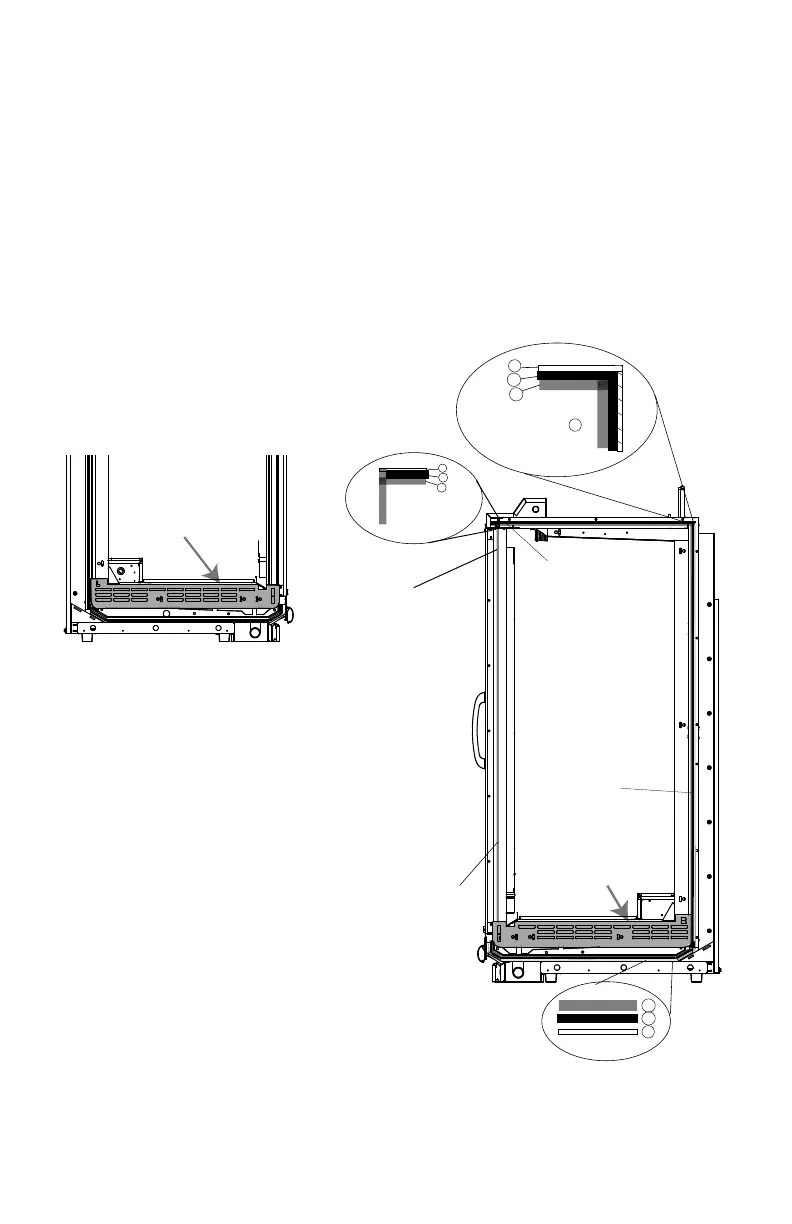
RL / RM / RLN / RMN /
RLNI: Do not cut wires routed
along the front bumper retainer.
See detail in Figure 6.
The RMTM / RLTM / RMTD
has no alignment pin and the
wireway is at the top front.
Figure 5C, Part 2. Apply Gasket to Right End of RLTM / RMTM / RMTD
RLTM
RMTM
RMTD
F
R
O
N
T
Right End
Case-to-Case
Joint or End Panel
Apply Donut Gasket,
Foam Gaskets
and Gasket Pad to
Right End Only
F
R
O
N
T
Left End
Only Use
Donut Gasket on
left end of
a Case-to-Case
Joint
If attaching an End
Panel, all 4 Gaskets
must be applied.
Install Donut
Gasket as Shown
(seat into groove)
Apply Unitized
Gasket Pad (4)
////////////////////////////////////////////////////////////////////////////////////////////////////////////////////////////////////////////////////////////////////////////////////////////////////////////////////////////////////////////////////////
/ / / / ~/ / / / / / / / / / / / / / / / / / / / / / / / / / / / / / / / / / / / / / / / / / / / / / / / / / / / / / / / / / / / / / / / / / / / / / / / / / / / / / / / / / / / / /
/ / / / ~/ / / / / / / / / / / / / / / / / / / / / / / / / / / / / / / / / / / / / / / / / / / / / / / / / / / / / / / / / / / / / / / / / / / / / / / / / / / / / / / / / / / / / /
////////////////////////////////////////////////////////////////////////////////////////////////////////////////////////////////////////////////////////////////////////////////////////////////////////////////////////////////////////////////////////
Overlap
Foam Gasket 3
as Shown
/ / / / / / / /
/////////////////////////////
1
2
3
/ / / / / / / / / / / / / / / / / / / / / / / / / / / / / / / / / / / / / / / / / / / / / / / / / / / / / / / / / / / / / / / / / / / / / / / / / / / / / / / / / / / / / / / / / /
///////////////////////////////////////////////////////////////////////////////////////////////////////////////////////////////
/////////////////////////////////////////////////////////////////////////////////////////////////////////////////////////
/ / / / / / / / / / / / / / / / / / / / / / / / / / / / / / / /
/ / / / / / / / / / / / / / / / / / / / / / / /
/ / / / / / / / / / / / / / / / / ~ / / /
/ / / / / / / /
/////////////////////////////
1
2
3
Donut Gasket
Foam 1 inch x 1/2 inch
Foam 1/2 inch x 1/4 inch
Install Donut
Gasket as Shown
/////////////////////////////
Install Donut
Gasket
(seat into groove)
Install Donut
Gasket
(seat into groove)
////////////////////////////////////////////////////////////////////////////////////////////////////////////////////////////////////////////////////////////////////////////////////////////////////////////////////////////////////////////////////////
Gasket 3
must overlap
Gasket 3
/ / / / / / / /
/////////////////////////////
Detail A
Detail B
Gasket 3
must overlap at all intersections
— Do not butt gaskets.
1
2
3
Only Foam Gasket
Number 3
/ / / / / / /
/////////////////////////////
2
3
/////////////////////////////
Detail D
1
F
R
O
N
T
Right End
Case-to-Case
Joint or End Panel
Apply Donut Gasket,
Foam Gaskets
and Gasket Pad to
Right End Only
F
R
O
N
T
Left End
Only Use
Donut Gasket on
left end of
a Case-to-Case
Joint
If attaching an End
Panel, all 4 Gaskets
must be applied.
Install Donut
Gasket as Shown
(seat into groove)
Apply Unitized
Gasket Pad (4)
Unitized Gasket Pad
////////////////////////////////////////////////////////////////////////////////////////////////////////////////////////////////////////////////////////////////////////////////////////////////////////////////////////////////////////////////////////
/ / / / ~/ / / / / / / / / / / / / / / / / / / / / / / / / / / / / / / / / / / / / / / / / / / / / / / / / / / / / / / / / / / / / / / / / / / / / / / / / / / / / / / / / / / / / /
/ / / / ~/ / / / / / / / / / / / / / / / / / / / / / / / / / / / / / / / / / / / / / / / / / / / / / / / / / / / / / / / / / / / / / / / / / / / / / / / / / / / / / / / / / / / / /
////////////////////////////////////////////////////////////////////////////////////////////////////////////////////////////////////////////////////////////////////////////////////////////////////////////////////////////////////////////////////////
Overlap
Foam Gasket 3
as Shown
/ / / / / / / /
/////////////////////////////
1
2
3
/ / / / / / / / / / / / / / / / / / / / / / / / / / / / / / / / / / / / / / / / / / / / / / / / / / / / / / / / / / / / / / / / / / / / / / / / / / / / / / / / / / / / / / / / / /
////////////////////////////////////////////////////////////////////////////////////////////////////////////////////////////////////////////////////////////////////////////////////////////////////////////////////////////////////////////////////////
/ / / / / / / / / / / / / / / / / / / / / / / / / / / / / / / /
/ / / / / / / / / / / / / / / / / / / / / / / /
/ / / / / / / / / / / / / / / / / ~ / / /
/ / / / / / / /
/////////////////////////////
1
2
3
Donut Gasket
Foam 1 inch x 1/2 inch
Foam 1/2 inch x 1/4 inch
Install Donut
Gasket as Shown
/////////////////////////////
Install Donut
Gasket
(seat into groove)
Install Donut
Gasket
(seat into groove)
////////////////////////////////////////////////////////////////////////////////////////////////////////////////////////////////////////////////////////////////////////////////////////////////////////////////////////////////////////////////////////
Gasket 3
must overlap
Gasket 3
/ / / / / / / /
/////////////////////////////
Detail A
Detail B
Gasket 3
must overlap at all intersections
— Do not butt gaskets.
1
2
3
2
Detail C
Only Foam Gasket
Number 3
/ / / / / / /
/////////////////////////////
2
3
/////////////////////////////
Detail D
1
Right End Case
 Loading...