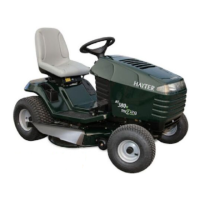
Figure5
1.Steeringwheel2.Spirolpin
3.Aligntheholesbyinsertingapunchoralongnail
partiallythroughtheholesinthesteeringwheeland
shaft.
4.Insertthespirolpinintotheholeontheopposite
side(Figure5).
5.Usingahammer,drivethespirolpininuntilitisush
withtheoutsideofthesteeringwheel(Figure5).
4
InstallingtheSeat
Partsneededforthisprocedure:
1
Seat
2Knobs
2Flat-washer
Procedure
1.Positiontheseatontotheseatbasebyinserting2
shoulderboltsthroughthekeyholeopeningsatthe
endofbothslots(Figure6).
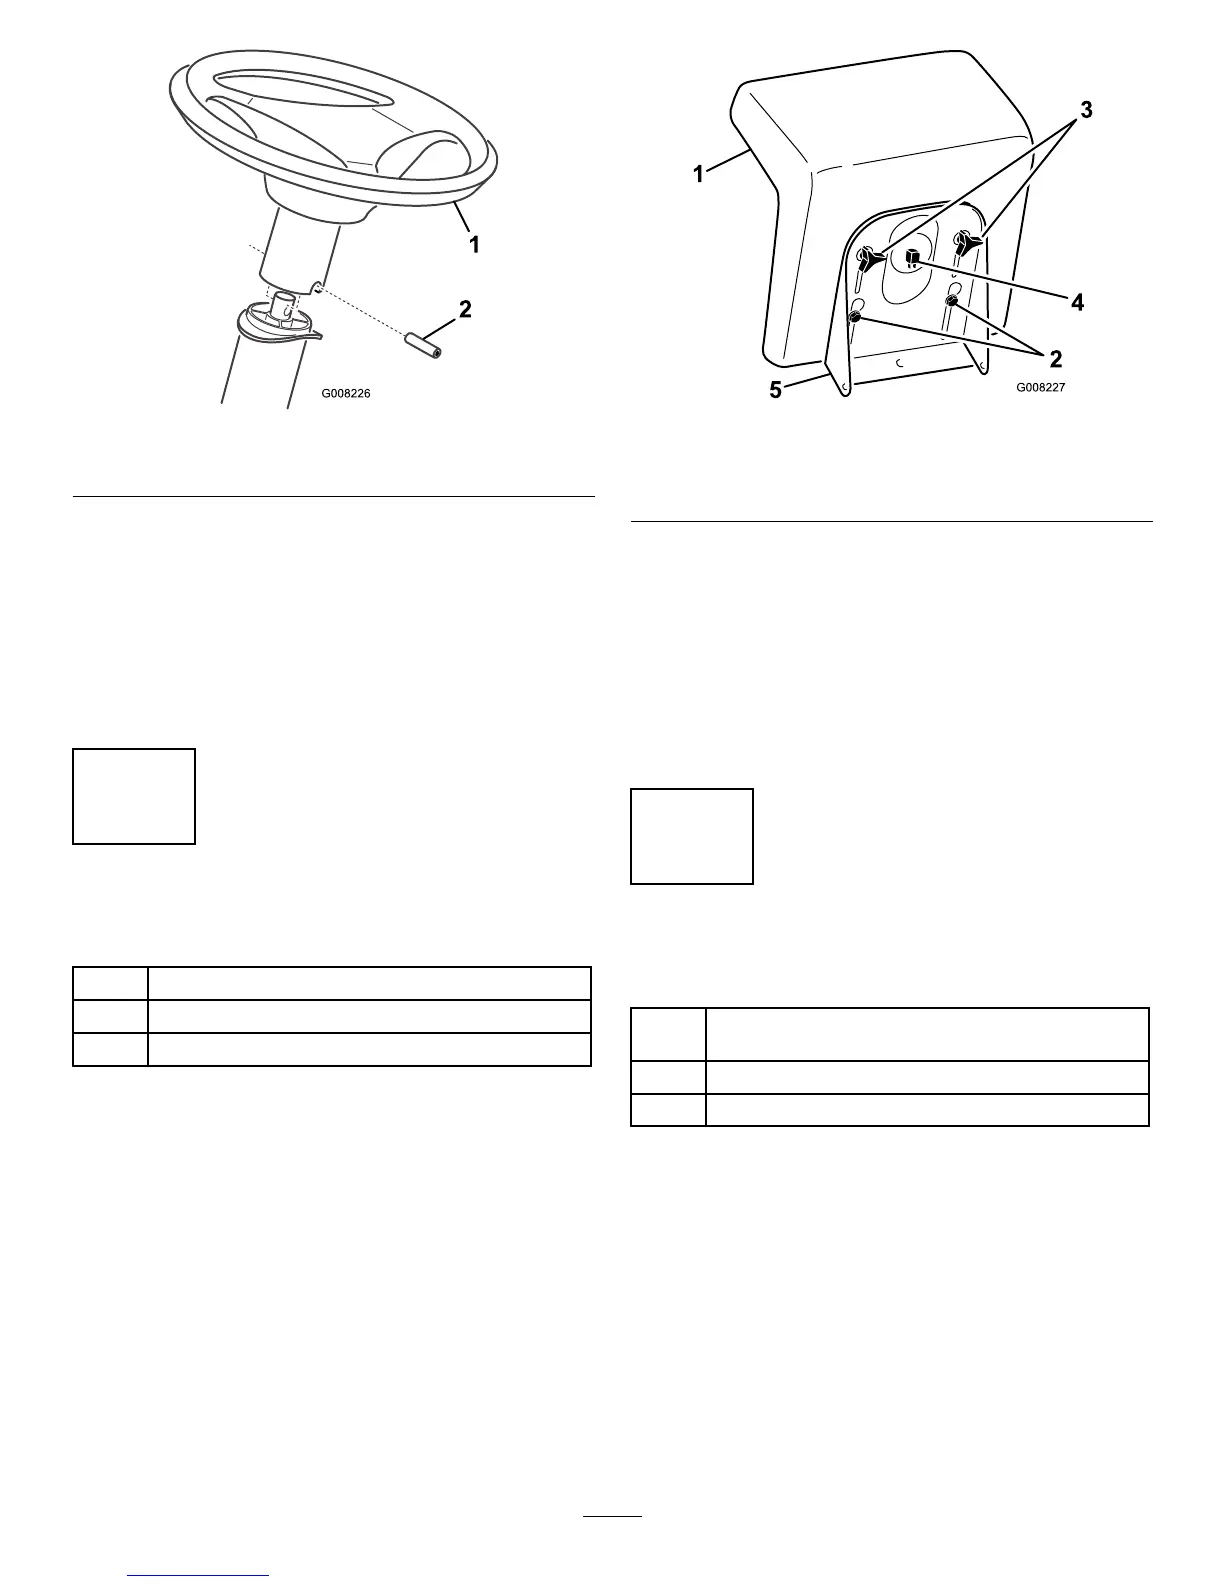
Figure6
1.Seat4.Seatswitch
2.Shoulderbolts5.Seatbase
3.Knobsandatwashers
2.Threadtheknobsandatwashersthroughtheslots
andintotherearcenterholesintheseat(Figure6).
3.Adjusttheseatandtightentheknobs.
4.Connecttheseatswitchtothewireharness
connector(Figure6).
Note:Ensurethatthewiringisnotpinchedinthe
seatbrackets.
5
ActivatingtheBattery
Partsneededforthisprocedure:
As
needed
Bulkelectrolyte,1.260specicgravity(purchase
separately)
2
Bolt(1/4x3/4inch)
2Wingnut
Procedure
Purchasebulkelectrolytewith1.260specicgravity
fromalocalbatterysupplyoutlet.
Important:Neverllthebatterywithelectrolyte
whilethebatteryisinstalledinthetractor.
Electrolytecouldbespilledonotherpartsand
corrodethem.
1.Removethebatteryandbatteryboxfromthetractor;
refertoRemovingtheBatteryinMaintenance.
12