11
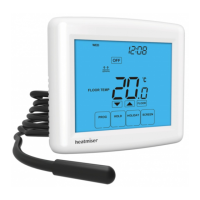
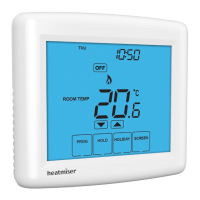
Slimline Series
Section Header
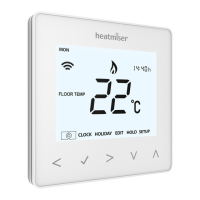
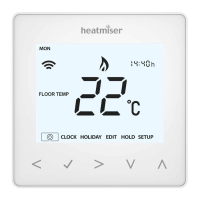
Pairing the Thermostat
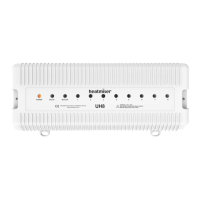
Pairing With the UH8-RF Wiring Centre
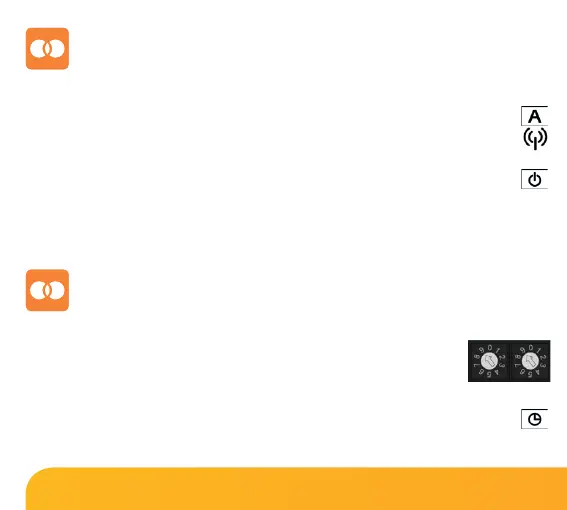
• On the RF-Switch receiver, press and hold the CH1 Pairing button (if a valve is used)
or Boiler CH Pairing button until the Comms LED flashes.
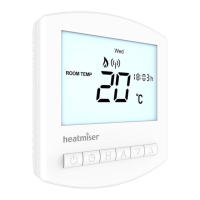
• With the thermostat turned OFF, press & hold the A button for 5 seconds .............
• The thermostat will send a signal for 1 minute and will flash the RF signal icon ...
• If pairing is successful, the Comms LED on the RF-Switch receiver will go out.
• Press the Power button on the thermostat once to confirm pairing ..........................
If pairing is unsuccessful, check features 06 to 07 have been configured correctly.
To eliminate a possible signal issue, reposition the thermostat closer to the receiver and
repeat the pairing process again.
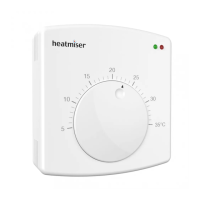
On the UH8-RF, take note of the numbers set on the rotary switches
(UH8-RF ID numbers 01-99).
Each UH8-RF on the system needs to have a different ID number.
Set your first UH8-RF to 01
With the thermostat turned OFF:
• Press & hold the Clock button until 2 sets of numbers appear on screen ................
• The small number 01 in the top right corner of the LCD is the feature number.
Example: Rotary Switch showing ID No. 99.

 Loading...