45
Removal and Replacement
To remove and replace the elbows, use the following steps:
1. Turn off power to the air combustion blowers.
2. Ensure that the re in the rebox is extinguished, which will allow the water to cool.
3. With hose clamps or vice-grips, pinch each door hose in the middle of the hose,
creating a tight seal.
4. Loosen the hose clamps on each elbow.
5. Remove each of the door hoses from the elbows.
6. Using a wrench, unscrew each of the door elbows, note how the elbows are angled.
7. Replace the door elbows using pipe compound and a wrench. Ensure the elbows are
secure and angled correctly so the hoses will slide on easily.
8. Push the door hoses onto the new elbows.
9. Tighten the hose clamps on each top and bottom hose, securely fastening the door
hose to the elbow.
10. Remove the vice-grips pinching the door hoses. This will allow water to ow through
hoses.
11. Check for leaks.
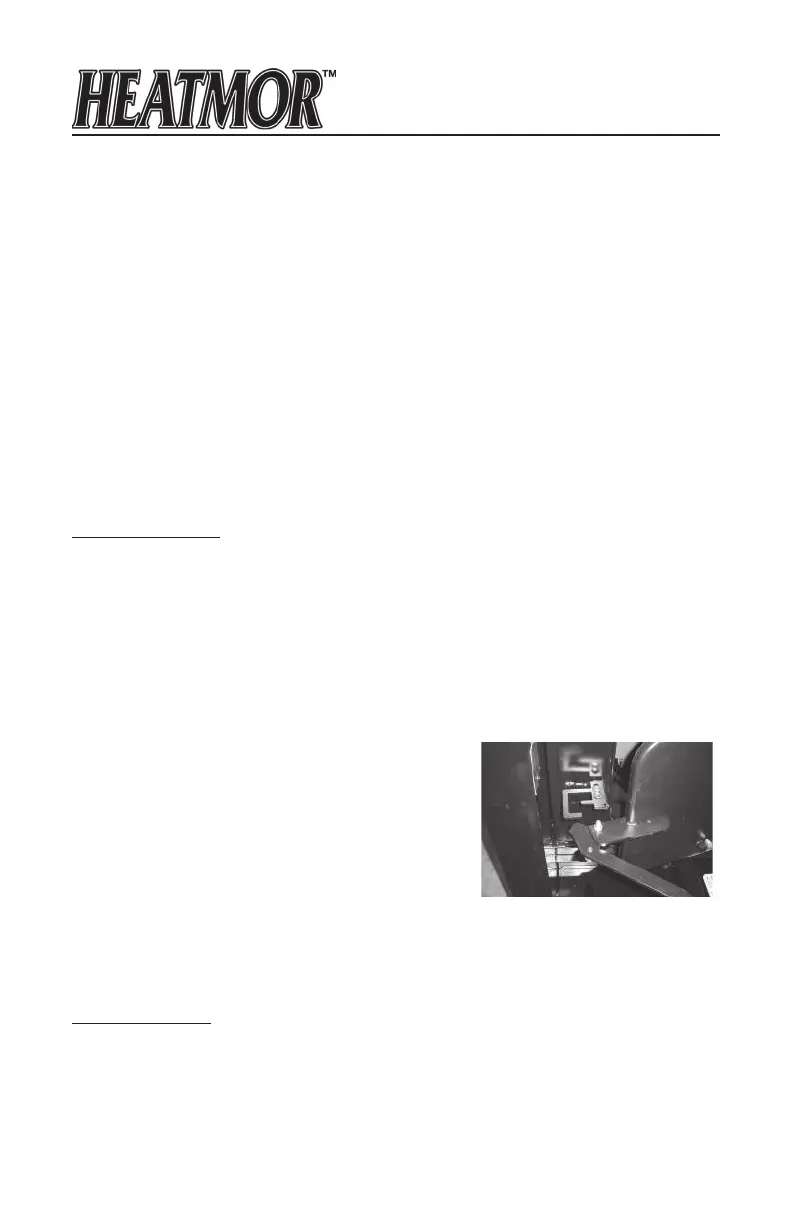
Firebox Door Handle
Principles of the Firebox Door Handle
Fastened to the rebox door, the handle provides a secure method of controlling the
opening and closing of the rebox door. By opening the rebox door, gives a space for
fresh air to enter the rebox without the risk of a “ash back.” The rebox door handle is
also designed to “stick” to the rebox door handle holder on the outer door. This procedure
prevents either of the doors closing while the HEATMOR™ is being loaded with wood.
Maintenance / Result
To maintain the door handle, ensure that the nut on the pivot point is not overly tight. If the
arm is not able to pivot easily, the handle will be hard to
lift. If the nut is too loose, the arm will also be loose and
it will be harder to obtain a perfect seal around the door.
If you do not have a rm seal, you could potentially be
creating an air leak resulting in further complications.
Refer to “Air Leaks” for further details or contact your
local dealer.
Removal and Replacement
To remove the handle, use the following steps.
1) Turn off power to the blowers.
2) Ensure the re in the rebox is extinguished.
3) Loosen and remove the nut on the pivot bolt.
Firebox Door Hinge
Principle of the Firebox Door Hinge
Supports the rebox door and allows for adjustment.
X-Series Firebox Door Handle
 Loading...