65
Removal and Replacement
If the roof has been damaged it can be replaced by a matching roof. Follow these steps or
contact your local dealer.
1. Remove the silicone from around the lift hook, chimney, anode rod, and relief vent
pipe.
2. Remove all roof screws holding the damaged roof secure.
3. Lift the old roof steel off the furnace.
4. Install the new roof steel.
5. Secure the new roof to the frame of the furnace.
6. Re-seal the lift point, chimney, relief vent pipe, and anode rod coupler with caulking.
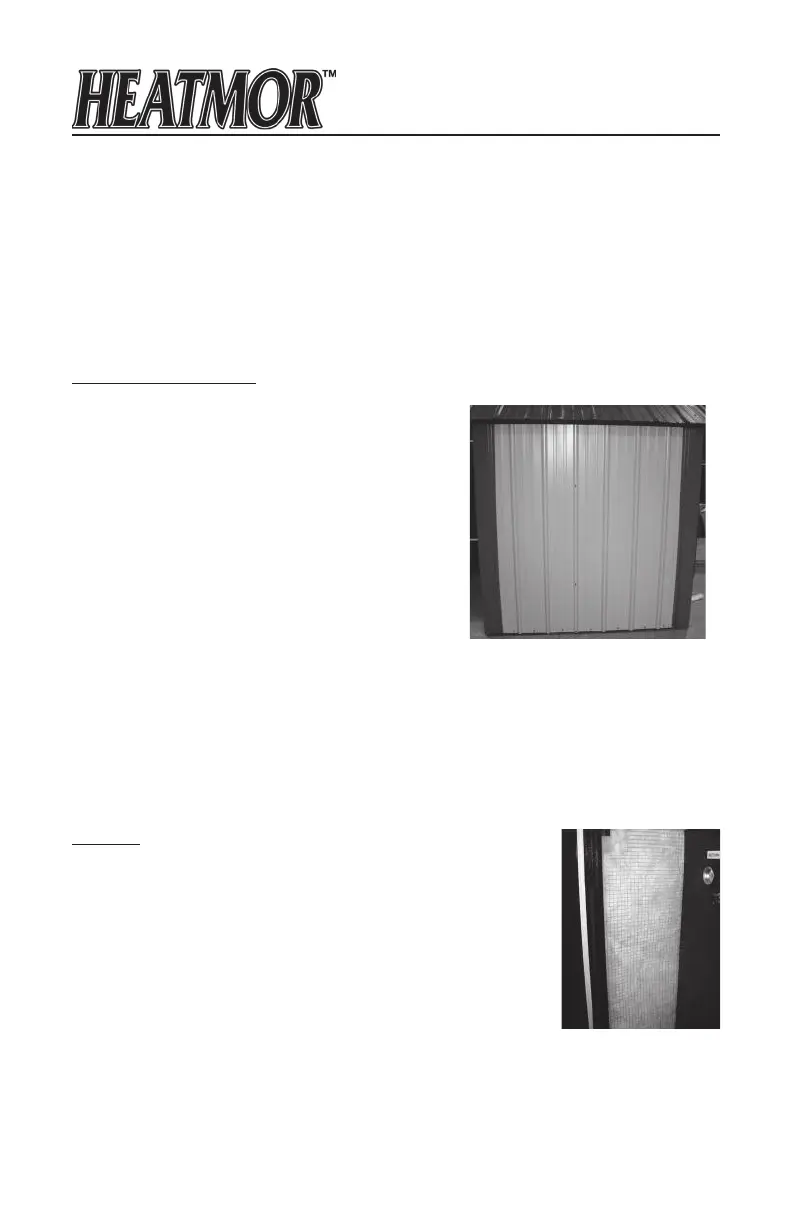
Sides of the HEATMOR™
Principle of the Sides and Ends
The sides of the furnace are clad with your choice of
steel siding. The steel siding provides a dry covering to
protect the insulation of the furnace.
Maintenance / Result
Inspect the sides of the furnace once a year to verify
that none of the screws have broken. A large number
of broken screws can allow damage to the furnace
siding. Ensure there is a good seal so no water can
enter into the insulation covering the sides of the water
jacket.
Removal and Replacement
If the sides have been damaged they can be replaced with matching steel siding. Follow
the following steps or contact your local dealer.
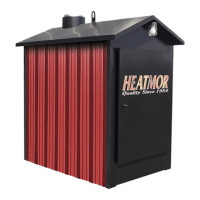
Insulation
Principle of the Insulation
The insulation helps retain the heat in the water, which has been
heated by the re. It also provides a heat barrier to ensure that the
outer steel siding does not release any heat.
Maintenance / Result
It is important to keep the insulation dry. Wet insulation loses its
R-Value. Keep the base of the furnace sealed to prevent small
rodents from making nests or wrecking the insulation.
Removal and Replacement
To remove and replace the insulation, refer to the preceding removal and replacement
steps involving the roof and siding. If you have any further questions, please contact your
local dealer.
1. Remove all the screws holding the damaged steel siding secure.
2. Lift the old steel off the furnace.
3. Install the new steel siding.
4. Secure the new steel to the frame of the furnace.