To select manual image brightness control, press
on the touch
panel and select “Manual” .
The illumination of the cSLO image can be controlled via .
To return to the main menu, press
.
To change the internal fixation light, press
on the touch panel.
The “Select Target” screen opens. The currently selected position
of the fixation light is highlighted in blue. The other available
positions of the internal fixation light are indicated as red squares.
Correlating to the eye that is currently selected, “N” and “T” will be
displayed on the screen to indicate the nasal and temporal position
of the internal fixation light for that eye.
To change the position of the internal fixation light, press the red
square you would like to select.
To switch on the external fixation light, press “External” .
All squares are now red and the external fixation light is switched
on.
To return to the main menu, press
.
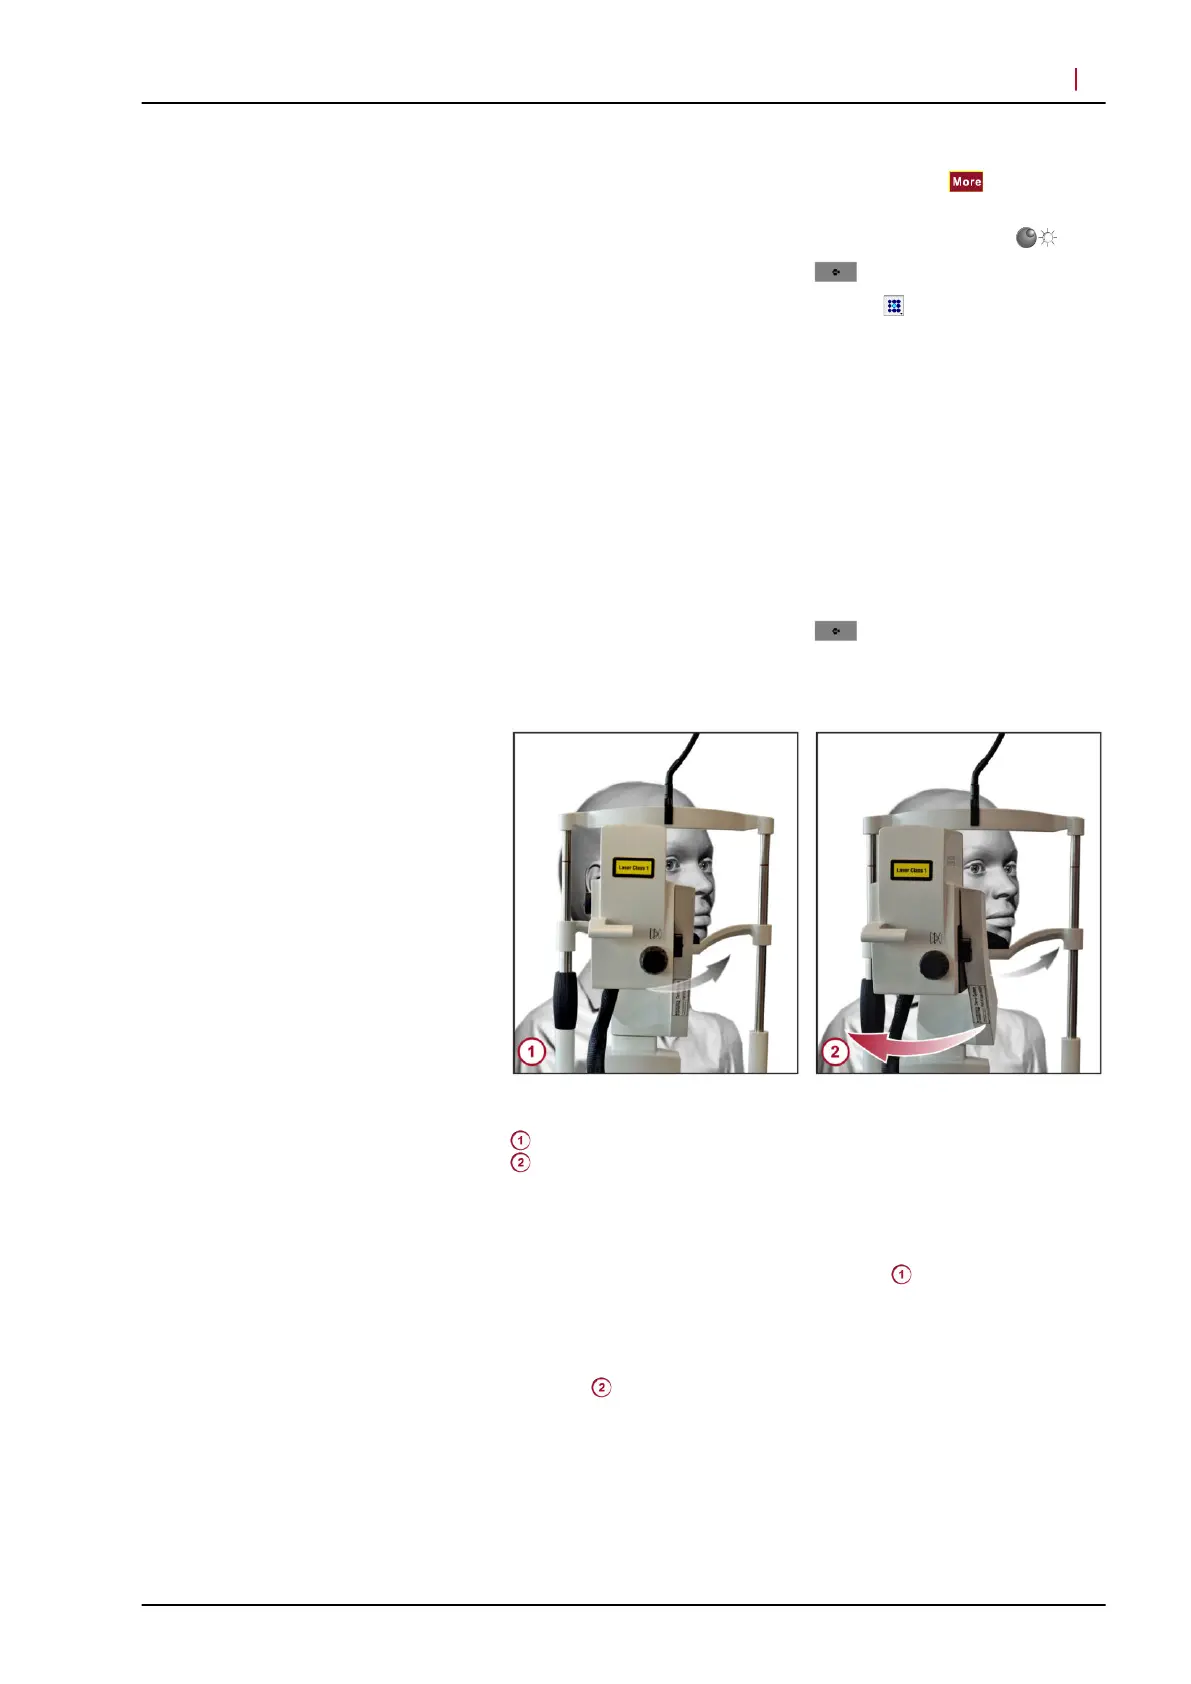
5.2 Examining Patients with Deep-seated Eyes or Small Orbits
Fig. 2: Examining patients with deep-seated eyes or small orbits
Patient with the head turned to the side
Camera head pivoted
When examining patients with deep-seated eyes or small orbits, it
may be challenging to get evenly illuminated images. In order to
improve image quality, try the following:
Ask the patient to turn the head to the side
(Fig. 2).
Ask the patient to look into the objective lens.
If it is still challenging to get an evenly illuminated image in the
acquisition window, pivot the camera head slightly to the opposite
direction (Fig. 2).
Fixation light
Acquiring Images
Examining Patients with Deep-seated Eyes or Smal...
5
© Heidelberg Engineering GmbH, Article No. 230134-002 INT
19