8
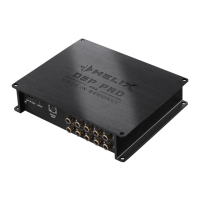
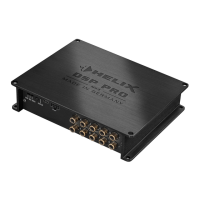
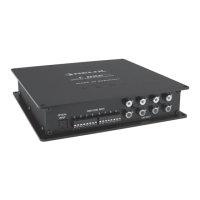
Ground Lift Switch
The ground of the HELIX DSP PRO signal inputs is
galvanically decoupled from the ground of the sig-
nal outputs. In many cars this setup is the best way
to avoid alternator noise.
Nevertheless there are use cases where it will be
necessary to directly connect input and output
ground or to tie both grounds together via a resis tor.
Therefore the “Ground Lift Switch” has three posi-
tions:
- center position: input and output ground
separat ed
- left position: input and output ground tied togeth-
er
- right position: input and output ground con-
nected via 200 Ohms resistor
9
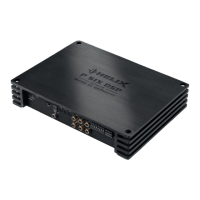
Control pushbutton
The control pushbutton allows the user to switch
between the two setup memory positions. To switch
between the setups the button has to be pressed
and held for 1 second. Switching is indicated by a
single red ash of the Status LED.
Pressing the button for 5 seconds completely eras-
es the internal memory. This is indicated by a con-
stant ashing of the Status LED.
Attention: After erasing the setups from memory
the HELIX DSP PRO will not reproduce any audio
output.
10
Status LED
The Status LED indicates the current active DSP
setup. Green means that setup 1 is load ed, orange
means that setup 2 is loaded. A ashing red light
indicates that no setup is loaded.
In that case please load a new setup via the
DSP PC-Tool software.
11
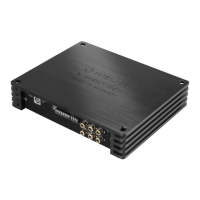
USB Input
Connect your personal computer to the HELIX DSP
PRO using the provided USB cable. The required
DSP PC-Tool software to congure this amplier
can be downloaded from the Audiotec Fischer web-
site www.audiotec-scher.com.
12
Control Input
This multi-functional input is designed for HELIX
DSP PRO accessory products like a remote control
which allows to adjust several features of the signal
processor. Depending on the type of remote con-
trol, the functionality at rst has to be dened in the
“Device Conguration Menu” of the DSP PC-Tool
software or on the remote control itself.
13
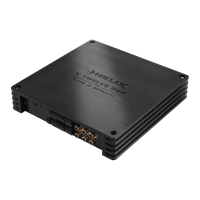
Line Output
10-channel pre-amplier output
These are used to connect external ampliers. The
output voltage is 6 Volts max. The outputs can be
assigned to any of the inputs as desired using the
DSP PC-Tool software.
16
Initial start-up and functions