13
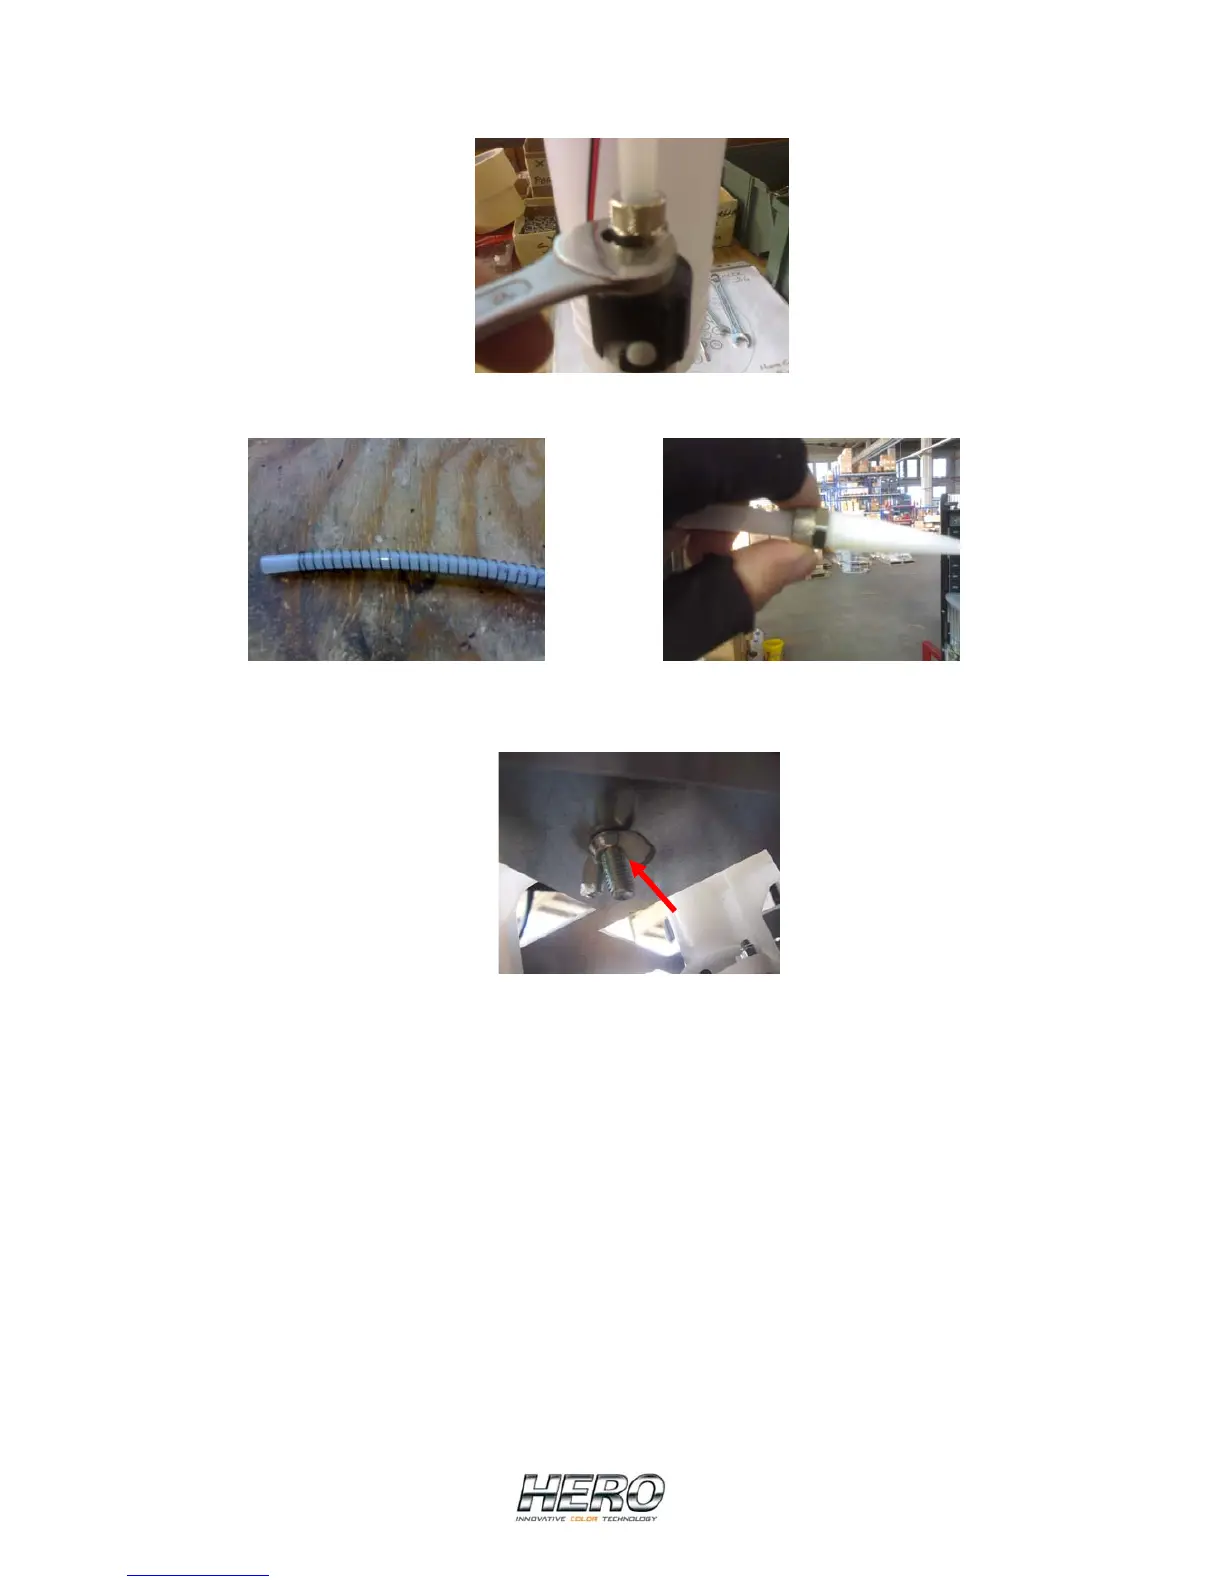
• Cut the tubing at the proper length and attach it on the canister by screwing the
metal ring nut on the nipple
• Insert the spring and screw the other stainless steel nut onto the nozzles
• Put the new canister in its appropriate place and lock it in place by tightening the
wing nut
• Insert the nozze into the dispense head
• Reconnect the cable to the electronic board
• Replace the upper canisters plate
• Replace the upper front cover of the nozzle assembly
• Place the lids on the canisters and reconnect the cables
• Close the front panel
• Add colourant to the new canister
• Start the canister’s pump through the Manual Commands screen in order to release
the air which is present within the new tubing and pump. Continue the process until
a solid flow of colourant comes out of the nozzle