11 A D D A N A L O G C A M E R A S
Adding Analog Cameras
1. Connect analog camera(s) to the “Video In” BNC connectors.
Adding Analog PoC Cameras
PoC cameras do not require camera power to produce an image on the DVR as they are powered
over-the-coax upon connection.
Enabling Analog Cameras
2. Analog cameras are enabled by default; no further action is required.
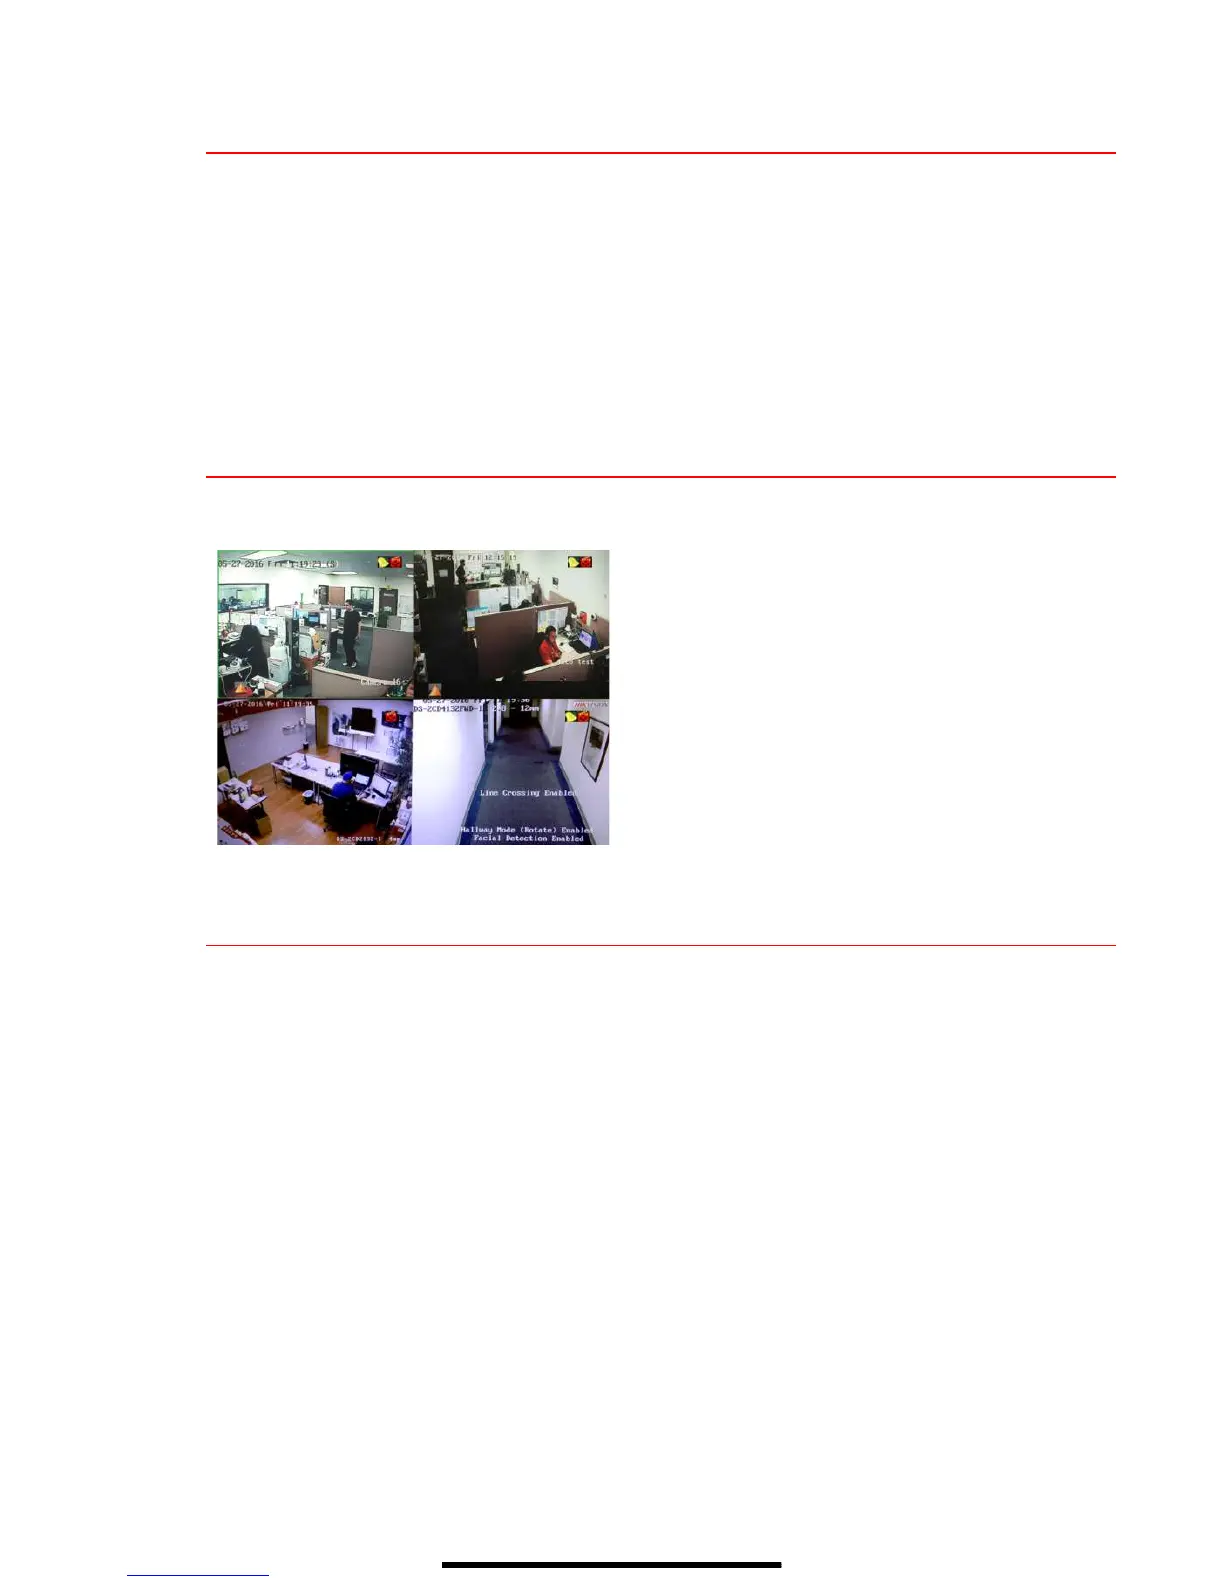
12 V I E W L I V E V I D E O
Live View displays real-time video.
13 S E T U P R E C O R D I N G
The system defaults to record video continuously at 8 fps, or at 15 fps when motion is detected.
Recording Schedule
Default is to record continuously every day. Do the following to change the recording schedule:
1. Go to MENU > RECORDING CONFIGURATION > SCHEDULE.
2. Choose CONTINUOUS or EVENT/(MOTION DETECTION) under the Type pull-down menu.
3. Use cursor to select (days will turn blue [continuous] or yellow [event/motion detect]) or deselect
(days will turn gray [off]) the calendar days you wish to record.
4. Apply time settings as desired.
5. Press APPLY.
camera’s record and alarm status.
• Alarm (video loss, tampering, motion detection,
sensor alarm, or VCA alarm)
• Record (manual record, continuous record, motion
detection, alarm, or VCA triggered record)
• Event/Exception (event and exception information
appears at lower-left corner of screen)
 Loading...