Steps
Note
This funcon is only supported by the device the connecon mothod of which is
TCP/IP when adding the device.
1.
In the organizaon list on the le, click to select an organizaon to import the
persons.
2.
Click Get from Device to pop up the dialog box.
3.
The added device will be displayed.
4.
Click to select the device and then click Get to start geng the person
informaon from the device.
Note
•
The person informaon, including person details, person's ngerprint
informaon (if congured), and the linked card (if congured), will be
imported to the selected organizaon.
•
If the person name stored in the device is empty, the person name will be
lled with the issued card No. aer imporng to the client.
•
The gender of the persons will be Male by default.
7.6.5 Change Person to Other Organizaon
You can move the person to another organizaon if needed.
Steps
1.
Select the person in the list and click Change
Organizaon.
2.
Select the organizaon to move the person to.
3.
Click OK to save the sengs.
7.6.6 Add Person in Batch
Enter a short descripon of your task here (oponal).
Before You Start
Enter the prerequisites here (oponal).
Enter the context of your task here (oponal).
Steps
1.
Enter your
rst step here.
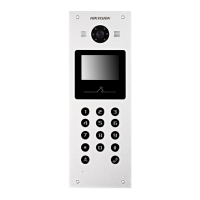
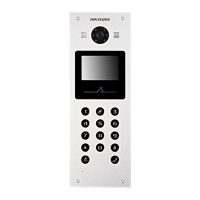
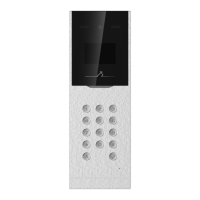
Video Intercom D Series Door
Staon User Manual
59