DS-PDMCX-E-WB Enrollment
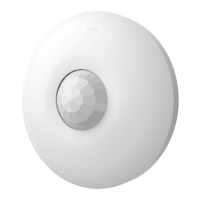
DS-PDMCX-E-WE Enrollment
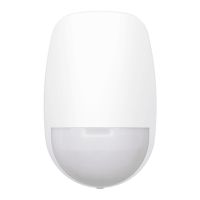
DS-PDMCX-E-WE IndicaonDS-PDMCX-E-WB Indicaon
3
Enrollment
1
Enroll the Peripheral Locally
2
Enroll the Peripheral with QR and serial No.
1. Log in to the APP Store, download and install the App.
2. Power on the security control panel.
3. Log in the APP and tap the icon "+" . Scan the QR code or input the control panel serial No. to add the control panel.
1. In the APP, tap the "Enrollment Mode" buon on the control panel page to make the control
panel enter the enrollment status.
2. Power on the peripheral, and it will be automacally enrolled to the control panel.
1. In the APP, tap the icon "+"and scan the QR code or serial No. on the peripheral.
2. Power on the peripheral, and it will be automacally enrolled to the control panel.
4
Test
The contact starts test automacally aer being enrolled to the AX PRO. The LED turn red.
Separate the contact, and make a gap between the sensor and sck. while the LED turns green, the alarm is triggered by this gap . Adjust the installaon
posion of the contact to get a sasfied alarm gap.
The alarm will be triggered while the gap between the sensor and magnec sck is bigger than that shows in the table. The LED keeps green.
Magnet Detecon Performance Table
2
Hangzhou Hikvision Digital Technology CO.,Ltd. No.555 Qianmo Road, Binjiang District, Hangzhou 310052, China
21 3
4
xxxx
Device
3 min
X
X
Y
Z
1
2 3
4
xxxx
Device

 Loading...