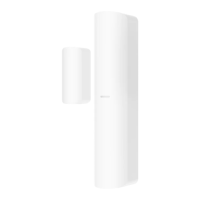
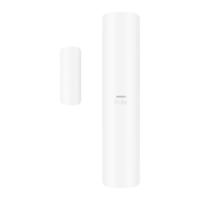
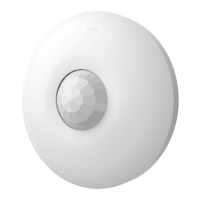
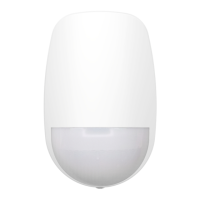
DS-PDMCX-E-WB Installaon DS-PDMCX-E-WE Installaon
3. Install the Detector
a. Secure the rear panel to the wall with three screws.
b. Secure the front panel onto the rear panel.
c. Fix the protecon enclosure on the device.
Note:
You should install the sensor and the magnec sck at the door or window’s edge. Make sure they are aligned with the door or window’s edge.
6
8
Funcons
You can add two external inputs (each input can be set as NO\NC\TAMPER\Pulse) via the AX PRO client.
While Any of the two inputs generates an alarm event, the contact reports the alarm to the AX PRO. The LED keeps blue for 2 s.
Set Up with App
7
Funcon
Zone Type
Stay Arm Bypass
Chime
Enable Silent Zone
Slide to green to enable the chime.
Slide to green to make the zone keep
silent while alarm is triggered.
Select the zone type of the detector.
Descripon
You can view the device status including temperature, signal intensity,baery level, lid, magnec contact, external contact, etc.,on the device page.
Tap the buon to enter the sengs page.
Cross Zone
Link Camera
Slide to green to bypass the zone from stay arming.
Slide to green to enable the funcon.
If the alarm triggered in both of the linked zones within
the set me, two alarm messages will be reported.
Sounder Delay Time
Set he sounder delay me up to 120s.
Link with a camera for intruder verificaon.
Primary Contact
Formang
1. Remove the baery, and wait for 5 s.
2. Hold the Tamper buon and power the detector on at the same me.
The red LED flashes 3 me when the formang is completed.
Disallowed field adjustable sengs: None
3_PA3×25-SUS
3_PA3×25-SUS
Screw for real panel tamper-proof

 Loading...