8 English
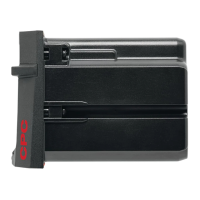
3. Check that the battery and charger interfaces match (keyed fit).
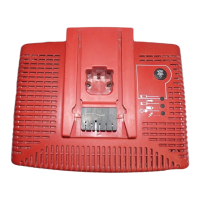
◁ Charging begins automatically after insertion of the battery in the
charger.
5.4 Removing the battery 4
1. Press the catch to release the battery.
2. Pull the battery out of the charger.
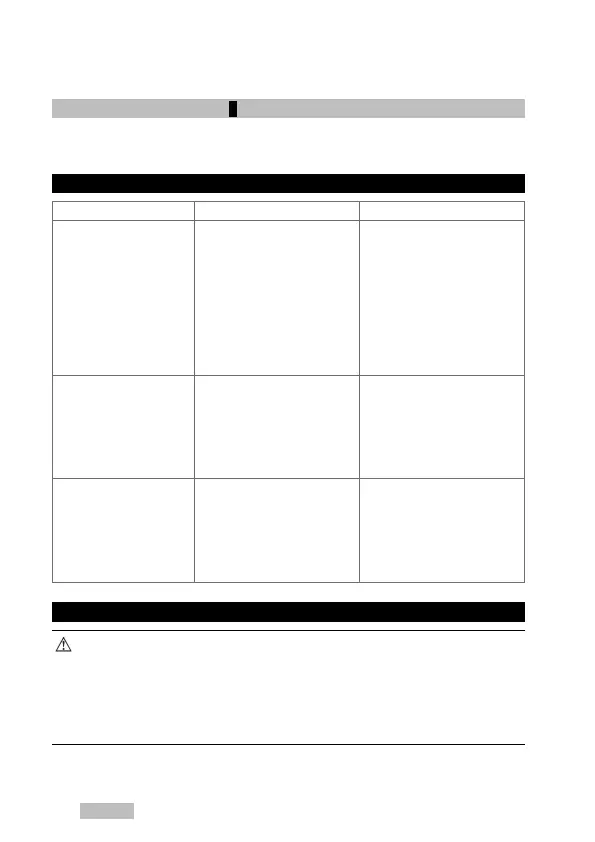
6 Troubleshooting
Malfunction Possible cause Action to be taken
LEDs on the battery
don’t light, battery is
in the charger.
The battery may be de-
fective.
▶ Remove the battery
from the charger. If
no LED lights on the
battery after activation
of the state of charge
indicator, the battery
is defective. Have the
battery checked by
Hilti Service.
LEDs on the charger
blink.
The battery is too hot
or too cold: the battery
doesn’t charge.
▶ The charger switches
automatically to
charging mode as
soon as the battery
reaches the required
temperature.
LEDs on the charger
don’t light.
Charger malfunction. ▶ Unplug the appliance
and then plug it back
in. If the LED still
doesn’t light, please
bring the charger to
Hilti Service.
7 Care and maintenance
WARNING
Danger of electric shock! Carrying out care and maintenance while the
supply cord is connected to the power outlet presents a risk of serious
injuries including burns.
▶ Always unplug the supply cord before carrying out all care and
maintenance tasks.
Care
• Carefully remove stubborn dirt from the tool.
Printed: 25.04.2017 | Doc-Nr: PUB / 5253194 / 000 / 03
 Loading...