--- 17 ---
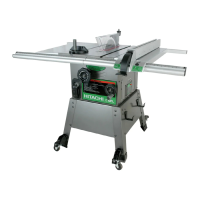
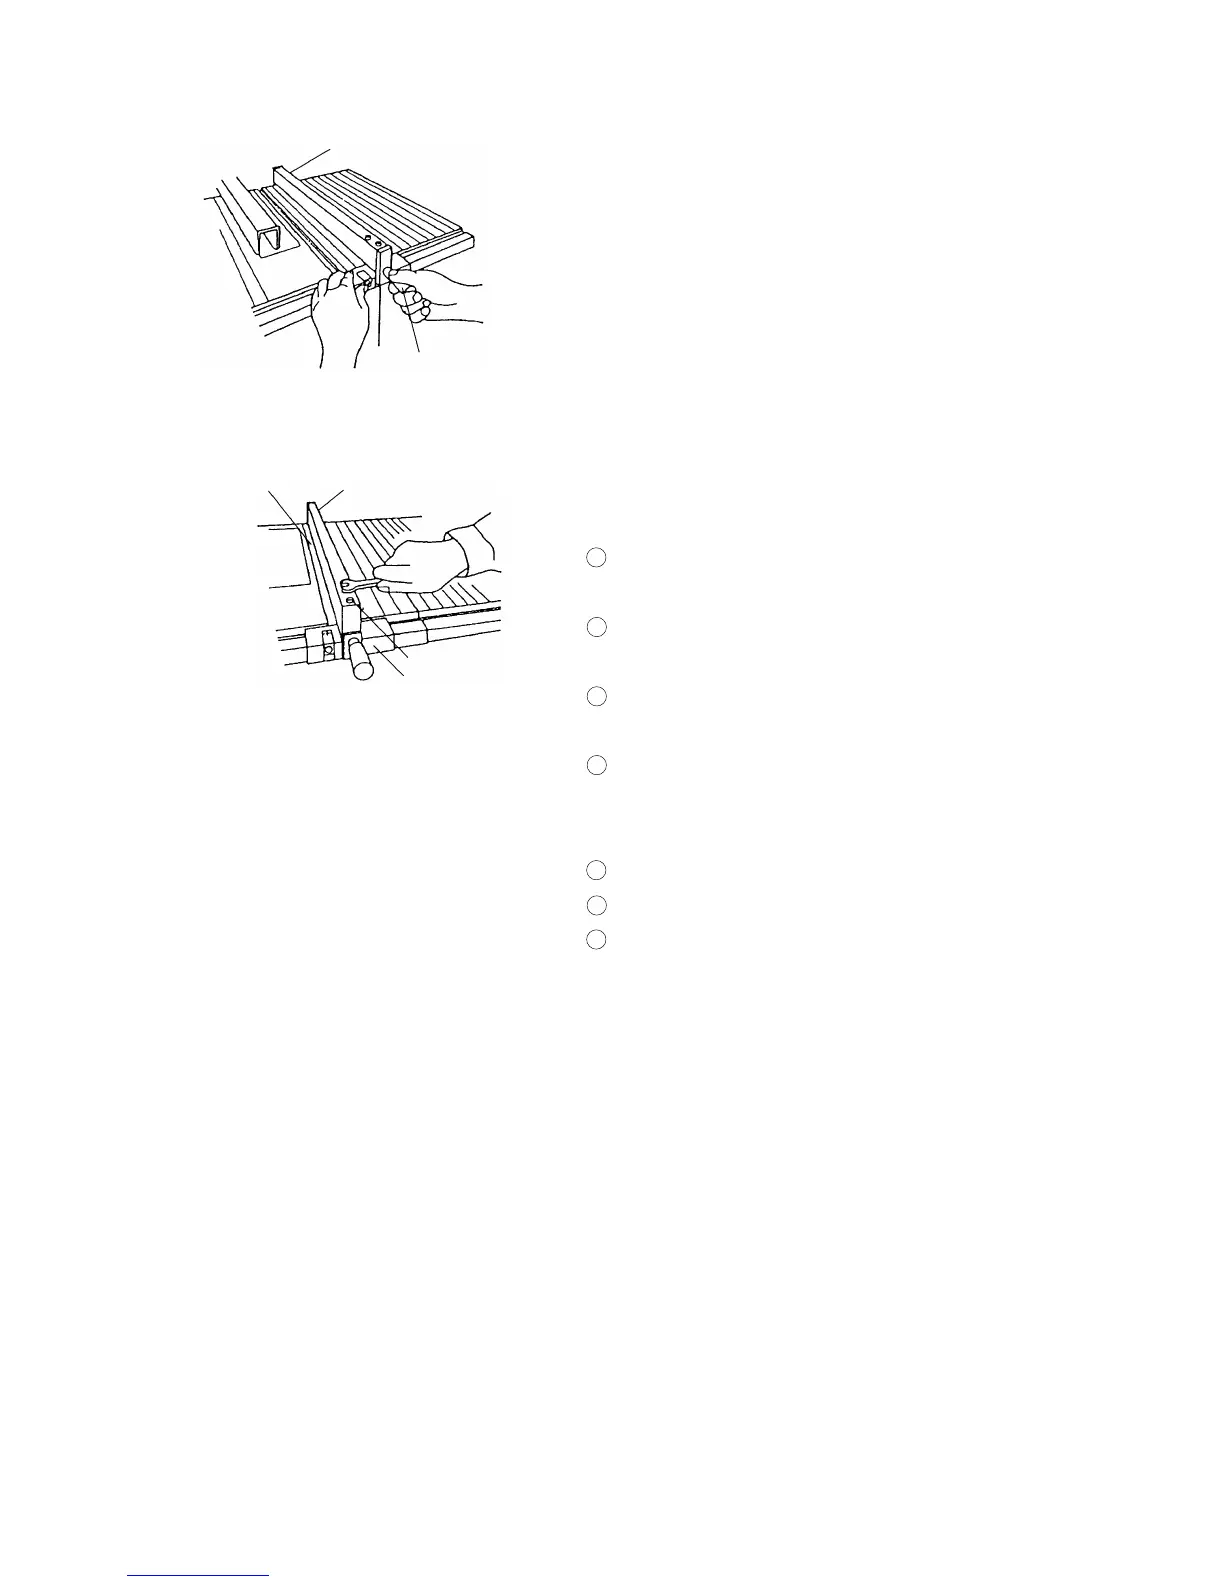
8-3-3. Adjustment of the Rip Fence (Fence Ass'y)
Before shipment from the factory the saw blade is set parallel to
the miter-gauge groove and the rip fence is adjusted parallel to
the miter-gauge groove. Check and adjust the parallelism of the
rip fence with the following procedures in order to assure
accuracy and prevent kickback when ripping.
(1) Loosen clamp handle (A) (see Fig. 18-a).
(2) Position the rip fence at one edge of the miter-gauge groove.
(3) Lock the rip fence to the table with clamp handle (A).
The edge of the rip fence should then line up parallel with the
miter-gauge groove.
(4) If the edge of the rip fence is not parallel with the miter-
gauge groove,
1 Loosen the two 6 mm bolts securing the parallel bracket to
the fence bracket (see Fig. 18-b).
2 Loosen clamp handle (A), align the rip fence parallel to the
groove, and tighten the clamp handle (A).
3 While holding the parallel bracket to prevent movement,
tighten the two 6 mm bolts previously loosened.
4 Loosen clamp handle (A), move and return the parallel
bracket adjacent to the groove, tighten clamp handle (A)
and verify that the parallel bracket is parallel to the groove.
5 Repeat adjustment until it is parallel.
6 After adjustment, tighten the two 6 mm bolts.
7 On completion of adjustment, recheck the rip fence is
parallel with the miter-gauge groove.
Rip fence
Fig. 18-a
Clamp handle (A)
6 mm Bolt
Fig. 18-b
Fence bracket
Groove
Rip fence
 Loading...