48
SETUP menu
Item Description
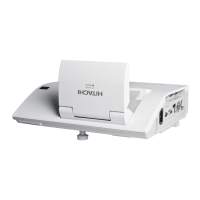
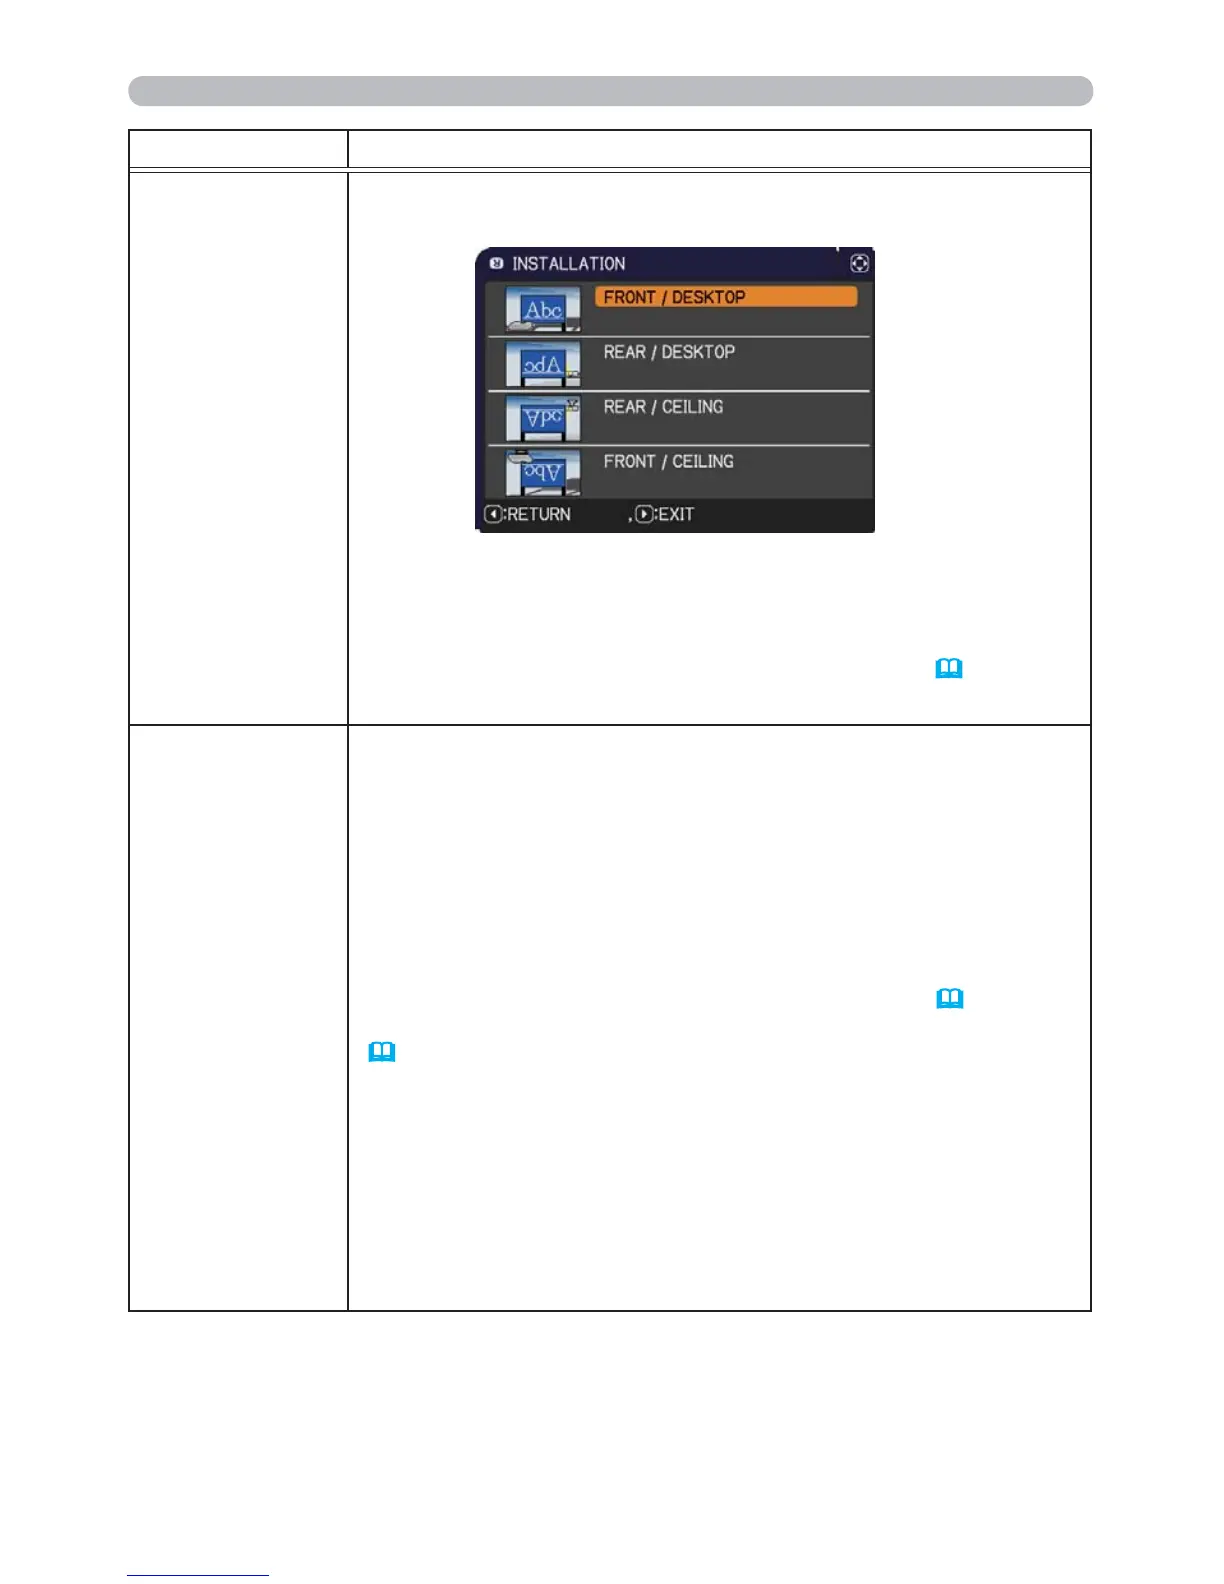
INSTALLATION
Pressing the ►button displays the dialog for changing the
INSTALLATION setting.
Use the ▲/▼ buttons to select the desired setting on the
INSTALLATION dialog, and press the ENTER button of the remote
control or the INPUT button of the projector to execute.
If TRANSITION DETECTOR is ON and the INSTALLATION status
is changed, the TRANSITION DETECTOR ON alarm (
84) will be
displayed when the projector is restarted.
STANDBY MODE
Using ▲/▼ buttons switches the standby mode setting between
NORMAL and SAVING.
NORMAL
SAVING
When SAVING is selected, the power consumption in the standby
mode is lowered with some functional restriction as below:
• When SAVING is selected, the RS-232C communication control
except to turn the projector on and the network function are disabled
while the projector is in the standby mode. If the COMMUNICATION
TYPE in the COMMUNICATION menu is set to NETWORK
BRIDGE, all of the RS-232C commands are disabled (
65).
• When SAVING is selected,
STANDBY setting of AUDIO SOURCE
(
50) is invalid, and no signal is output from AUDIO OUT port in
the standby mode.
• When SAVING is selected, STANDBY setting of MONITOR OUT
is invalid, and no signal is output from MONITOR OUT port in the
standby mode.
• The USB connection is disabled while the projector is in standby
mode if the STANDBY MODE item in the SETUP menu of the
projector is set to SAVING.
• When SAVING is selected, CLONING load function is invalid while
in STANDBY MODE.
(continued on next page)
 Loading...