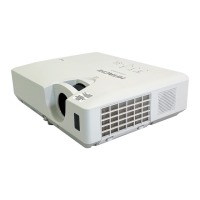
23
CP-WX11000 ( P6WX )
R
G
B
Green mark
Red or black
mark
Blue mark
6-3-2 Replacement of P.O. Filter-OUT
(1) Detach the LCD/PRISM assembly by following the
procedure on the next page.
Make sure not to daamge optical parts, especially the
glass part of the panel and the P.O. Filter-IN.
(2) Remove two hex head screws (Bits: 1.5) located on
upper side of the P.O. Filter-OUT you will replace.
Never lose removed screws and washers.
(3) Detach the Pre-P.O.Spring fi xing the P.O.Filter-OUT.
(4)
Pull out old P.O.Filter-OUT with a tool like tweezers.
Insert a new P.O.Filter-OUT
into the original place Pick the
P.O.Filter-OUT as shown in
picture in order not to leave dirt
or fi ngerprint on the surface.
Match the direction marks
of a pair of P.O.Filter-OUT as
shown in diagram.
(5) Make sure that the P.O.Filter-OUT you insert sits in
place completely.
Attach the Pre-P.O.Spring and tighten hex head
screws with washers. (Torque: 0.2-0.4N•m)
Attach the LCD/PRISM assembly to the original place
in the projector.
Make sure to check there is no problem on the image.
Remove two screws
Pre-P.O.Spring

 Loading...