61
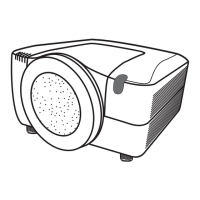
CP-WX11000 ( P6WX )
Notice
Set the lens shift position to center (see page12). Then, turn off the projector and unplug
the power lead. Allow the projector cool suffciently.
1. Detach and attach upper case.
Follow the procedure below to detach and attach upper case.
When disassembling
a. Remove front ring and front cover.
Turn the front ring and remove. Then lift the front cover and remove.
Upper case
Front Back
Left Right
2 Screws
2 Screws
4 Screws
2 Screws
4 Screws
b. Remove 2 screws on upper case, 2
screws on front, 4 screws on back,
4 screws on left side and 2 screws on
right side to detach upper case.
CAUTION
• Only Service personnel are allowed to perform the following procedure.
•Place projector on a stable and horizontal surface before commencing.
Note When you assemble/disassemble the projector, pl;ace the projector on the rubber plate (P/N:
MQ03421) to prevent the projector casing from being distorted.

 Loading...