27
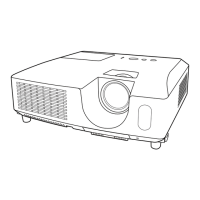
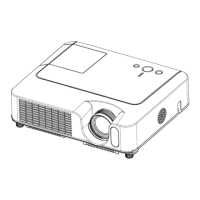
CP-X2511N(C15I-25N2) / CP-X3011N(C15I-30N2) / CP-X4011N(C15I-40N2) / CP-X2011N(C15-20N2) / ED-X45N(C15-20N2)
6-5 Air filter
9.
Turn the projector on and reset the filter time using the FILTER TIME item in
the EASY MENU.
►Before taking care of the air filter, make sure the power cable
is not plugged in, then allow the projector to cool sufficiently. Taking care of the
air filter in a high temperature state of the projector could cause an electric shock,
a burn or malfunction to the projector.
►Use only the air filter of the specified type. Do not use the projector without the
air filter or the filter cover. It could result in a fire or malfunction to the projector.
►Clean the air filter periodically. If the air filter becomes clogged by dust or the
like, internal temperatures rise and could cause a fire, a burn or malfunction to
the projector.
WARNING
• Please replace the air filter when it is damaged or too soiled.
• When you replace the projection lamp, please replace the air filter. An air filter
of specified type will come together with a replacement lamp for this projector.
• Please reset the filter time only when you have cleaned or replaced the air
filter, for a suitable indication about the air filter.
• The projector may display the message such as “CHECK THE AIR FLOW” or
turn off the projector, to prevent the internal heat level rising.
NOTE
(1) Press the MENU button to display a menu.
(2) Point at the FILTER TIME using the ▼/▲ button, then press the ► button.
A dialog will appear.
(3) Press the ► button to select “OK” on the dialog. It performs resetting the
filter time.
The air filter unit of this projector consists of a filter cover, two kinds of filters, and
a filter frame. The new double large filters system is expected to function longer.
However, please check and clean it periodically to keep ventilation needed for
normal operation of the projector.
When the indicators or a message prompts you to clean the air filter, comply with
it as soon as possible. Replace the filters when they are damaged or too soiled.
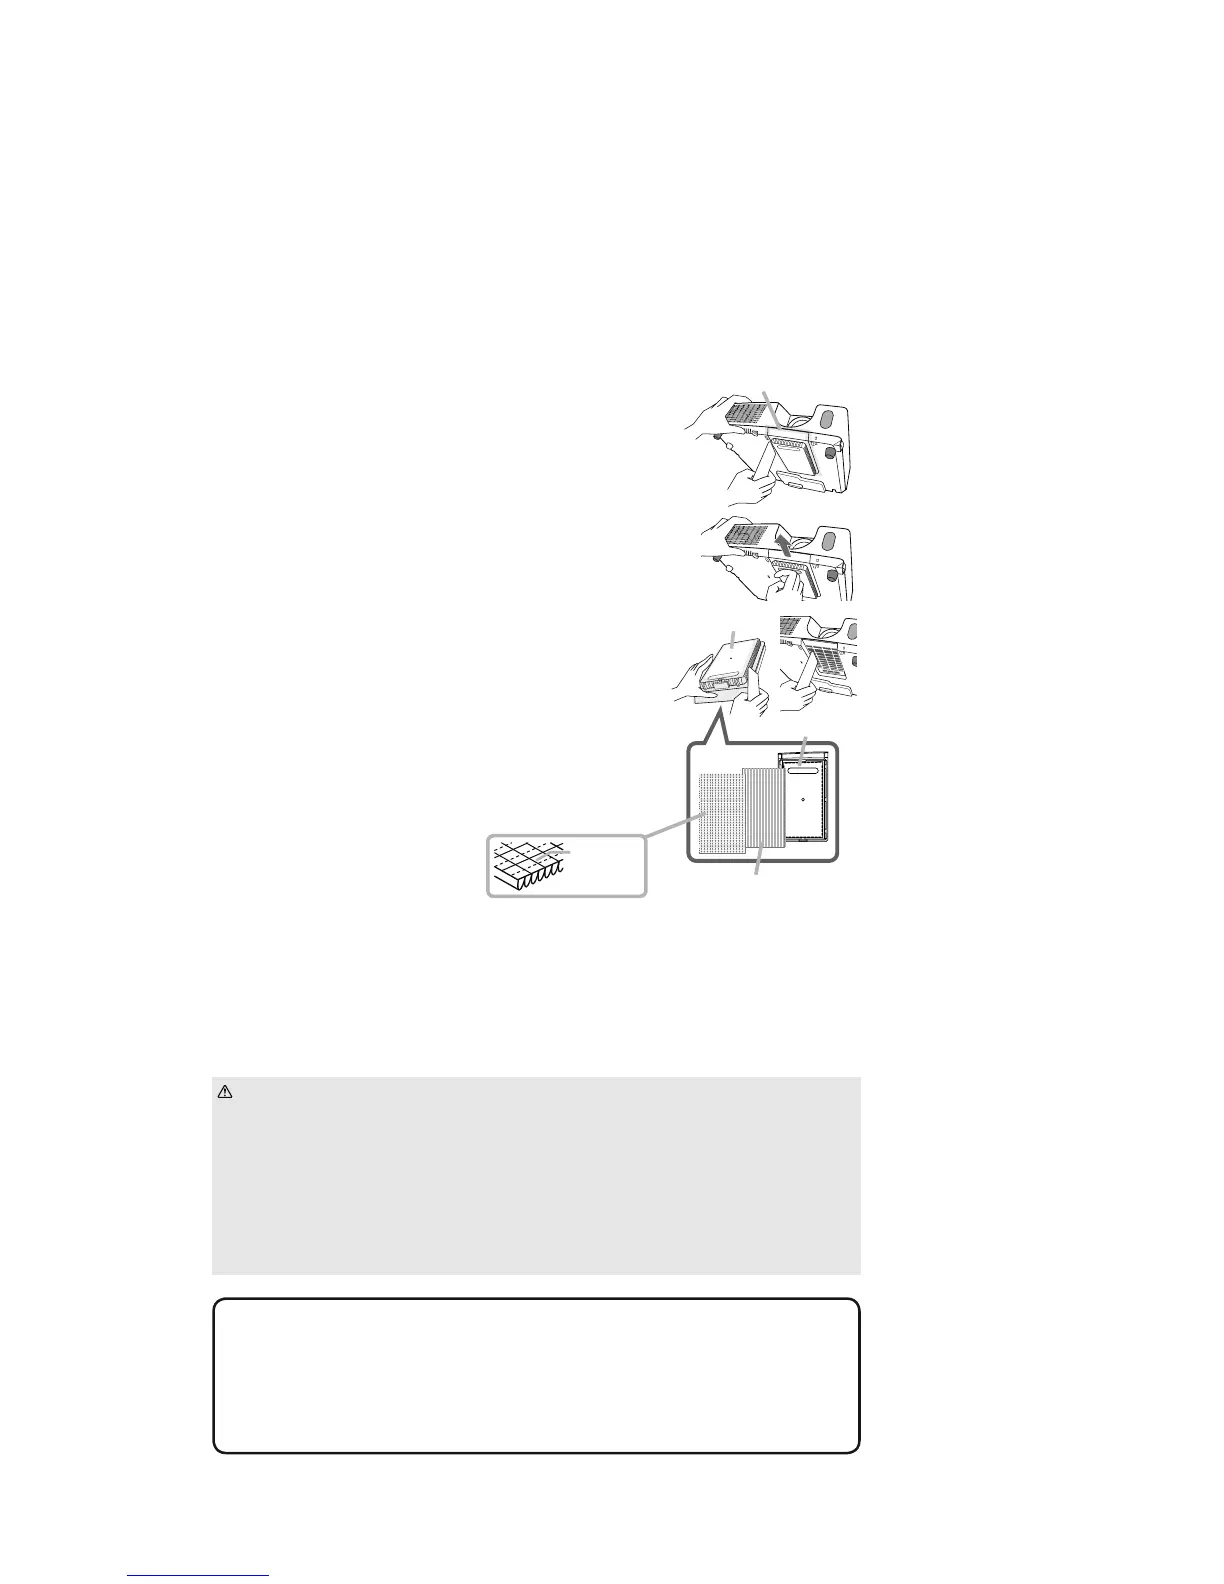
Cleaning and replacing the air filter
1.
Turn the projector off, and unplug the power cord.
Allow the projector to sufficiently cool down.
2.
Use a vacuum cleaner on and around the filter cover.
3.
While supporting the projector with one hand, use
your other hand to pull the filter cover forward in the
direction of the arrow.
4.
Use a vacuum cleaner for the filter vent of the
projector and the outer side of the filter unit.
5.
Take the filters out while holding the filter cover.
7.
Put the filters back into the filter cover.
Put the coarse meshed filter into a filter cover
first. Then put the fine meshed filter on the coarse
meshed one, turning its stitched side up.
8.
Put the filter unit back
When you replace the lamp, please replace the air filter. An air filter of specified
type will come together with a replacement lamp for this projector.
Filter cover
Filter cover
Filter (fine meshed)
Filter (coarse meshed)
2
3
7
Stitched
side
6.
Use a vacuum cleaner onto the both sides of the
filters. When vacuuming up the fine meshed filter,
hold it so it will not be sucked in. If the filters are
damaged or heavily soiled, replace them with the
new ones.
into the projector.
Filter unit
4
 Loading...